Appearance
This product consists of FreeScan TE25 (a laser 3D scanner), FreeTrakⅠ- G1 (an optical tracker) and FreeProbe1.
The scanner is easy to use with high scanning efficiency.
Col
Indicator Status
The indicator turns bluish after the device is powered on and goes out when the device is on standby.
During scanning, different light colors indicate different scanning distances.
- Blue: The device is too far from the scanned object.
- Light blue: The device is far from the scanned object.
- Green: The distance between the scanner and the scanned object is proper.
- Yellow: The device is close to the scanned object.
- Red: The device is too close to the scanned object.
Col
Buttons
- Press and hold the up button: To turn on / off the Local Enlarged View function.
- Press and hold the down button: To turn on / off the View Lock function.
- Press and hold the left button: To switch the scan mode between Scan Global Markers / Photogrammetry and Scan Mesh.
- Press and hold the right button: To switch the scan object between normal and reflective.

With FreeTrak Ⅰ- G1, you can scan large and complex objects without markers, thereby saving much time and enhancing scanning efficiency greatly.
Col
Indicator Status
- Cyan: The device is power on.
-
Red: The device is unconnected to the network.
-
Blue: The device is unconnected to the software.
- Green: The device is connected to the network and the software.
Col
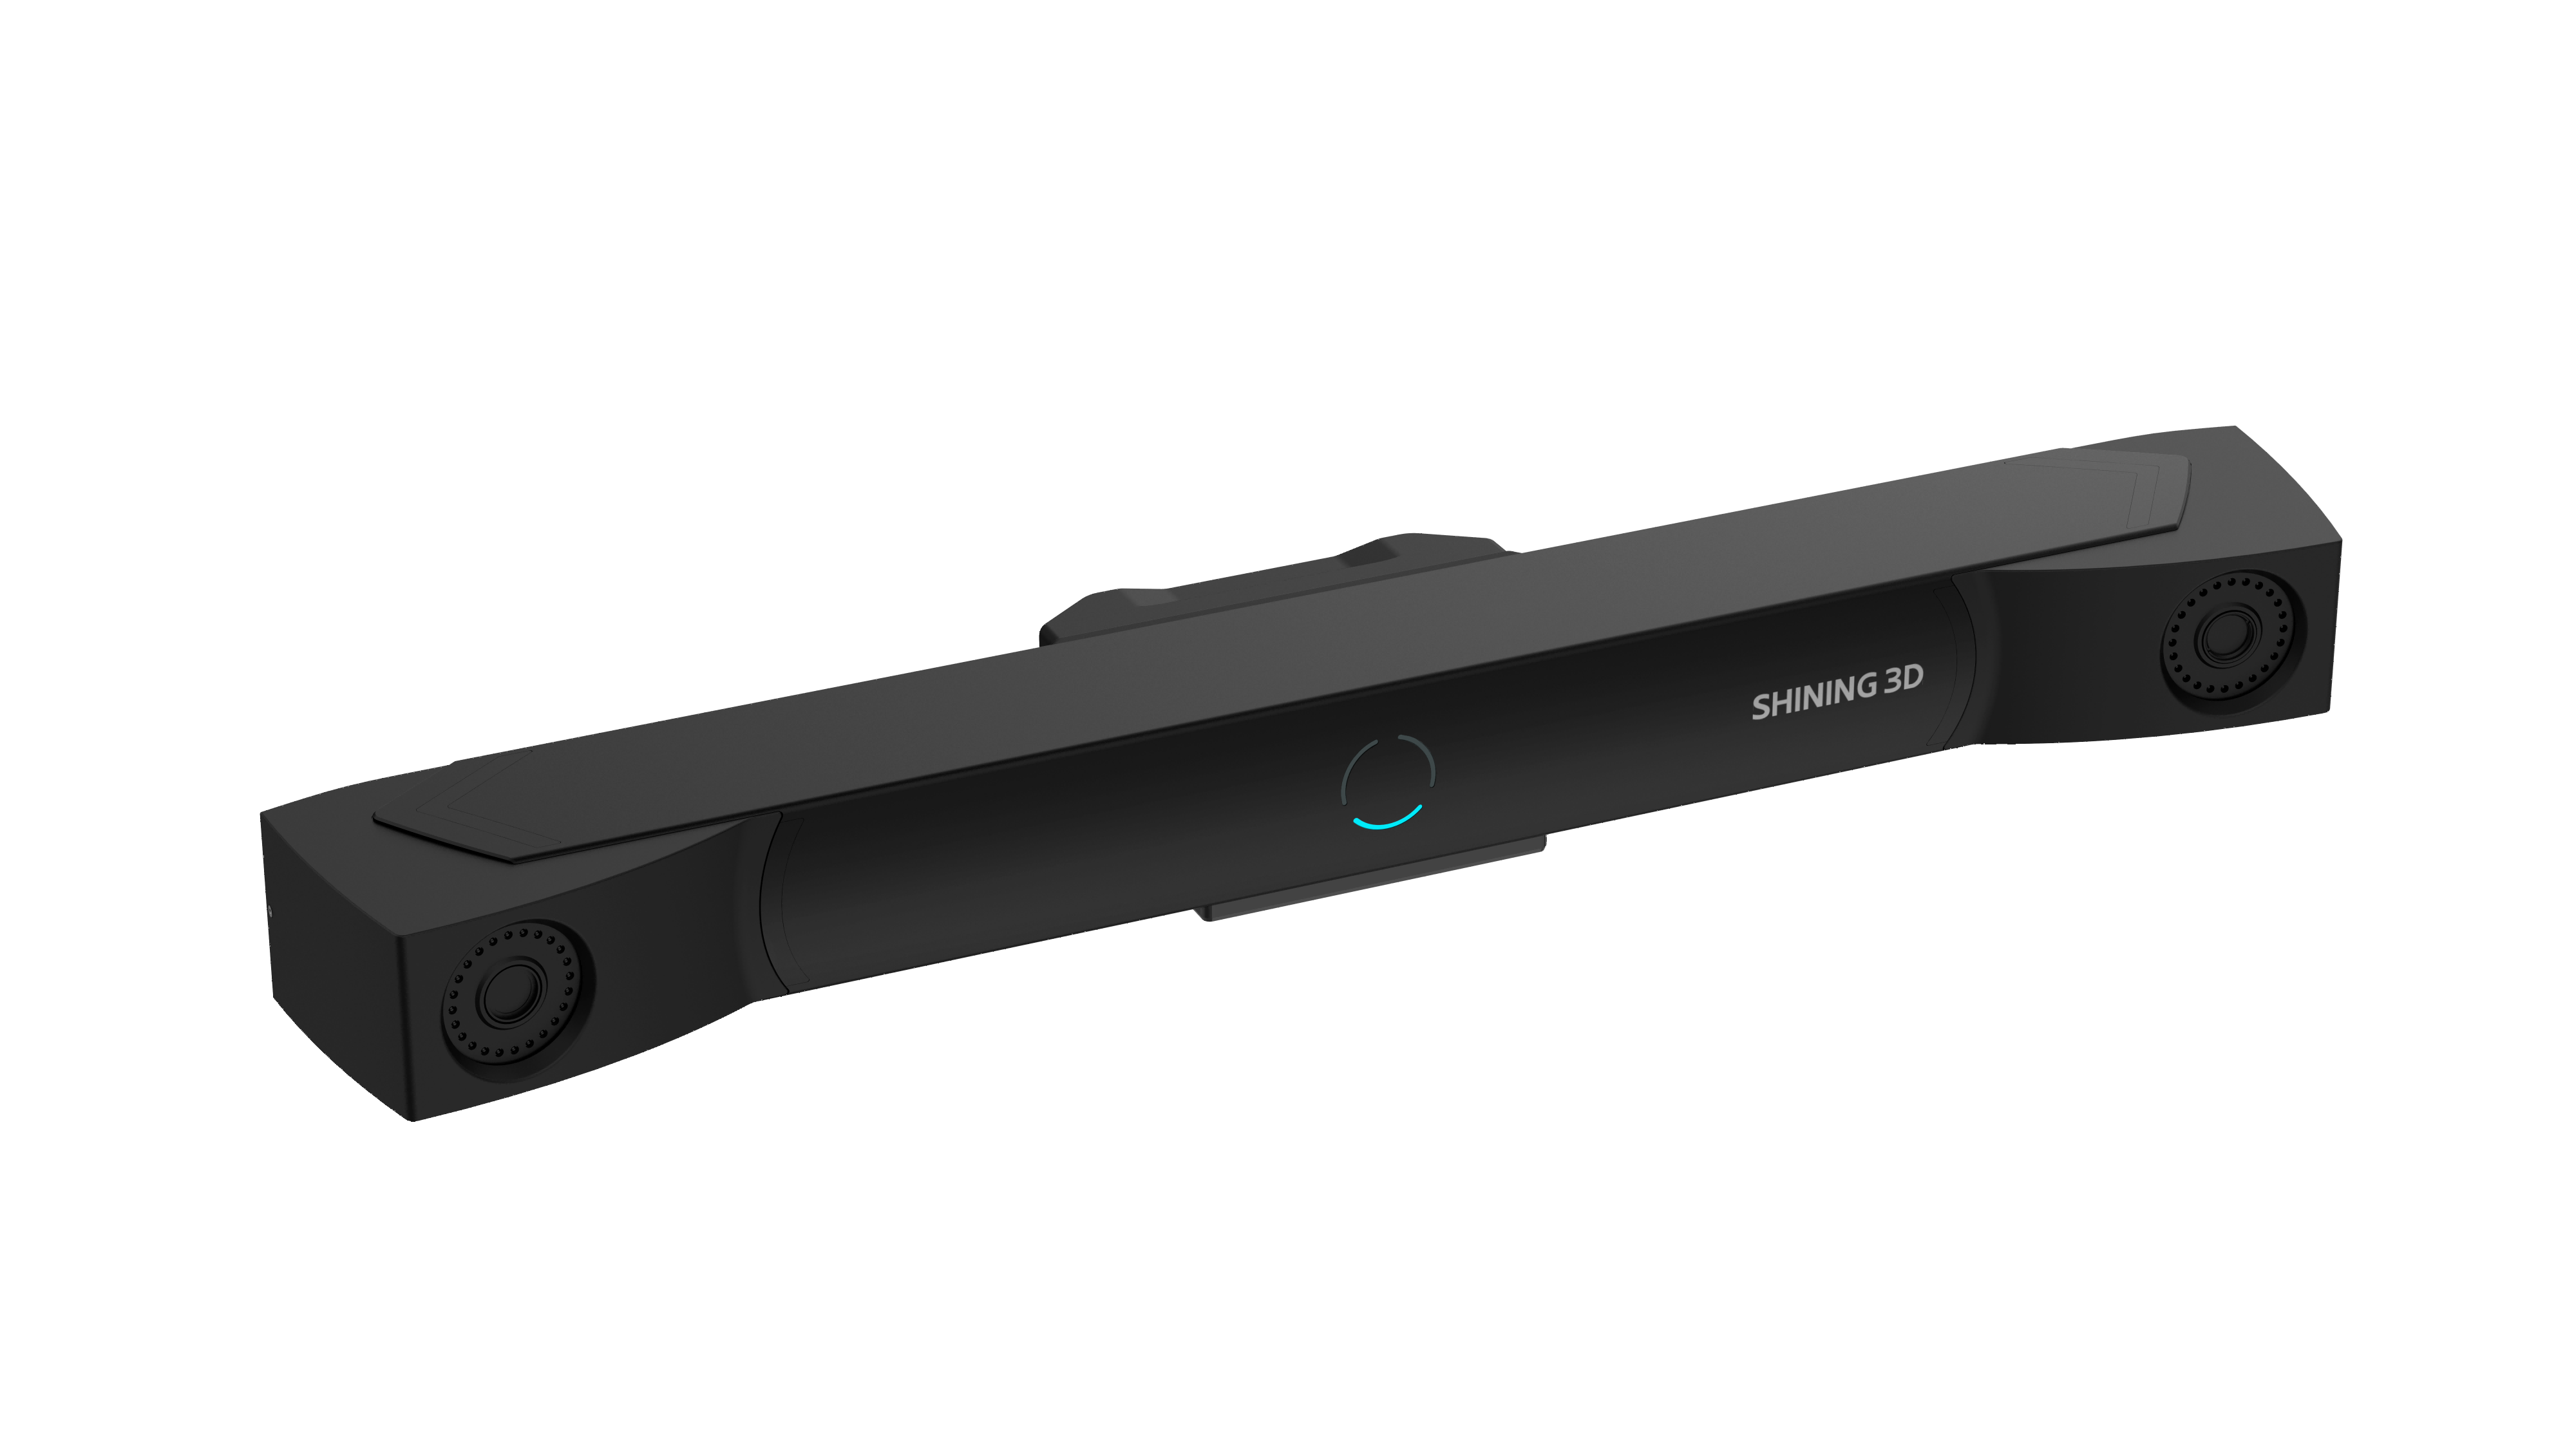
FreeTrak Ⅰ- G1
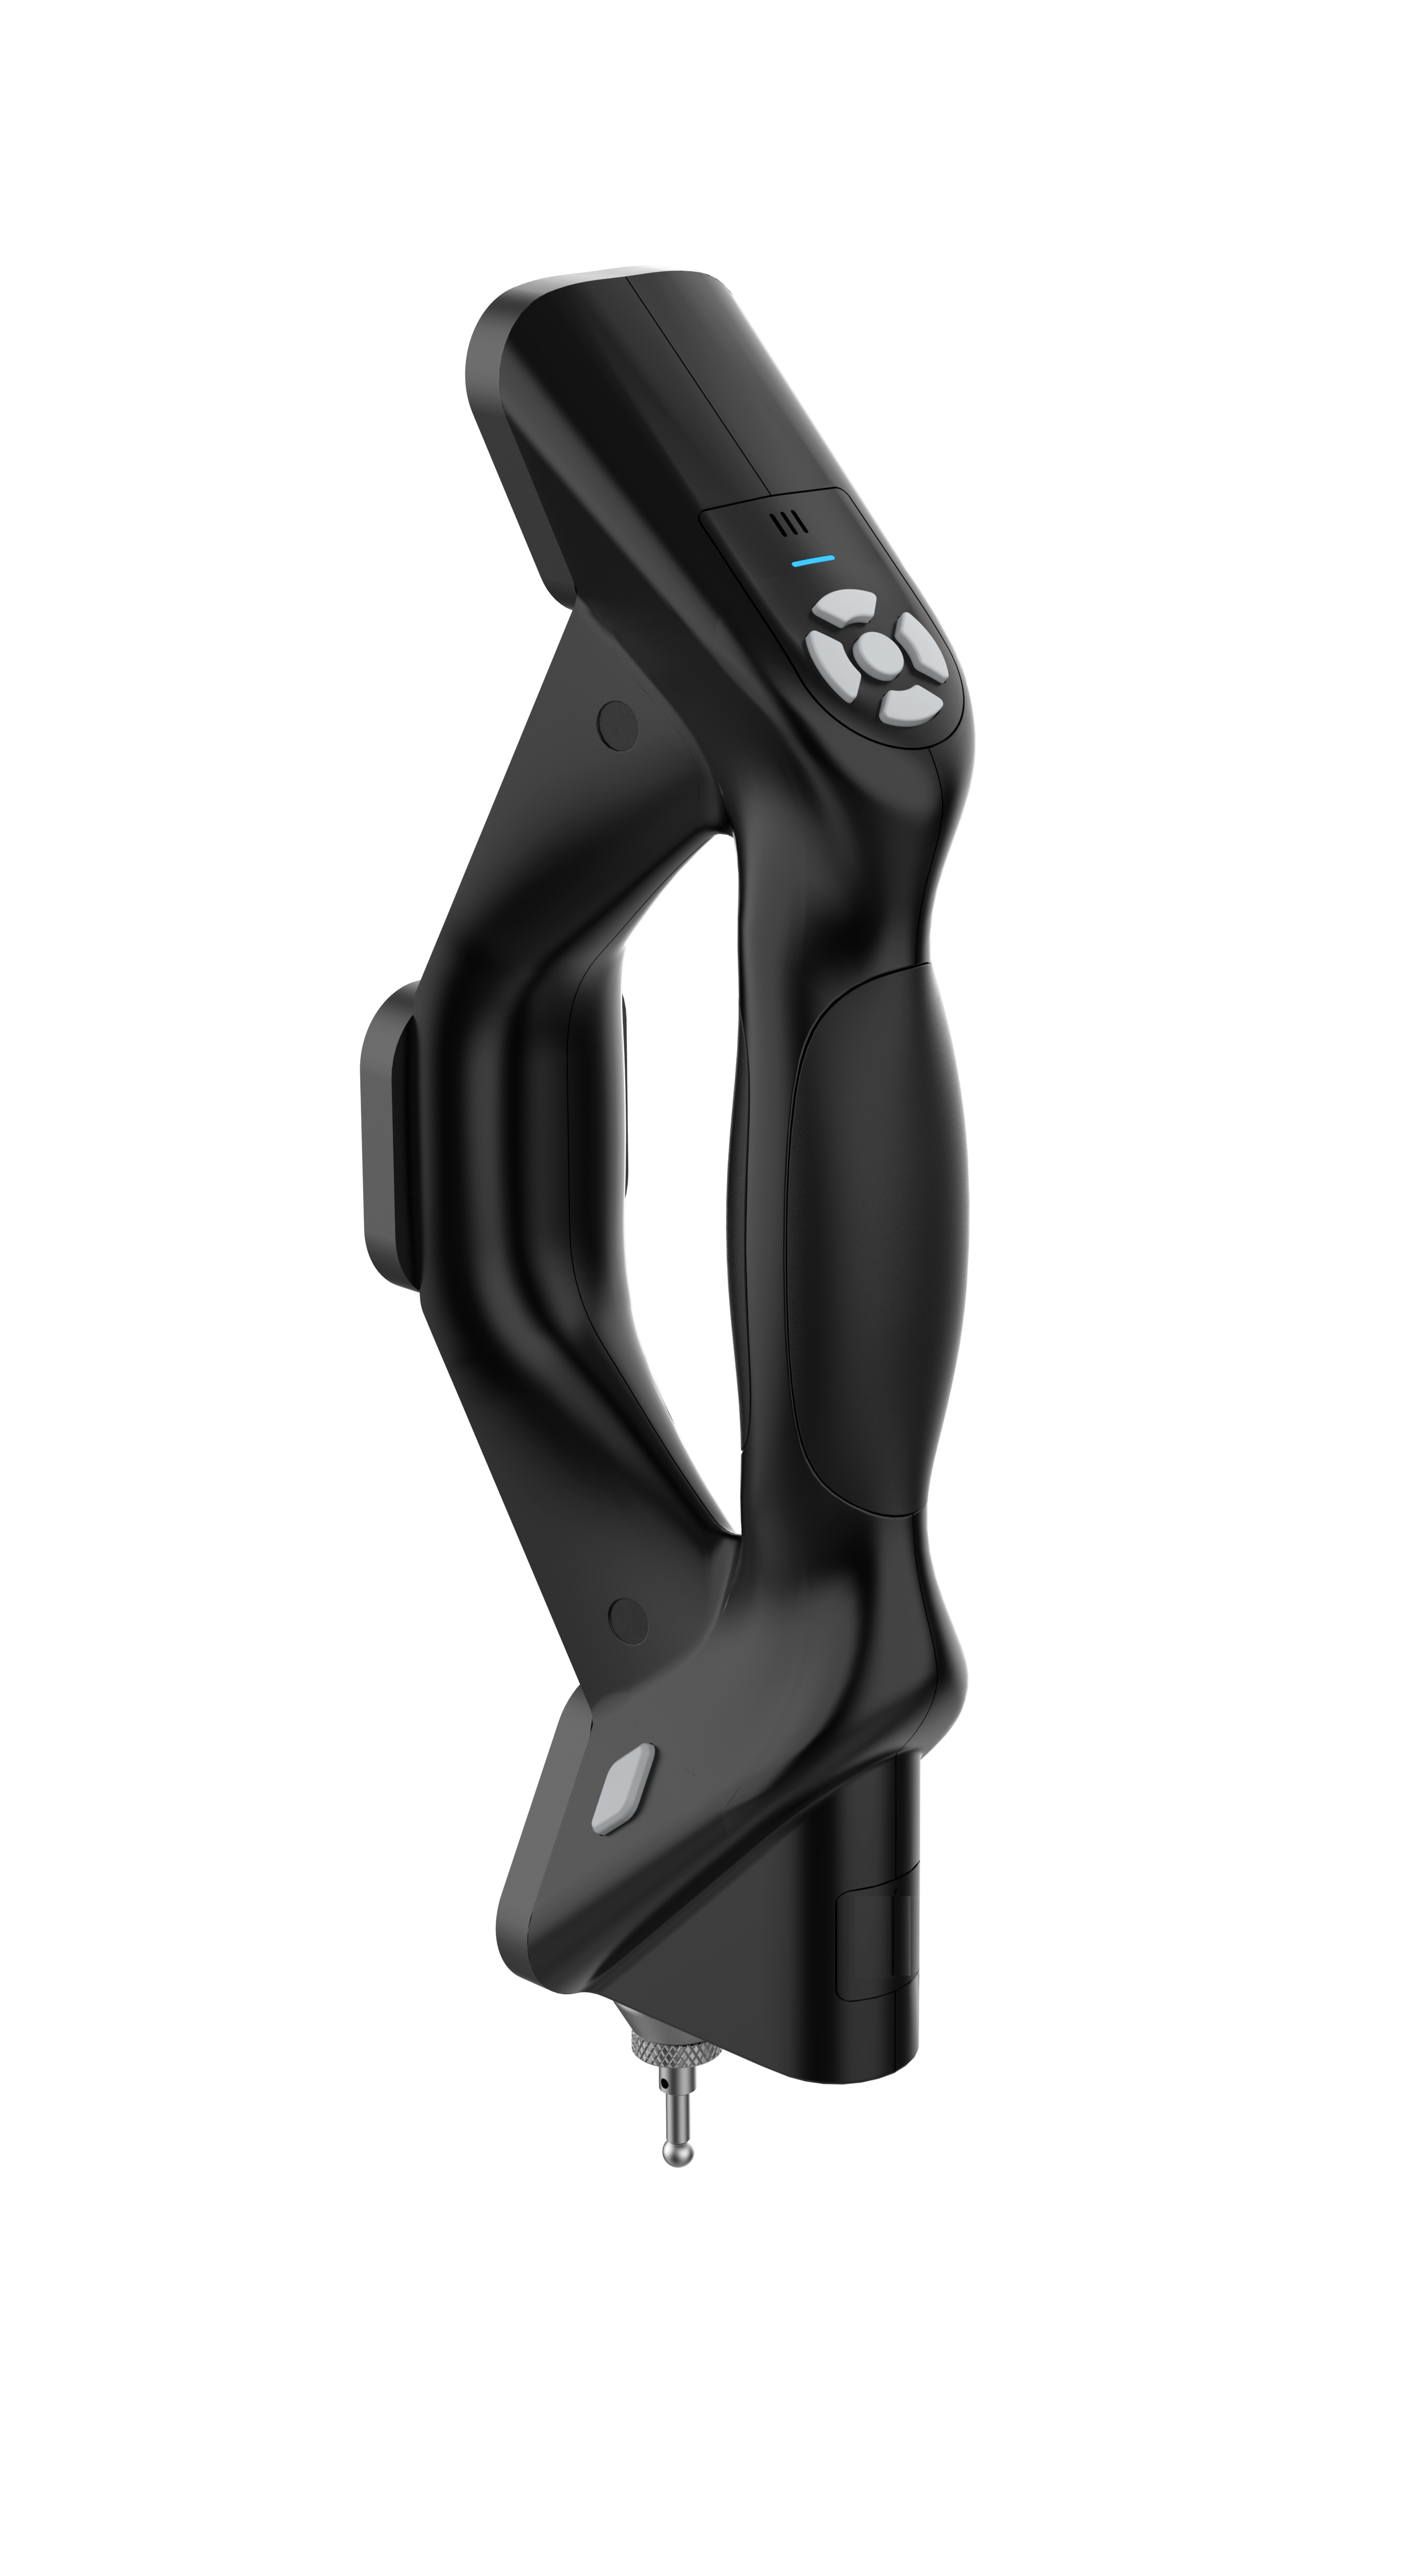
This instrument can obtain the 3D coordinate of points by touching the surface of an object to achieve different detection targets.
Col
Indicator Status
- Cyan: The device is power on.
- Blue: The device has successfully connected to the computer hotspot.
- Green (steady): The device is successfully connected to third-party software or tools.
- Green (flashing): Each successful point marking will cause the green indicator light to flash once.
- Green (flashing continuously): Low battery alert.
- Red (steady): The device has disconnected from the third-party software or tool.
- Red (flashing): Each failed point marking will cause the red indicator light to flash once.
Col
Note
When the indicator light is blue and the probe is not successfully connected to the software, you can long press the right rhombic button to switch the color of the indicator light to cyan.
Buttons
- Left rhombic button: Short press for power on; press and hold for 5 seconds for power off.
- In the state of steady green indicator light:
① The left and right rhombic buttons as well as the middle and down keys on the directional pad serve as the point marking keys.
② The left key is used to undo a single point that has been marked.
③ The right key is used to confirm fitting.
-
An optional device. ↩