Device Pairing
This software supports wireless scanning with wireless connected devices. If the wireless connection fails, you can choose the wired pairing. Once the pairing is successful, you can use wireless scanning.
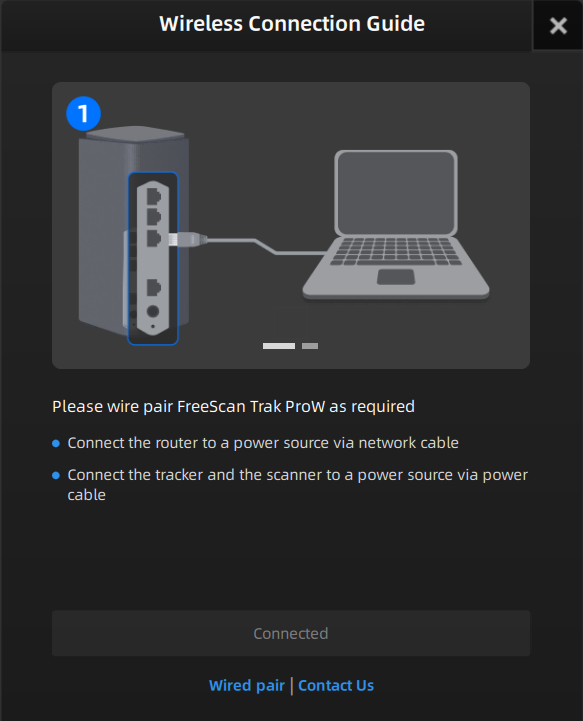
Wireless Connection
Please launch the software to establish a wireless connection. Once the wireless connection is successful, you can use the device for wireless scanning.
Steps
- After completing the device connection, launch the software, and the device will automatically establish a wireless connection.
- If the automatic wireless connection fails, you can click
 on the top right corner > Connection Guide, then click Connect in the pop-up window to connect the device.
 - Once the connection is successful, you can start the wireless scanning. If the battery level is low (below 25%), please connect the scanner to a power source as soon as possible.
Note
If the wireless connection fails multiple times, you can connect the device to the computer using cables for wired scanning. Alternatively, follow the instructions to do the wired pairing. After the successful pairing, you can use the device for wireless scanning.
Wired Pairing
Caution
If you encounter the following situations, please connect the device to the computer using cables, and complete the wired pairing:
- Multiple failed attempts at wireless connection.
- Changed to a new router.
- Altered the router's name or password.
Only after the successful pairing can you use wireless scanning.
Steps
- Go to the router settings page, set the router to Wi-Fi 6 mode, and disable 2.4G.
-
Launch the software and click
in the top right corner of the software.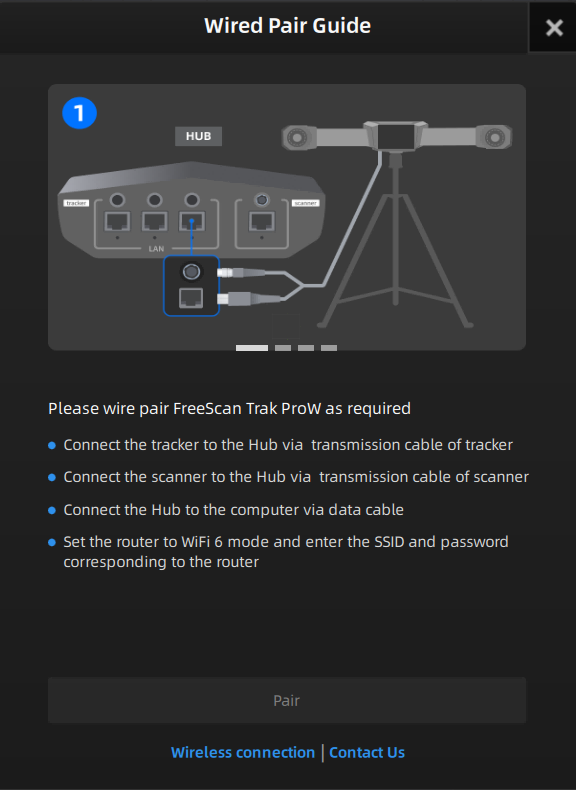
-
Click Connection Guide in the pop-up window and switch to the wired pairing.
- Click Pair, input the corresponding SSID and password of the router in the pop-up window, and click Confirm.
- After successful connection, you can click to view the connected device.
Note
If the wired pairing ended in failure for several times, please contact technical support promptly.