Mouth retracted face scanning
Click  during scanning and add a retracted face stage when the tooth data in the smile face fails to align with the intraoral data.
Note
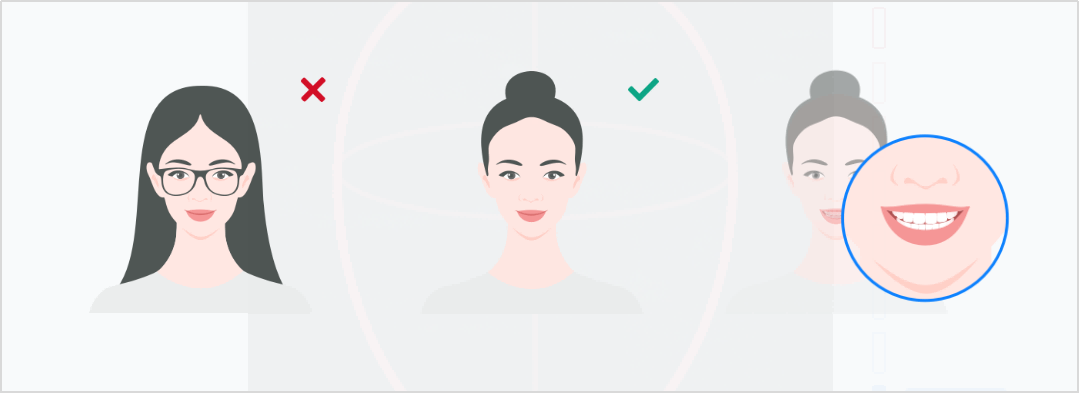
When you enter the interface, it will prompt you to take off the glasses, tie up hair and keep a toothy (6-8 teeth) smile.
Steps
-
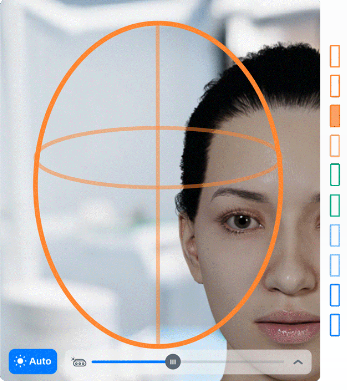
Adjust the distance between the face and the camera.
- Facial recognition: center the face in the camera and the face detection box will be green.
- Appropriate distance: adjust the distance between the face and camera untill the vertical indicator shows Suitable.
Note
When you launch the software and start the first scanning, adjust the face to a proper position and the software will modify the parameters automatically.
Correct Wrong 
-
Choose
 Handheld Mode or
  Fixed Mode on the lower left.
Note
The scanner operates in fixed mode by default, mirroring the scanned face.
-
Fixed Mode: Place the scanner on a stable surface, ensuring the lens is aligned with the patient's face. Instruct the patient to slowly and steadily rotate their head from side to side and up to down.
-
Handheld Mode: The doctors hold the scanner to scan the patient's face across at a constant speed.
-
-
Hold the position, and the scanning will automatically start after a 3 seconds countdown. To manually start scanning, click
 or use Space.
Icon Description To start scanning. 
To delete the data and re-scan the face. -
Click
 to finish scanning and save the data.
Caution
Please wear a disposable dental retractor during scanning.
Steps
-
Adjust the distance between the face and the camera.
-
Place the scanner about 500 mm away from the face and the distance indicator shows Suitable.
-
Center you face in the recognition frame until it turns green.
-
-
Choose
Handheld Mode or Fixed Mode on the lower left.Note
The scanner operates in fixed mode by default, mirroring the scanned face.
-
Fixed Mode: Place the scanner on a stable surface, ensuring the lens is aligned with the patient's face. Instruct the patient to slowly and steadily rotate their head from side to side and up to down.
-
Handheld Mode: The doctor holds the scanner to scan the patient's face across at a constant speed.
-
-
Click
and start scanning; or hold the position, and the scanning will start after a 3 seconds countdown. You can also press space bar to start.Icon Description To start scanning. To delete the data and re-scan the face. To save the data. -
Click
to finish scanning and save the data.
Note
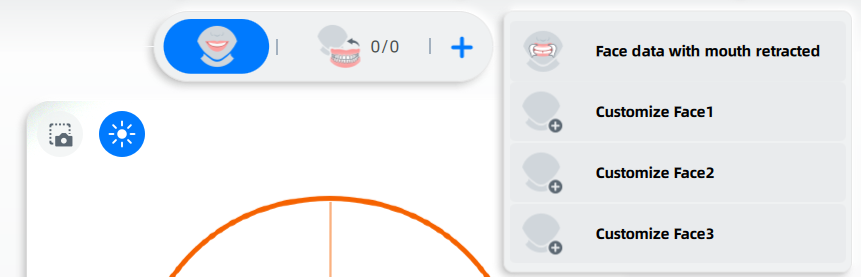
Click  on the right panel to import the intraoral data if you do not import it when creating the order.
After retracted face scanning, you can choose to align the face data with the intraoral data automatically or manually. The face data and the intraoral data can be selected from the drop-down list.
Automatic alignment
Click  to align the data automatically.
Manual alignment
-
Click
 to align the data manually.
 -
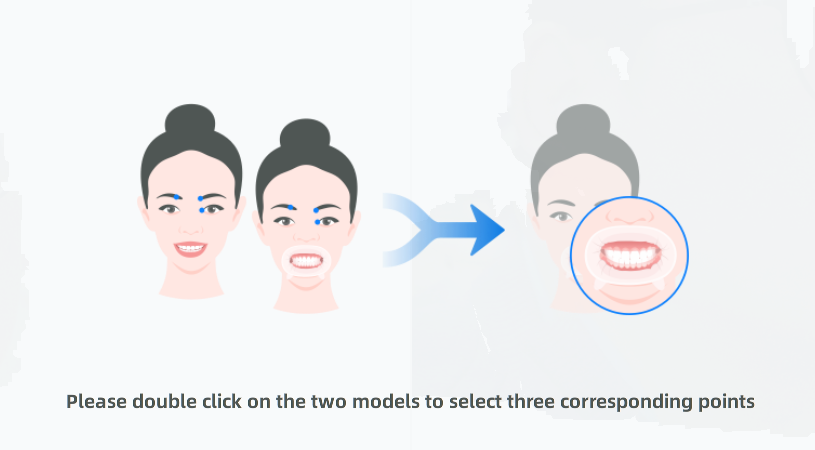
Double-click to add 3 corresponding markers on the teeth in both the left and right windows.
Caution
These markers should be placed in the interproximal spaces and should not lie on a single straight line.

-
Click
 to align the data.
Icon Name Description 
Delete To delete all markers. Manual Align To quit manual alignment.
You can align the data automatically or manually.
Automatic alignment
Click to align the data automatically.
Manual alignment
-
Click
and align the data manually. -
Double-click to add 3 corresponding markers on the models' face in both the left and right windows.
Caution
These markers should be in facial features.
-
Click
to align the data.
After the alignment is complete, you can view the effect through the heat map, or reset the alignment.
| Icon | Name | Description |
|---|---|---|
 |
Heat Map |
|
|
Reset Align | To delete the aligned model and align the data manually. |
After scanning, click Go to Pre-design to edit the scanned data.
You can also send the order to Dental Cloud. For more details, please see Data Processing.