Preview & Edit
Preview
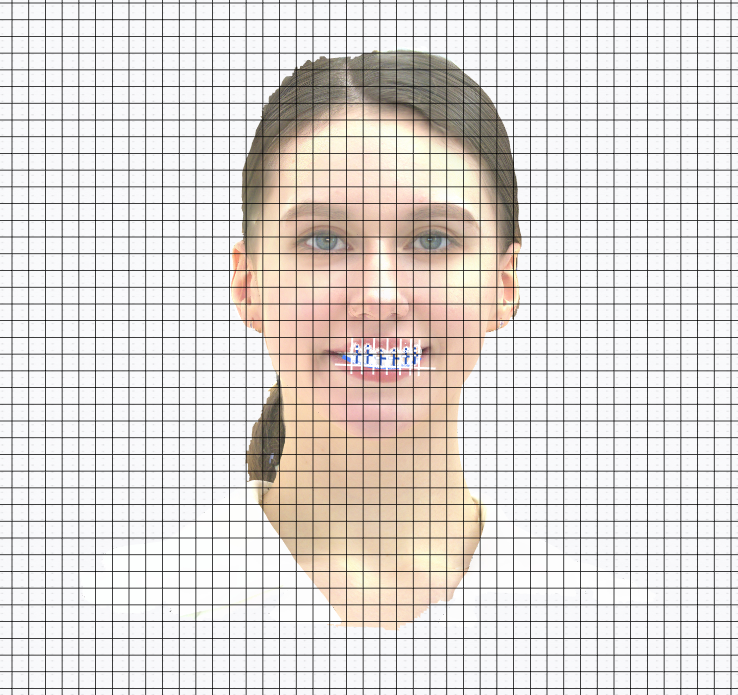
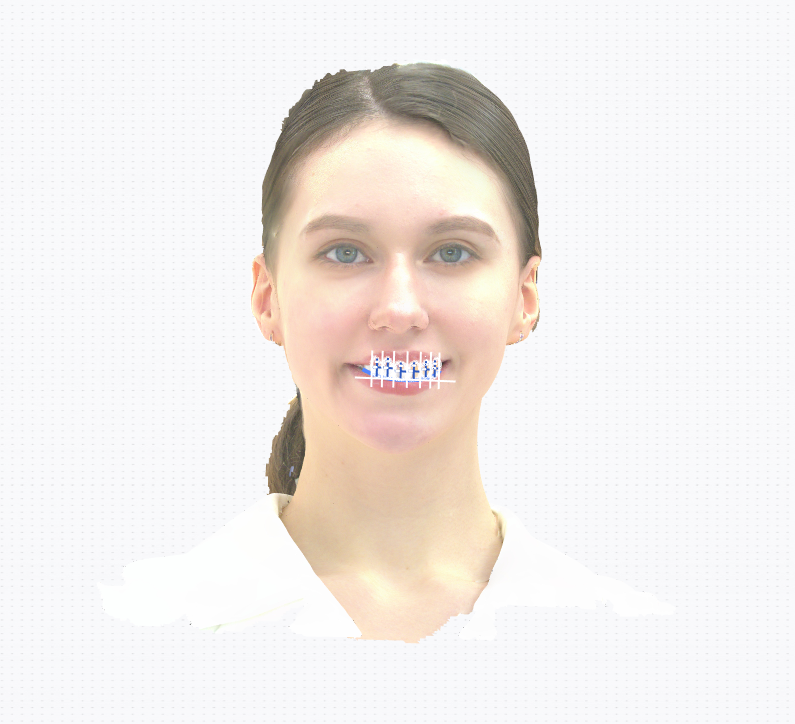
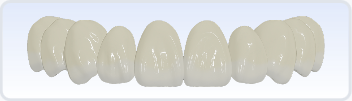
After confirming the benchmarks, the software will automatically generate a smile design. You can then use the slider to compare pre- and post-simulation states. The model list allows you to control the visibility of textures, facial features, intraoral scans, and DSD data, while preset views are available for quick assessment. With the interactive model, you can explore the simulated results from any perspective.

Model List
- Click
 on the right side of
  Texture to hide the texture for all data.
 - Click
 to hide the model. Click on
  to show the model.
 - Drag the slider
 to adjust the opacity of the model, ranging from 10 to 100.
 - Click the corresponding icons below to quickly switch to different views:
 : Front View
 : Left View
 : Right View
 : Tooth View
Edit
The automatically generated smile design may not meet the requirements and may need further editing to align with the patient's actual conditions and preferences.

Model List & Reference Lines and Benchmarks
Model List
Refer to the Model List in the Preview section.
Reference Lines and Benchmarks
Reference lines include ![]() scale,
scale, ![]() tooth contour, and
tooth contour, and ![]() smile line.
smile line.
Benchmarks include ![]() mid-sagittal plane,
mid-sagittal plane, ![]() Frankfurt plane,
Frankfurt plane, ![]() ala-tragus plane,
ala-tragus plane, ![]() occlusal plane, and
occlusal plane, and ![]() interpupillary line.
interpupillary line.
Note
- To adjust the DSD model on the oral scan model outside the three views, you must first hide the tooth contour in the reference line list.
- Click
 next to Benchmarks to re-confirm the benchmarks.
Visualization Tools
The visualization tools include Grid and Three Views; the default view is Three Views.
Grid
When switched to Grid, a grid will be added to the model background.
Col
Show Grid
Col
Hide Grid
Three Views
The oral scan model is displayed from top to bottom in the following order: ![]() Front View,
Front View, ![]() Jaw Plane,
Jaw Plane, ![]() Side View (default is
Side View (default is ![]() Left View). Click the icon to reset the view.
Left View). Click the icon to reset the view.
All three views support standard navigation (rotate, zoom, pan) and allow for both posture and shape adjustments to the DSD model.
Design Adjustment
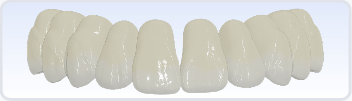
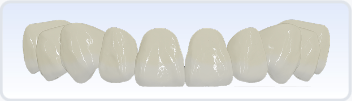
There are 3 types of teeth to choose from:
-
Rounded square
-
Tapered
-
Oval
Note
After switching tooth types, changes to posture adjustment and color adjustment will be retained.
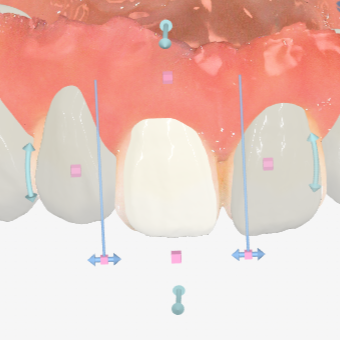
Posture adjustment is performed using transform controls to modify the DSD model's posture, with two available modes: Free Mode and Chain Mode.
![]() Free Mode
Free Mode
You can select either a single DSD model or multiple models by clicking. When a single DSD model is selected, you can perform translation, rotation, and scaling operations. When multiple DSD models are selected, only translation and rotation operations can be performed.
Note
Mirror is enabled by default. If you adjust the posture of the DSD model on one side of the median sagittal plane, the operation will synchronize to the DSD model on the other side. This does not apply when multiple selected DSD models are distributed on both sides of the mid-sagittal plane.
Col
Col
Translation:
When the cursor hovers over the DSD model and changes to ![]() , hold and drag to translate the DSD model.
, hold and drag to translate the DSD model.
Rotation:
![]() : Hold and drag to rotate the DSD model in the direction of the arrow.
: Hold and drag to rotate the DSD model in the direction of the arrow.
Scaling:
-
Axial Scaling:
 : Hold and drag to enlarge/shrink the area of the DSD model from its center in the direction of the drag.
 -
Vertex Scaling:
 : Hold and drag to adjust the DSD model in the direction of the arrow. The deformation from the tooth tip to the neck will occur in the direction of the arrow, with the degree of deformation gradually decreasing from the tip to the neck.
![]() Chain Mode
Chain Mode
Note
Compared to Free Mode, Chain Mode only allows for moving adjustments of the DSD model. During the movement, the DSD model will adaptively scale.
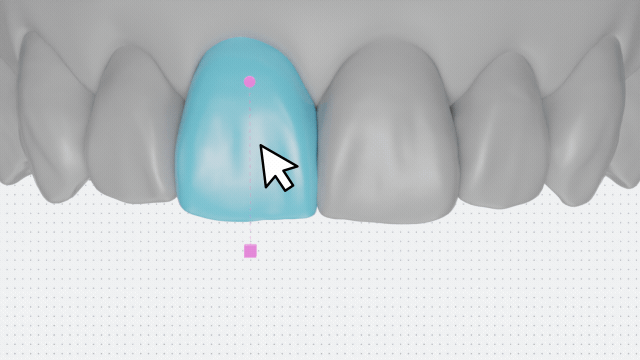
In Chain Mode, the software will generate an arch line along the selected tooth.
Dragging one DSD model on the arch line will cause the other DSD models to change accordingly based on the arch shape.
Each DSD model has a corresponding point. When the point is green, it indicates that the DSD model is in an unlocked state; when it is red, it indicates a locked state.
When the DSD model is in a locked state, its posture will not be affected by adjustments made to other DSD models on the arch line.

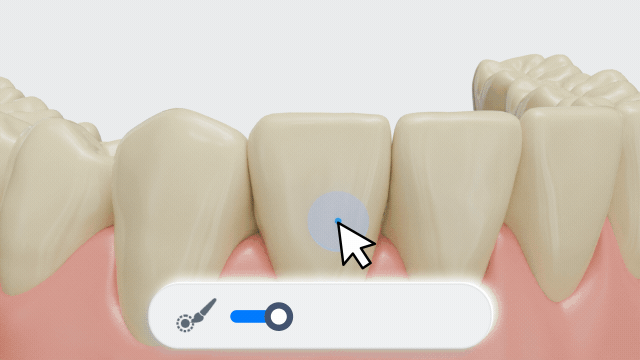
Shape adjustment uses brush tools to modify the shape of the DSD model, supporting Carve and Free Forming.
![]() Carve
Carve
Use the brush tool to increase the thickness of the DSD model, decrease the thickness, or smooth the surface of the DSD model.
-
Drag the slider or use shortcut keys to adjust the brush strength and size, ensuring the brush size covers the area to be modified.
- Hold Ctrl+scroll wheel to adjust brush strength;
- Hold Shift+scroll wheel to adjust brush size.
-
Hold and drag the cursor to carve the model.
![]() Free Forming
Free Forming
Use the brush tool to deform the DSD model, allowing for more freedom in adjustments.
- Drag the slider or hold Shift+scroll wheel to adjust the brush size, ensuring the brush size covers the area to be modified.
- Hold and drag the cursor to deform the model.
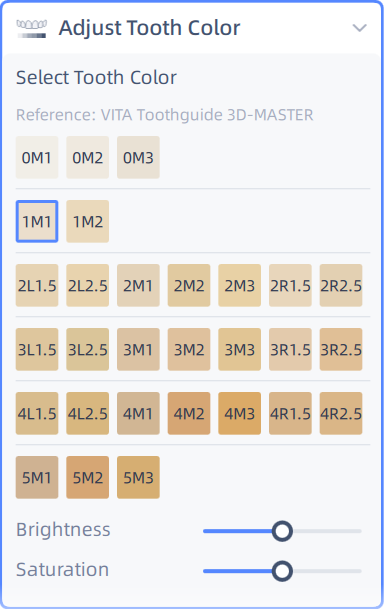
You can select the color of the DSD model or drag the slider to fine-tune the brightness and saturation of the selected color.
Other Operations
 Reset: Click to reset the model to its initial state.
 Undo: Click or press Ctrl+Z to undo the last operation on the model. Continuous clicks can undo multiple operations.
 Redo: Click or press Ctrl+Y to redo the last operation on the model. Continuous clicks can redo multiple operations.
Design Completion
After completing the design, you can click on Diagnostic Wax-up Generation > Go to Print in the lower right corner to call the printer to print the wax-up.
Once generated, the model list will add a new ![]() diagnostic wax-up and hide other model. To regenerate the wax-up, you need to hide the diagnostic wax-up in the model list and show the DSD model for further design.
diagnostic wax-up and hide other model. To regenerate the wax-up, you need to hide the diagnostic wax-up in the model list and show the DSD model for further design.
Note
If you perform the printing operation, you need to install the AccuWare software and connect it to the printer.