DICOM Alignment
By aligning intraoral scan data with DICOM data, the patient's facial condition can be simulated, enabling dental clinics or hospitals to achieve a fully digital workflow, thereby improving diagnostic efficiency and quality.
Importing DICOM Data
DICOM data can be imported from the order creation interface. Alternatively, after completing the scan, navigate to Pre-Design > DICOM Alignment, then click ![]() to import DICOM data.
to import DICOM data.
Data Alignment
Steps
-
Select an alignment mode: Teeth Alignment or Radiographic Point Alignment.
Note
- DICOM data of edentulous patients can only be aligned using the radiographic point.
- If radiographic points are used for alignment, manual alignment is required.
- If use teeth to align, it will be aligned automatically by default.
-
Align DICOM data with the intraoral scan data, either automatically or manually.
Click
 to align automatically.
-
Click
 to enter manual alignment mode.
 -
Adjust the slider to make the teeth in the DICOM data clearly visible.
-
Select three pairs of corresponding points on both models by clicking each point in sequence.
-
Click
 to complete the manual alignment.
-
-
After alignment, click
 to view the alignment results using the heat map.
Col
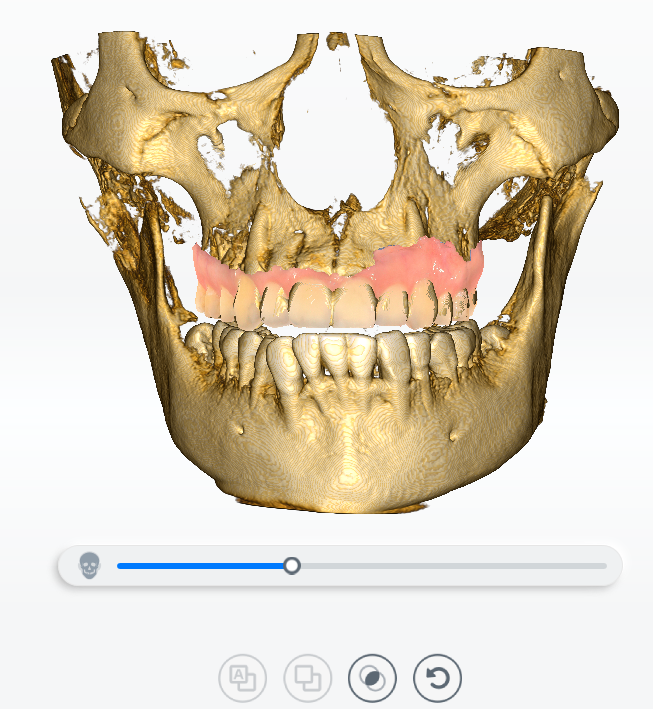
Alignment ResultCol
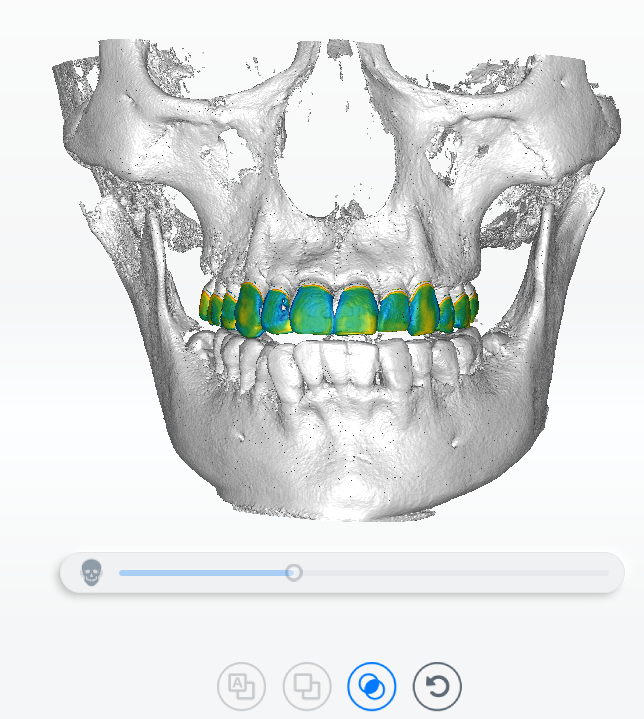
Heat Map Effect -
When hovering over the heat map, a label displaying the value will appear. Click to add a label. Click
 or double-click the label to delete it.
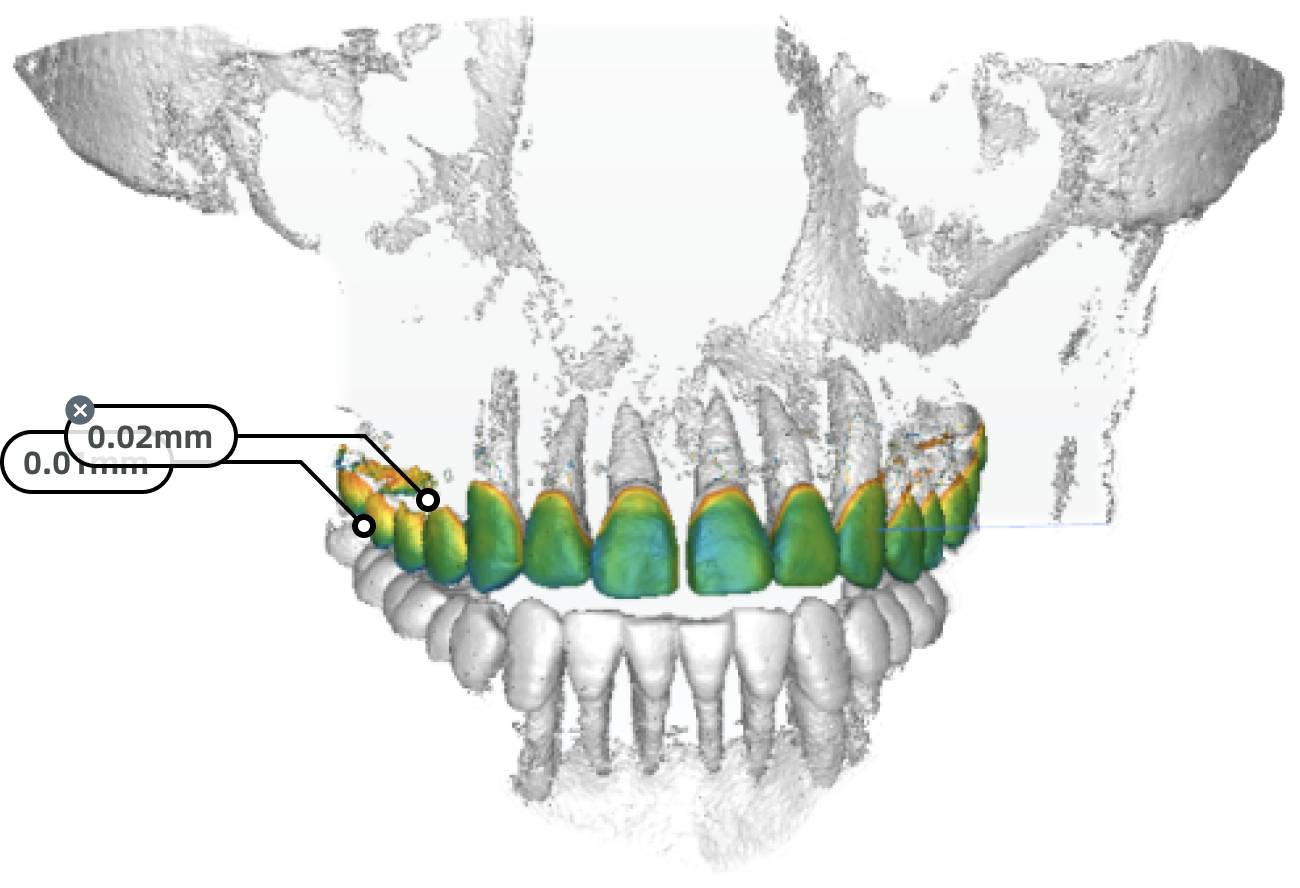
-
Once both upper and lower jaws are aligned, click
to display the final alignment results.