Measurement
The measurement function can provide accurate facial measurement for facial esthetics treament and analyzes different facial features and the proportions of the face.
Click ![]() to start measure the Golden Ratio. For detailed measurement standards, see Appendix.
to start measure the Golden Ratio. For detailed measurement standards, see Appendix.
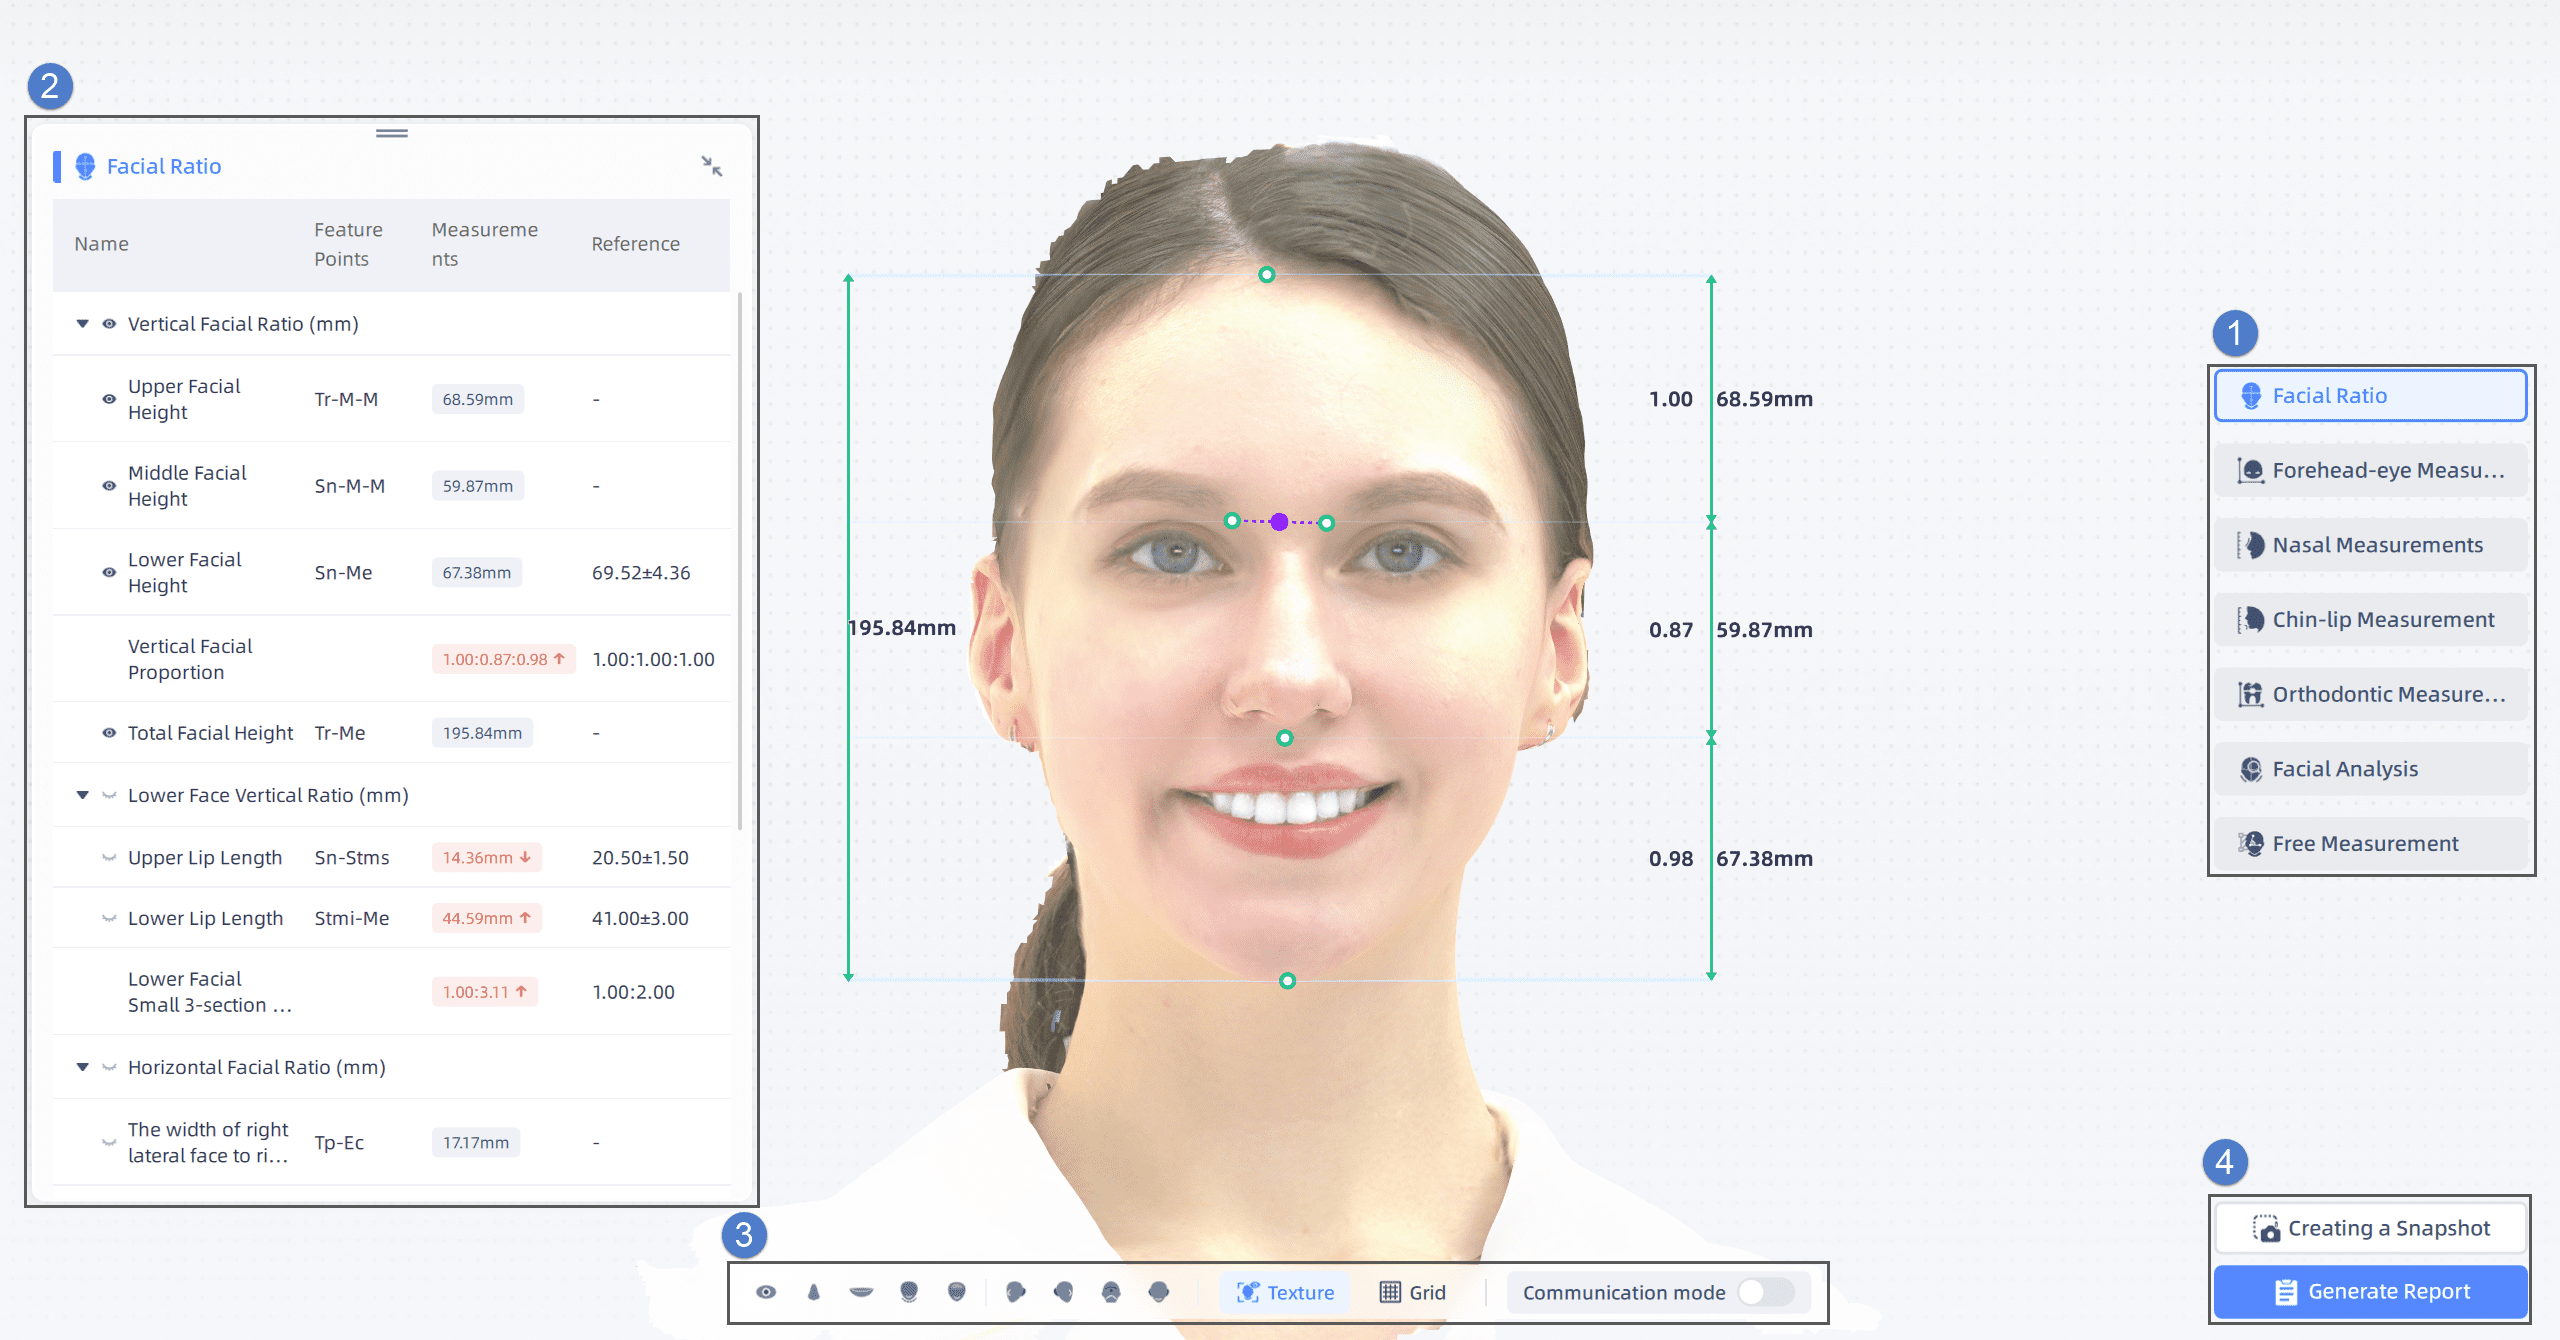
① Measurement Tool
| Icon | Name | |
|---|---|---|
| Golden Ratio | Golden ratio here refers to the perfectly proportioned facial model which normally divides the length of the face into three parts, and the width of the face into five parts. | |
| Orthodontic Measurements | To check the measurement points of the orthodontic measurements. The measurements can assist the orthodontic treatment by a comparison between the measurements and reference of different measurement points. | |
| Forehead-eye Measurements | To measure the eye area. You can compare the measurements with the reference values. | |
| Chin-lip Measurements | To measure the mouth area. You can compare the measurements with the reference values. | |
| Nasal Measurements | To measure the nasal area. You can compare the measurements with the reference values. | |
| Facial Analysis | To analysize the proportion of face and symmetry. | |
| Free Measurement | To measure the distance, angle and area on the face. |
Note
You can adjust feature points and get the measurement result in real time when using the measurement tool except for free measurement.
Free measurement has the following three types of measurement:
- Distance measurement, including straight-line distance measurement and surface distance measurement
- Angle measurement, including three-point angle measurement and line-to-line angle measurement
- Area measurement
Distance Measurement
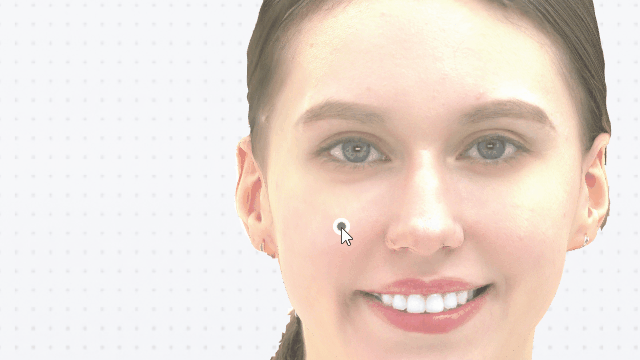
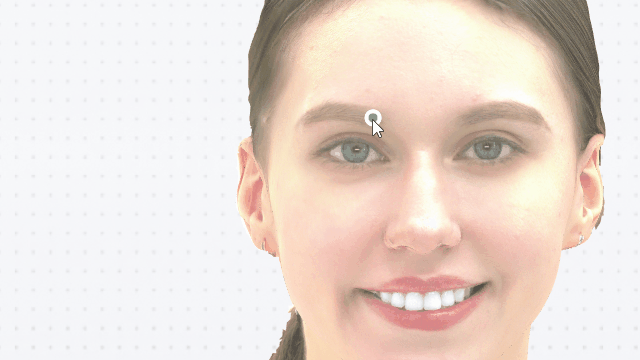
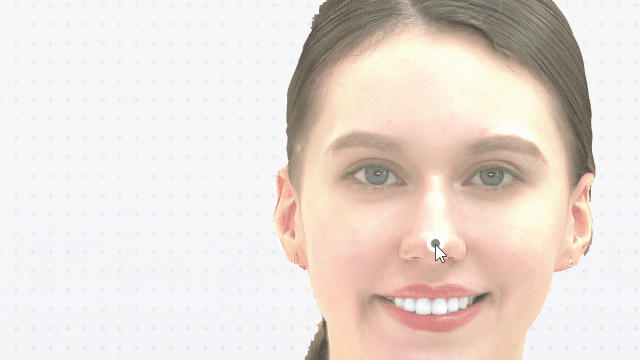
Click two different positions on the model to add measurement points. The two points are automatically connected into a straight line and displayed length.
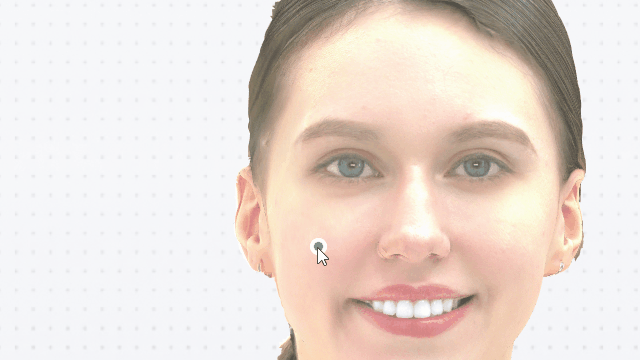
Click on two different positions on the model to add measurement points. The two points will be automatically connected by a curve along the shortest distance on the surface of the model, and the length will be displayed.
Angle Measurement
- Click on three different positions on the model to add measurement points.
- The software calculates and displays the angle formed by the line from the first point through the second point to the third point.
- Click on four different positions on the model to add measurement points, with each pair of points automatically connected to form a line.
- The software will extend the two line to calculate the angle between them and display the angle formed from the first point to the fourth point.
Area Measurement
Click at least three different positions on the model to add measurement points. When the last point is added, click the first point/double-click the new point to form a closed space and display the area.

Click one measurement again to exit, then you can move, add and delete the measurement points:
| Operation | Description | Note |
|---|---|---|
| Move Point | Click on the measurement point and hold while moving the cursor | / |
| Operation | Description | Note |
|---|---|---|
| Move Point | Click on the measurement point and hold while moving the cursor | / |
| Add Point | Move the cursor to the edge of the area and click on the line | / |
| Delete Point | Right-double-click on the measurement point | Cannot delete if fewer than 3 points are present |
② Measurement Form
The form is used to display and compare the various measurement data on the face, helping users understand the proportion of their face.
Each part contains specific measurement items and its corresponding feature points and measurement values, which is compared with the reference range. If the measurement value is highlighted, it means that the value is not within the reference range.
Note
- Select the measurement item of the form and the corresponding auxiliary line will highlight and display the corresponding feature point names and measurement value;
- If the measurement value is within the normal range, the auxiliary line will be displayed in blue; Otherwise, it will be displayed in red.
| Icon | Name | |
|---|---|---|
| / | Show/hide | |
| ▶/▼ | / | Expand/Fold |
| Minimize | Minimize the table as |
|
| Move | Click/Tap and hold to drag the table |
③ Toolbar
Facial Area
| Icon | Name | Description |
|---|---|---|
| Eyes | Align the model based on the benchmark result and focus on the eye area. | |
| Nose | Align the model based on the benchmark result and focus on the nose area. | |
| Lips | Align the model based on the benchmark result and focus on the lip area. | |
| Chin | Align the model based on the benchmark result and focus on the chin area. | |
| Forehead | Align the model based on the benchmark result and focus on the forehead area. |
Four Views
| Icon | Name | Description |
|---|---|---|
| Right View | Display the right view of the model based on the benchmark result. | |
| Left View | Display the left view of the model based on the benchmark result. | |
| Bottom View | Display the bottom view of the model based on the benchmark result. | |
| Front View | Display the front view of the model based on the benchmark result. |
Functions
| Icon | Description |
|---|---|
Texture |
Show/Hide textures, textures are shown by default. |
Grid |
Show/Hide the grid, the grid is hidden by default. |
| Communication Mode | When enabled, there are only models, measurment form and toolbar on the interface |
③ Report
See Report.