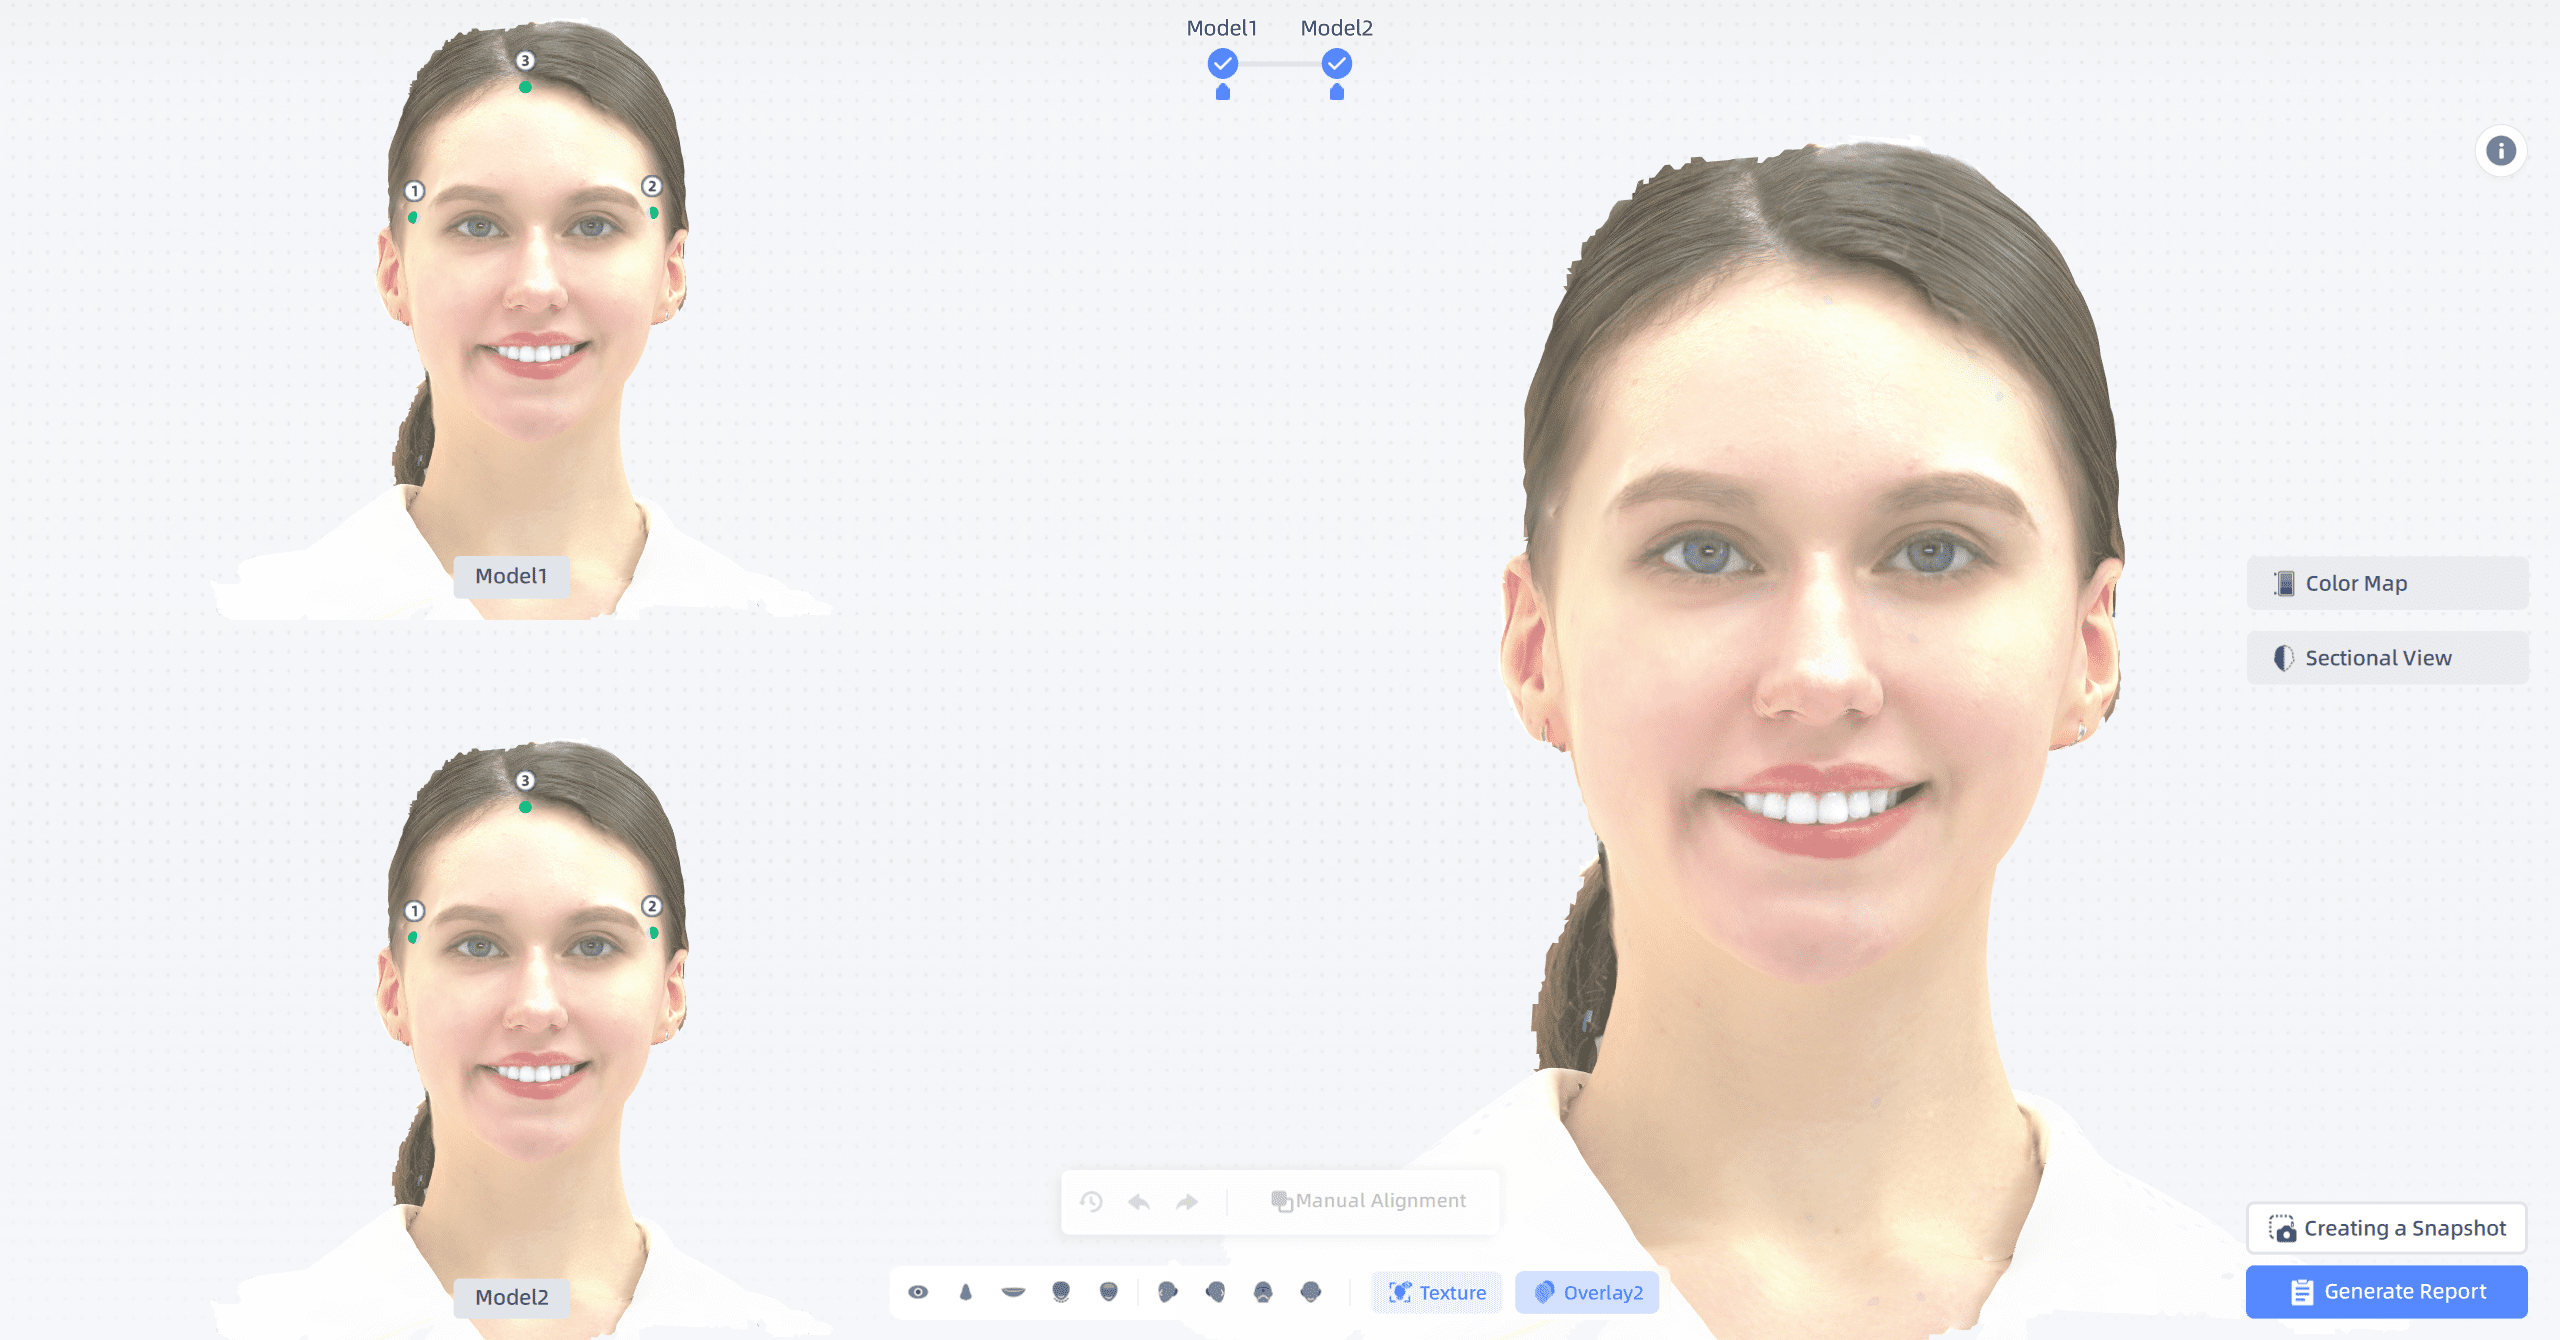
Model Comparison
The comparison function can automatically align two models based on their feature points to compare the face at different stages and display the differences in facial changes. It is mainly used to check orthodontic and plastic surgery results.
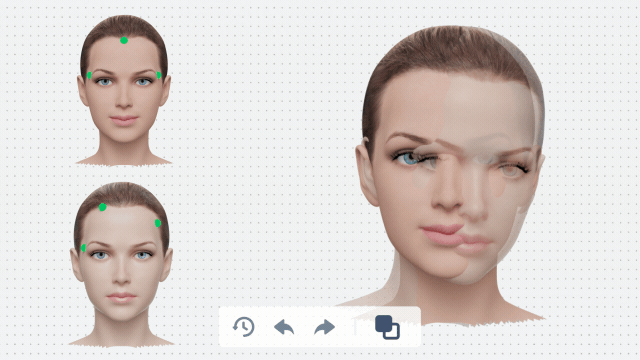
Manual Alignment
Note
The two sets of models will automatically aligned by default. You can adjust the result through manully alignment.
Step:
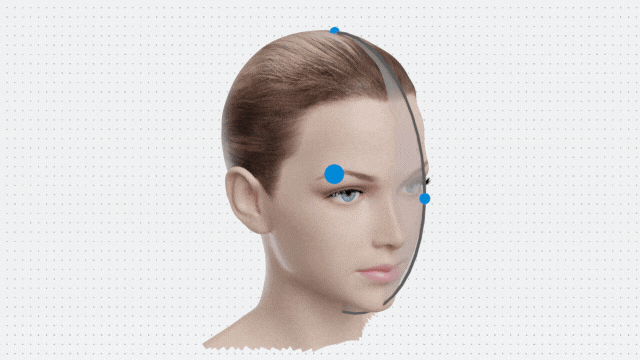
- Each model initially displays 3 feature points by default. You can click on the model to add up to 5 feature points. Click and drag the points to adjust their positions until the points on both models match exactly.
- Once the feature points are set, click the manual alignment icon
 . The overlay view will display the new alignment effect.
 - To reset to the default alignment effect, click the reset icon
 . This will also restore the feature points.
Note
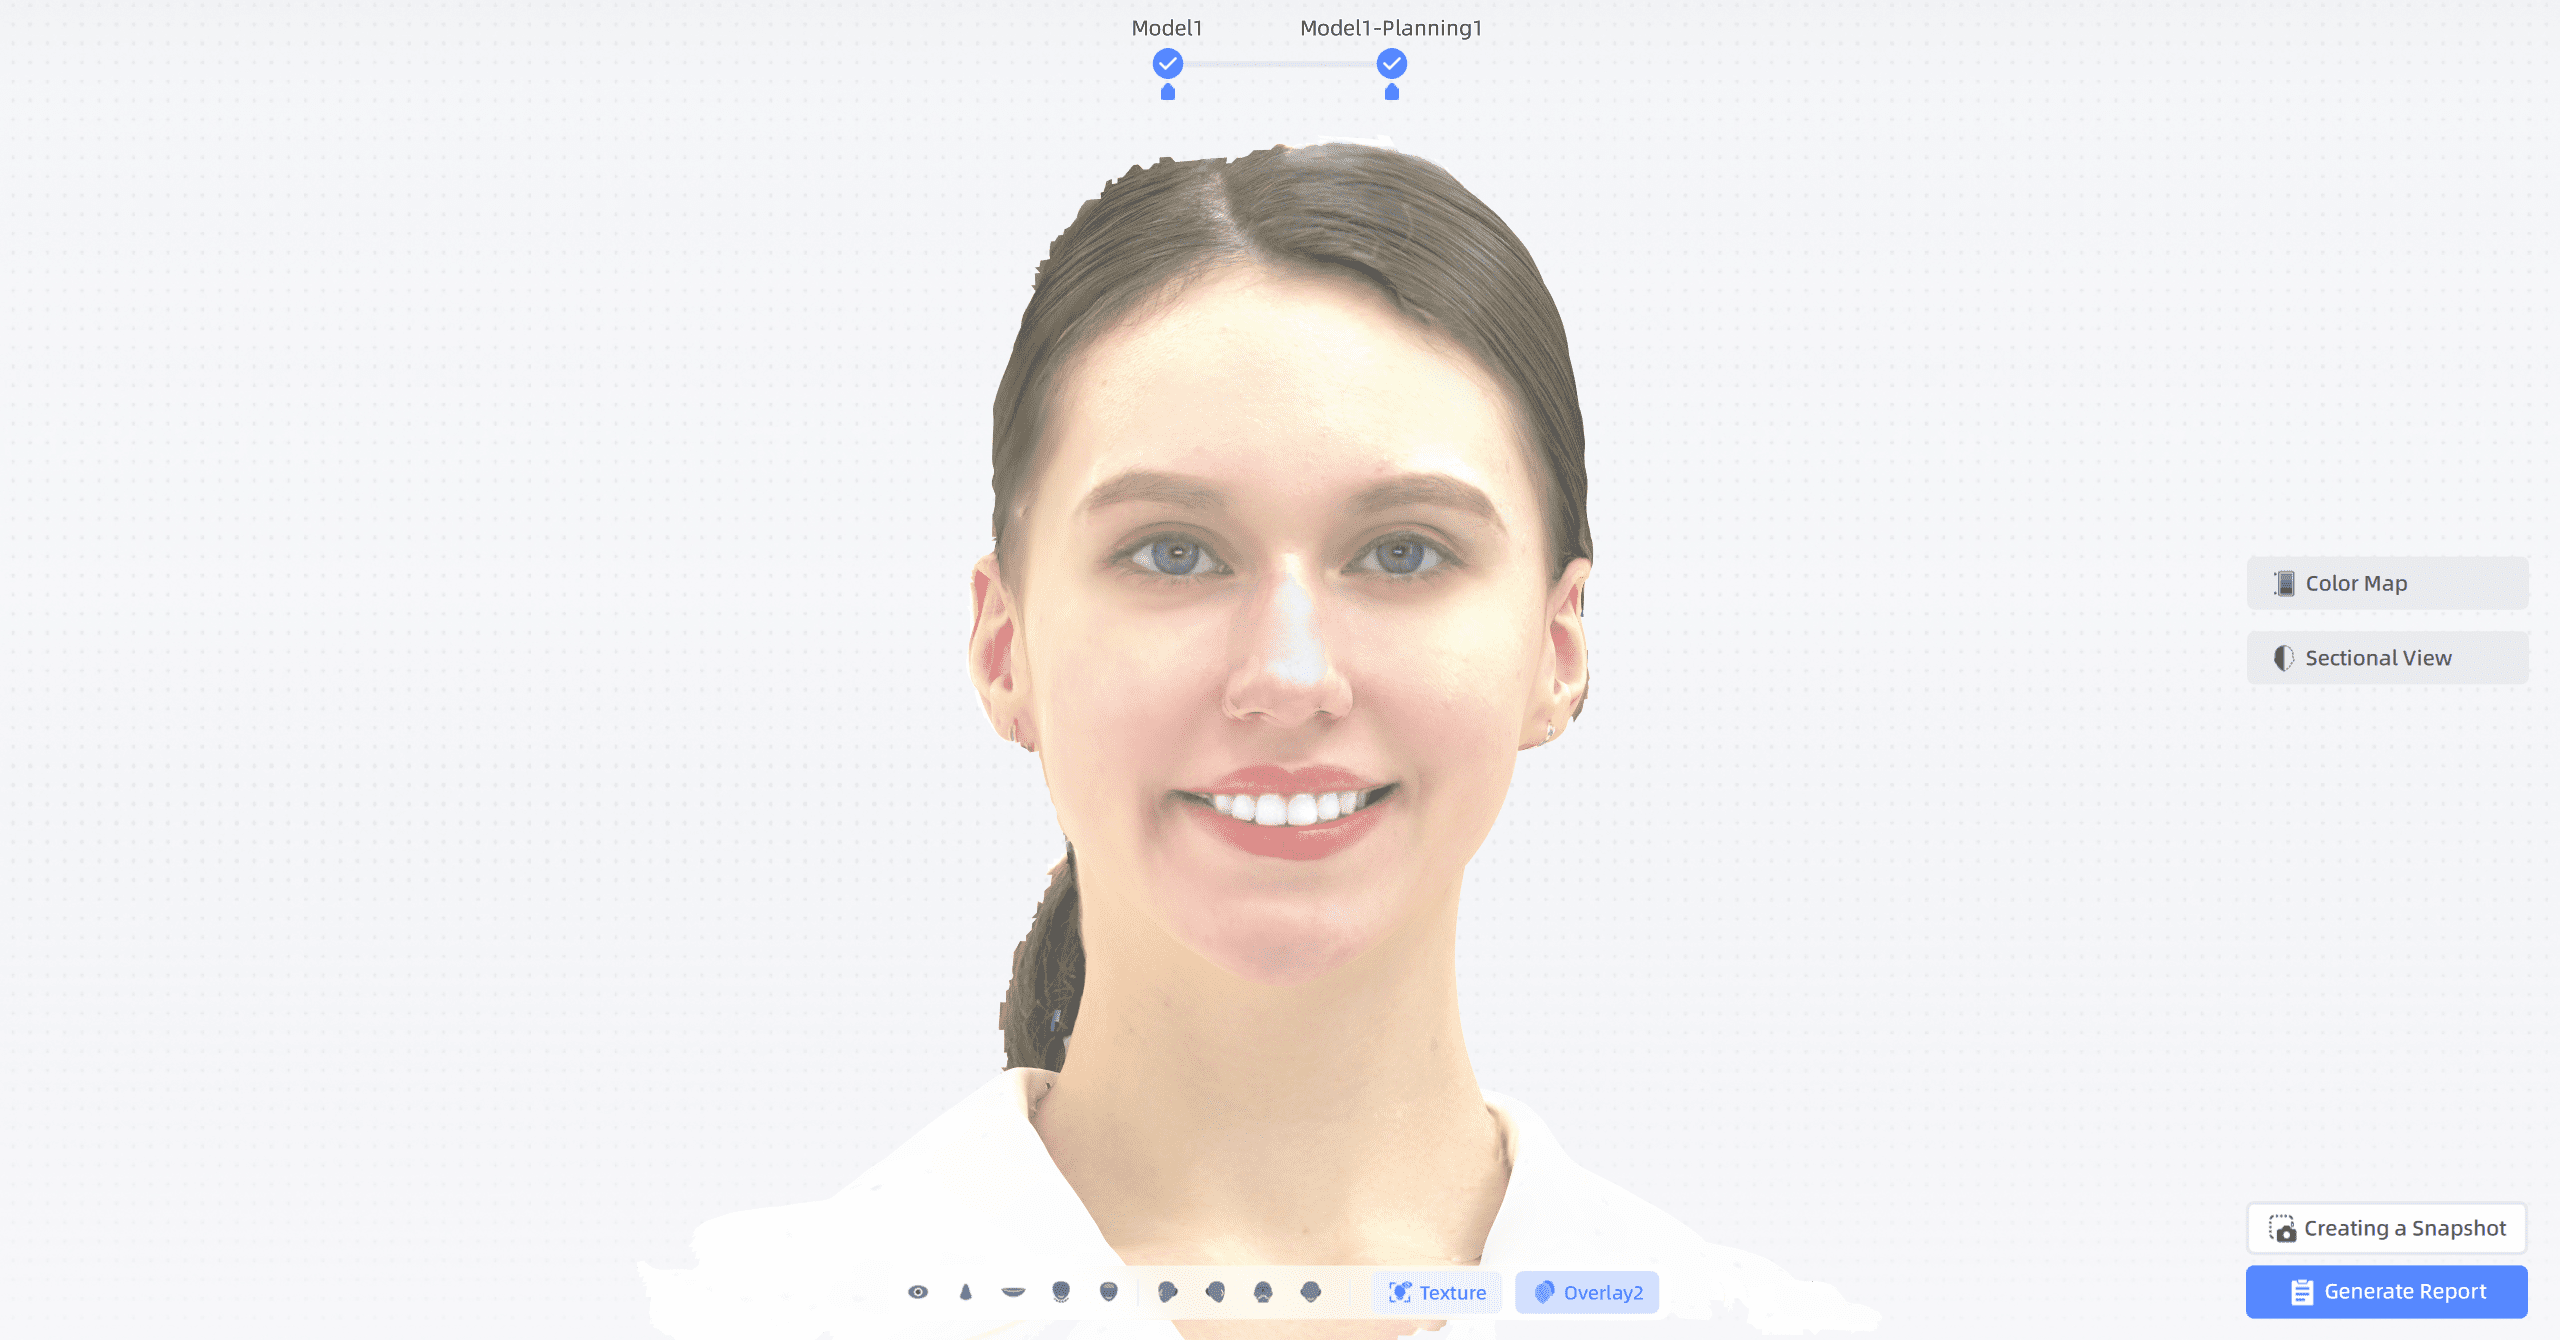
The original model is compared with the planned model, and since both use the same coordinate system, there is no need to manually align the two models.
Color Map
Step:
-
Click
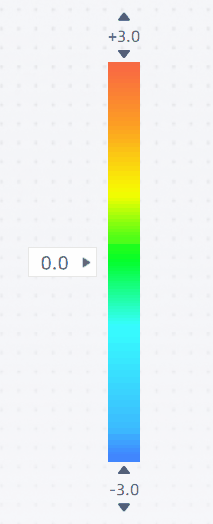
 to view the color map for teeth comparison. Drag the slider in the right bottom to set the range.
Col
Note
- Positive values are set to red, which indicate a shift toward outside; negative values are set to blue, which indicate a shift toward inside.
- The function of color map and sectional view cannot be enabled at the same time.
Col
-
Click on the model to add a label to display the change value here.

Sectional View
Steps:
-
Click
 to check the sectional view. And a sectional plane appears on the model.
 -
Click and drag the center of the plane to move to the location where requires the sectional view.
-
Click and hold the outline of the plane and move the cursor to rotate the sectionnal view.
-
Display the difference between the sectional view of two models.
You can click to select two points to measure the straight-line distance between them.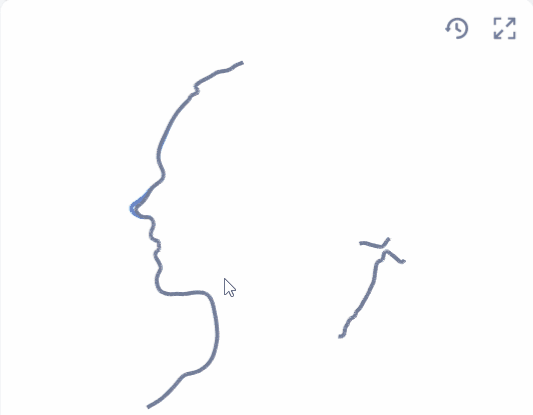
Operaion of sectional view:
- Pan: Click and drag with the middle mouse button/Swipe with three fingers
- Zoom: Scroll wheel up or down/Pinch with two fingers to zoom in or out
Note
- The darker lines are the newer scanned data, and the lighter lines are scanned data from earlier times.
- Compare the two lines to detect the change of face.
Toolbar
Facial Area
| Icon | Name | Description |
|---|---|---|
| Eyes | Align the model based on the benchmark result and focus on the eye area. | |
| Nose | Align the model based on the benchmark result and focus on the nose area. | |
| Lips | Align the model based on the benchmark result and focus on the lip area. | |
| Chin | Align the model based on the benchmark result and focus on the chin area. | |
| Forehead | Align the model based on the benchmark result and focus on the forehead area. |
Four Views
| Icon | Name | Description |
|---|---|---|
| Right View | Display the right view of the model based on the benchmark result. | |
| Left View | Display the left view of the model based on the benchmark result. | |
| Bottom View | Display the bottom view of the model based on the benchmark result. | |
| Front View | Display the front view of the model based on the benchmark result. |
Functions
| Icon | Name | Description |
|---|---|---|
| Texture | Show/Hide textures, textures are shown by default. | |
| Overlay | Show/Hide the overlay effect of the planned model and the original model. Click once to display Overlay 1, click again to display Overlay 2. |