Planning
This function allows for personalized adjustments and design of facial features. With freeform deformation, you can freely adjust the facial model and ensure symmetry on both sides of the face. The profile contour tool focuses on refining the facial profile, enhancing and improving the side contour lines of the face.
Caution
There are at most 9 sets of model data on the timeline in the planning mode, otherwise the newly added plan cannot be preserved.
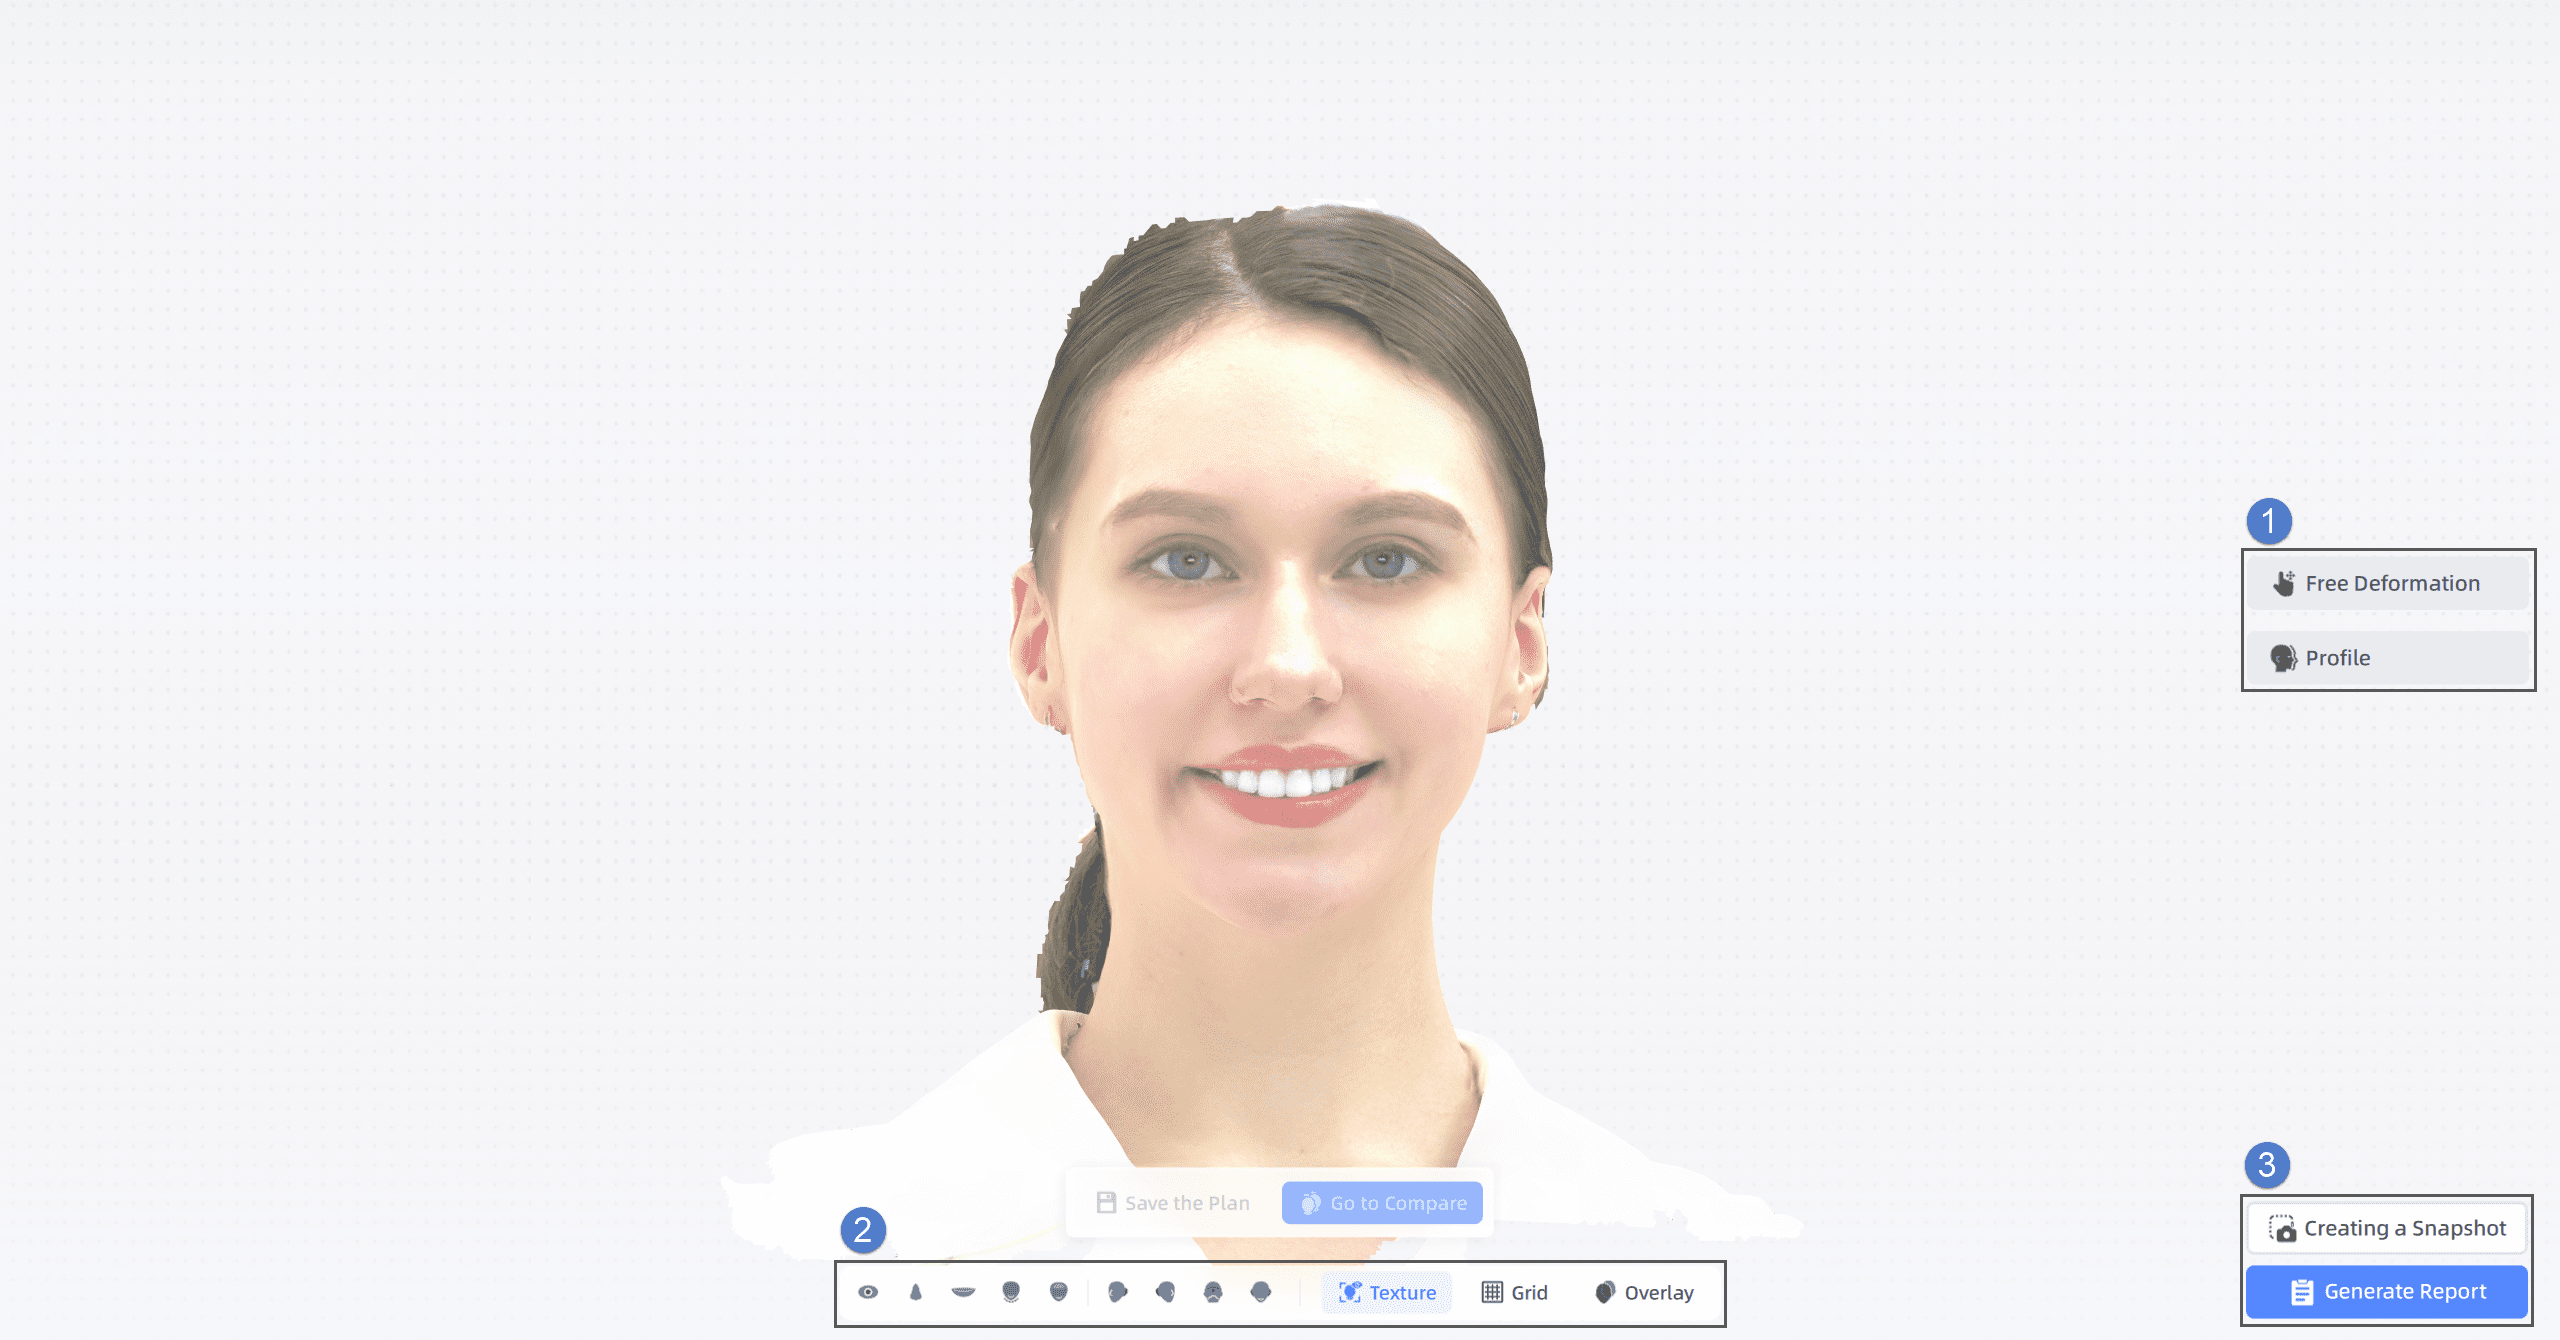
① Planning Tool
This tool supports free adjustment of facial models. You can intuitively observe the changes in face and preview the plastic effect, which can assist plastic surgery design.
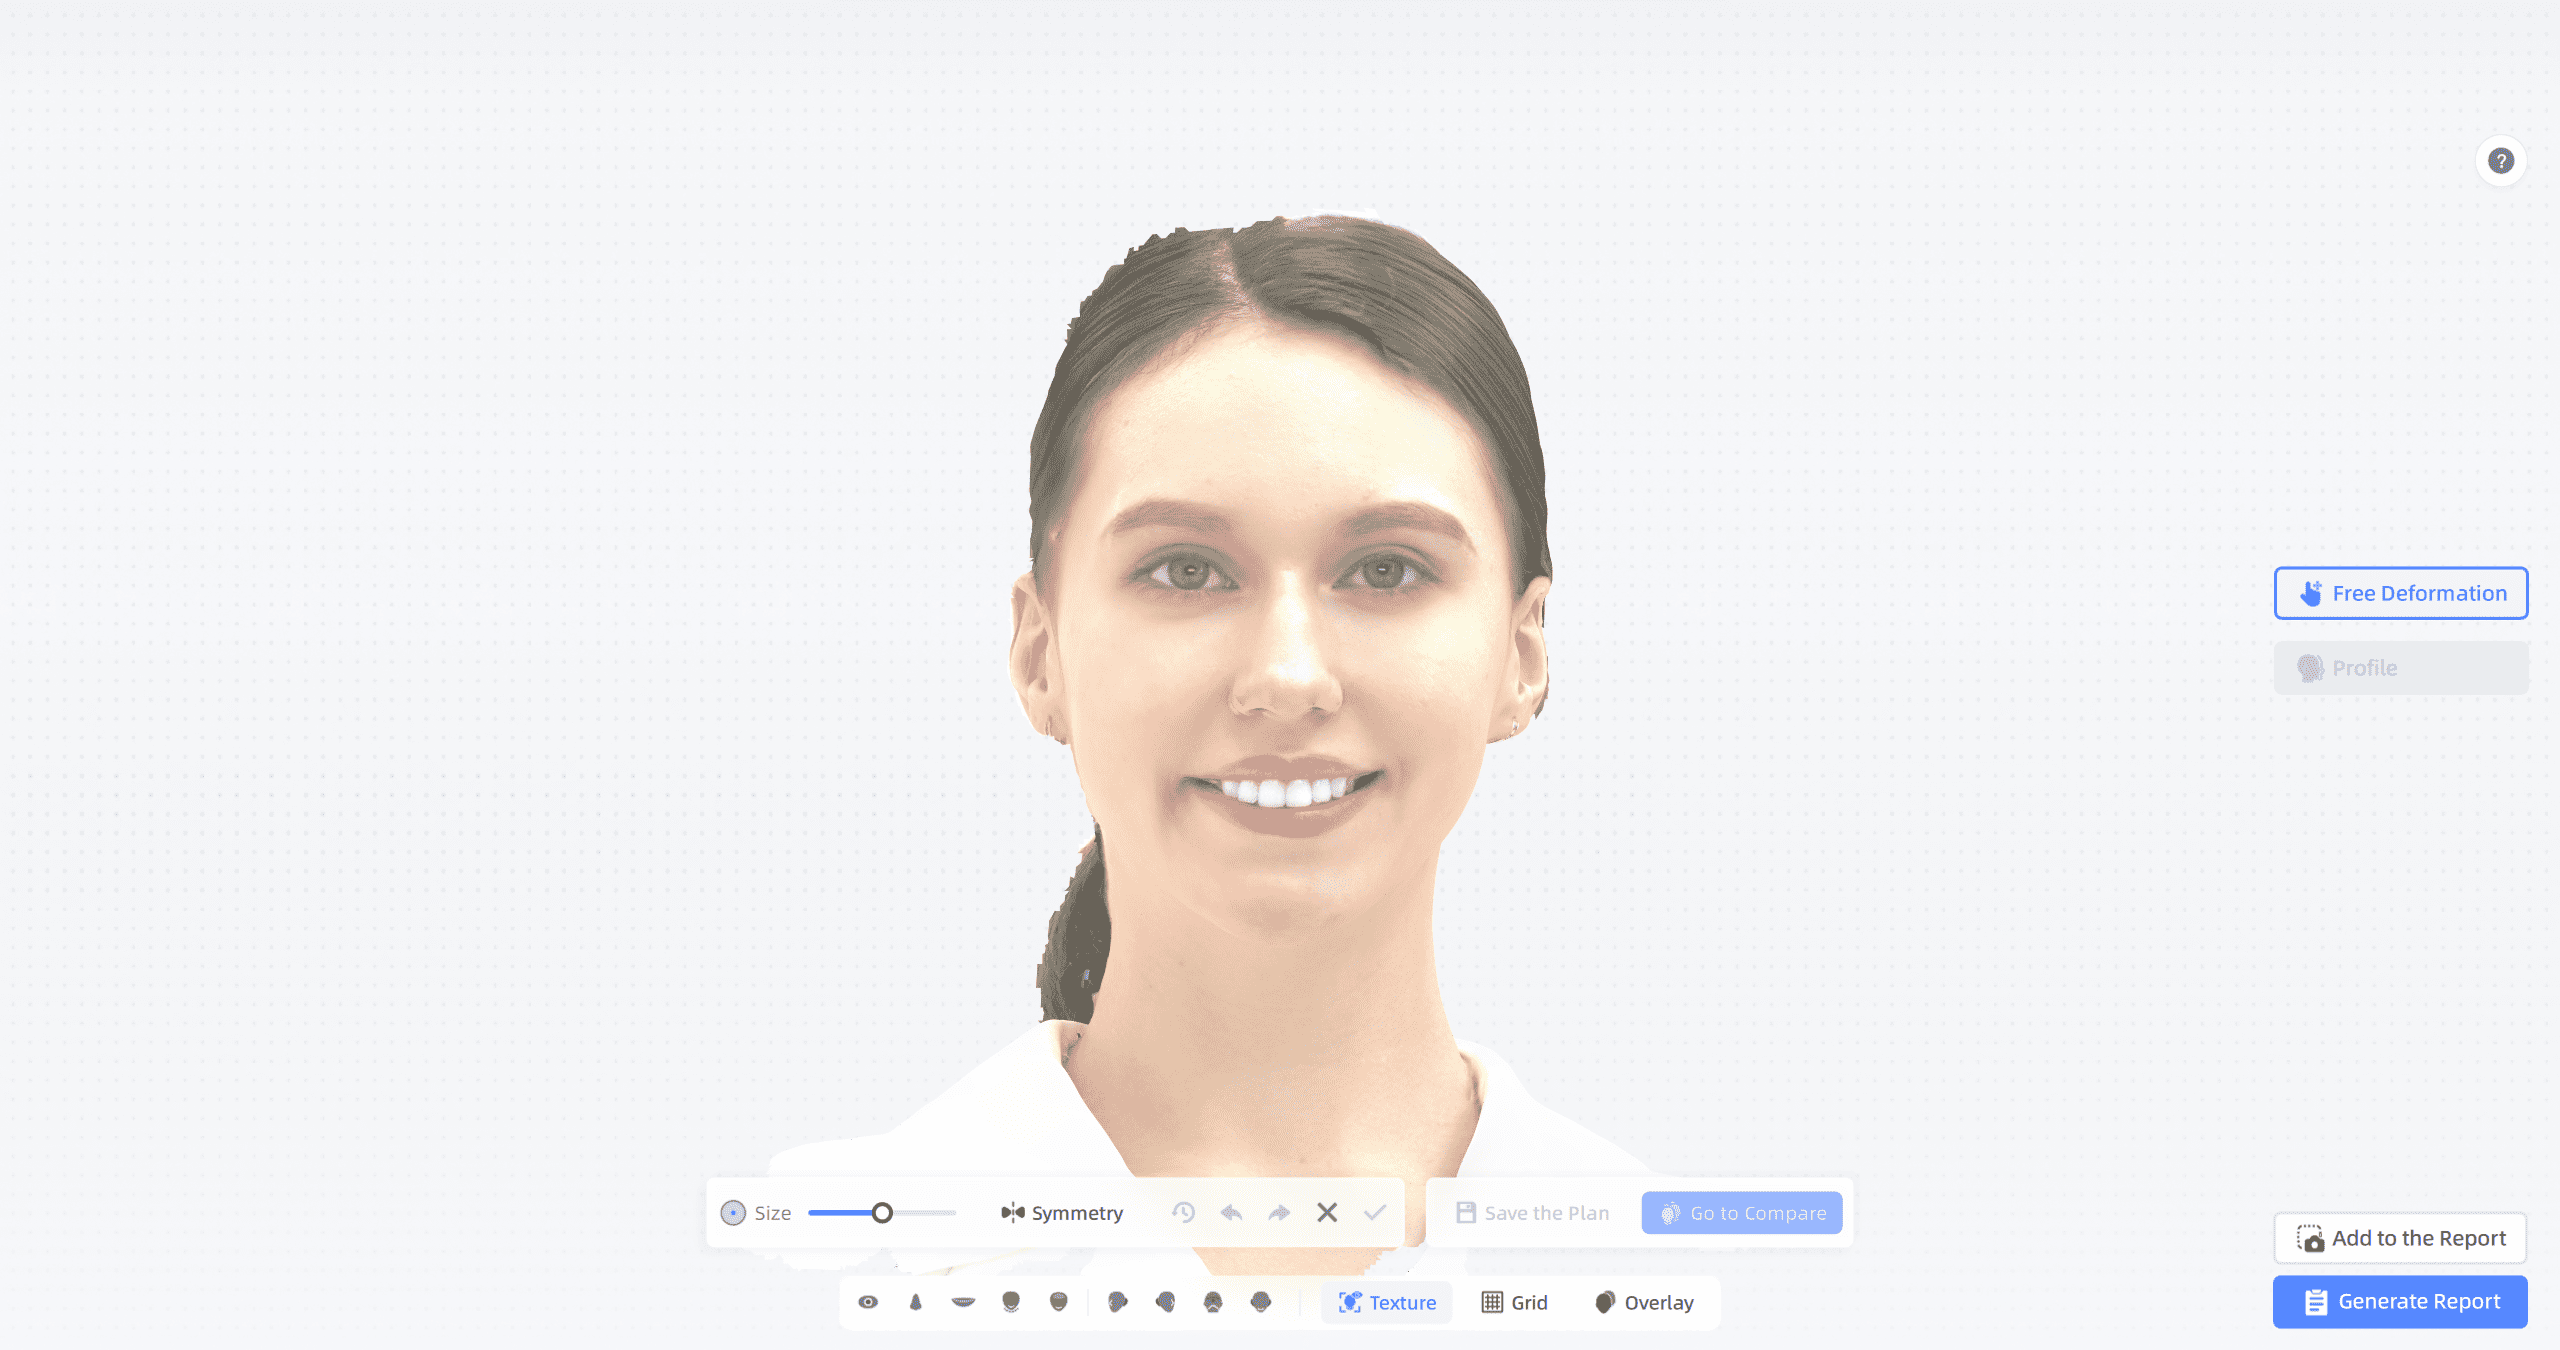
Steps:
- Adjust Deformation Strength
Use the slider to control the deformation strength. Slide to the right to increase the strength and to the left to decrease it. The greater the deformation strength, the more noticeable the changes to the 3D model. - Select Deformation Function
Click Symmetry to enable the symmetry deformation function. When enabled, any adjustments made to one side of the face will be simultaneously applied to the other side. - Real-Time Preview
- Move the cursor over the model's face.
- Click and hold to the target area to deform it.
- The preview view is synchronized in real-time with the deformation effect.
- Apply Deformation Effect
Click to apply the deformation effect.
 - Save Design Plan
Click Save the Plan. In the pop-up window, enter the Planning Name and then click Save as New Plan. The successfully saved plan will be added to the far right end of the timeline. - Model Comparison
Click Go to Compare to enter the comparison function and compare the changes to the face before and after planning.

This tool focuses on adjusting the contour lines of the side face to improve the visual effect of the side appearance.
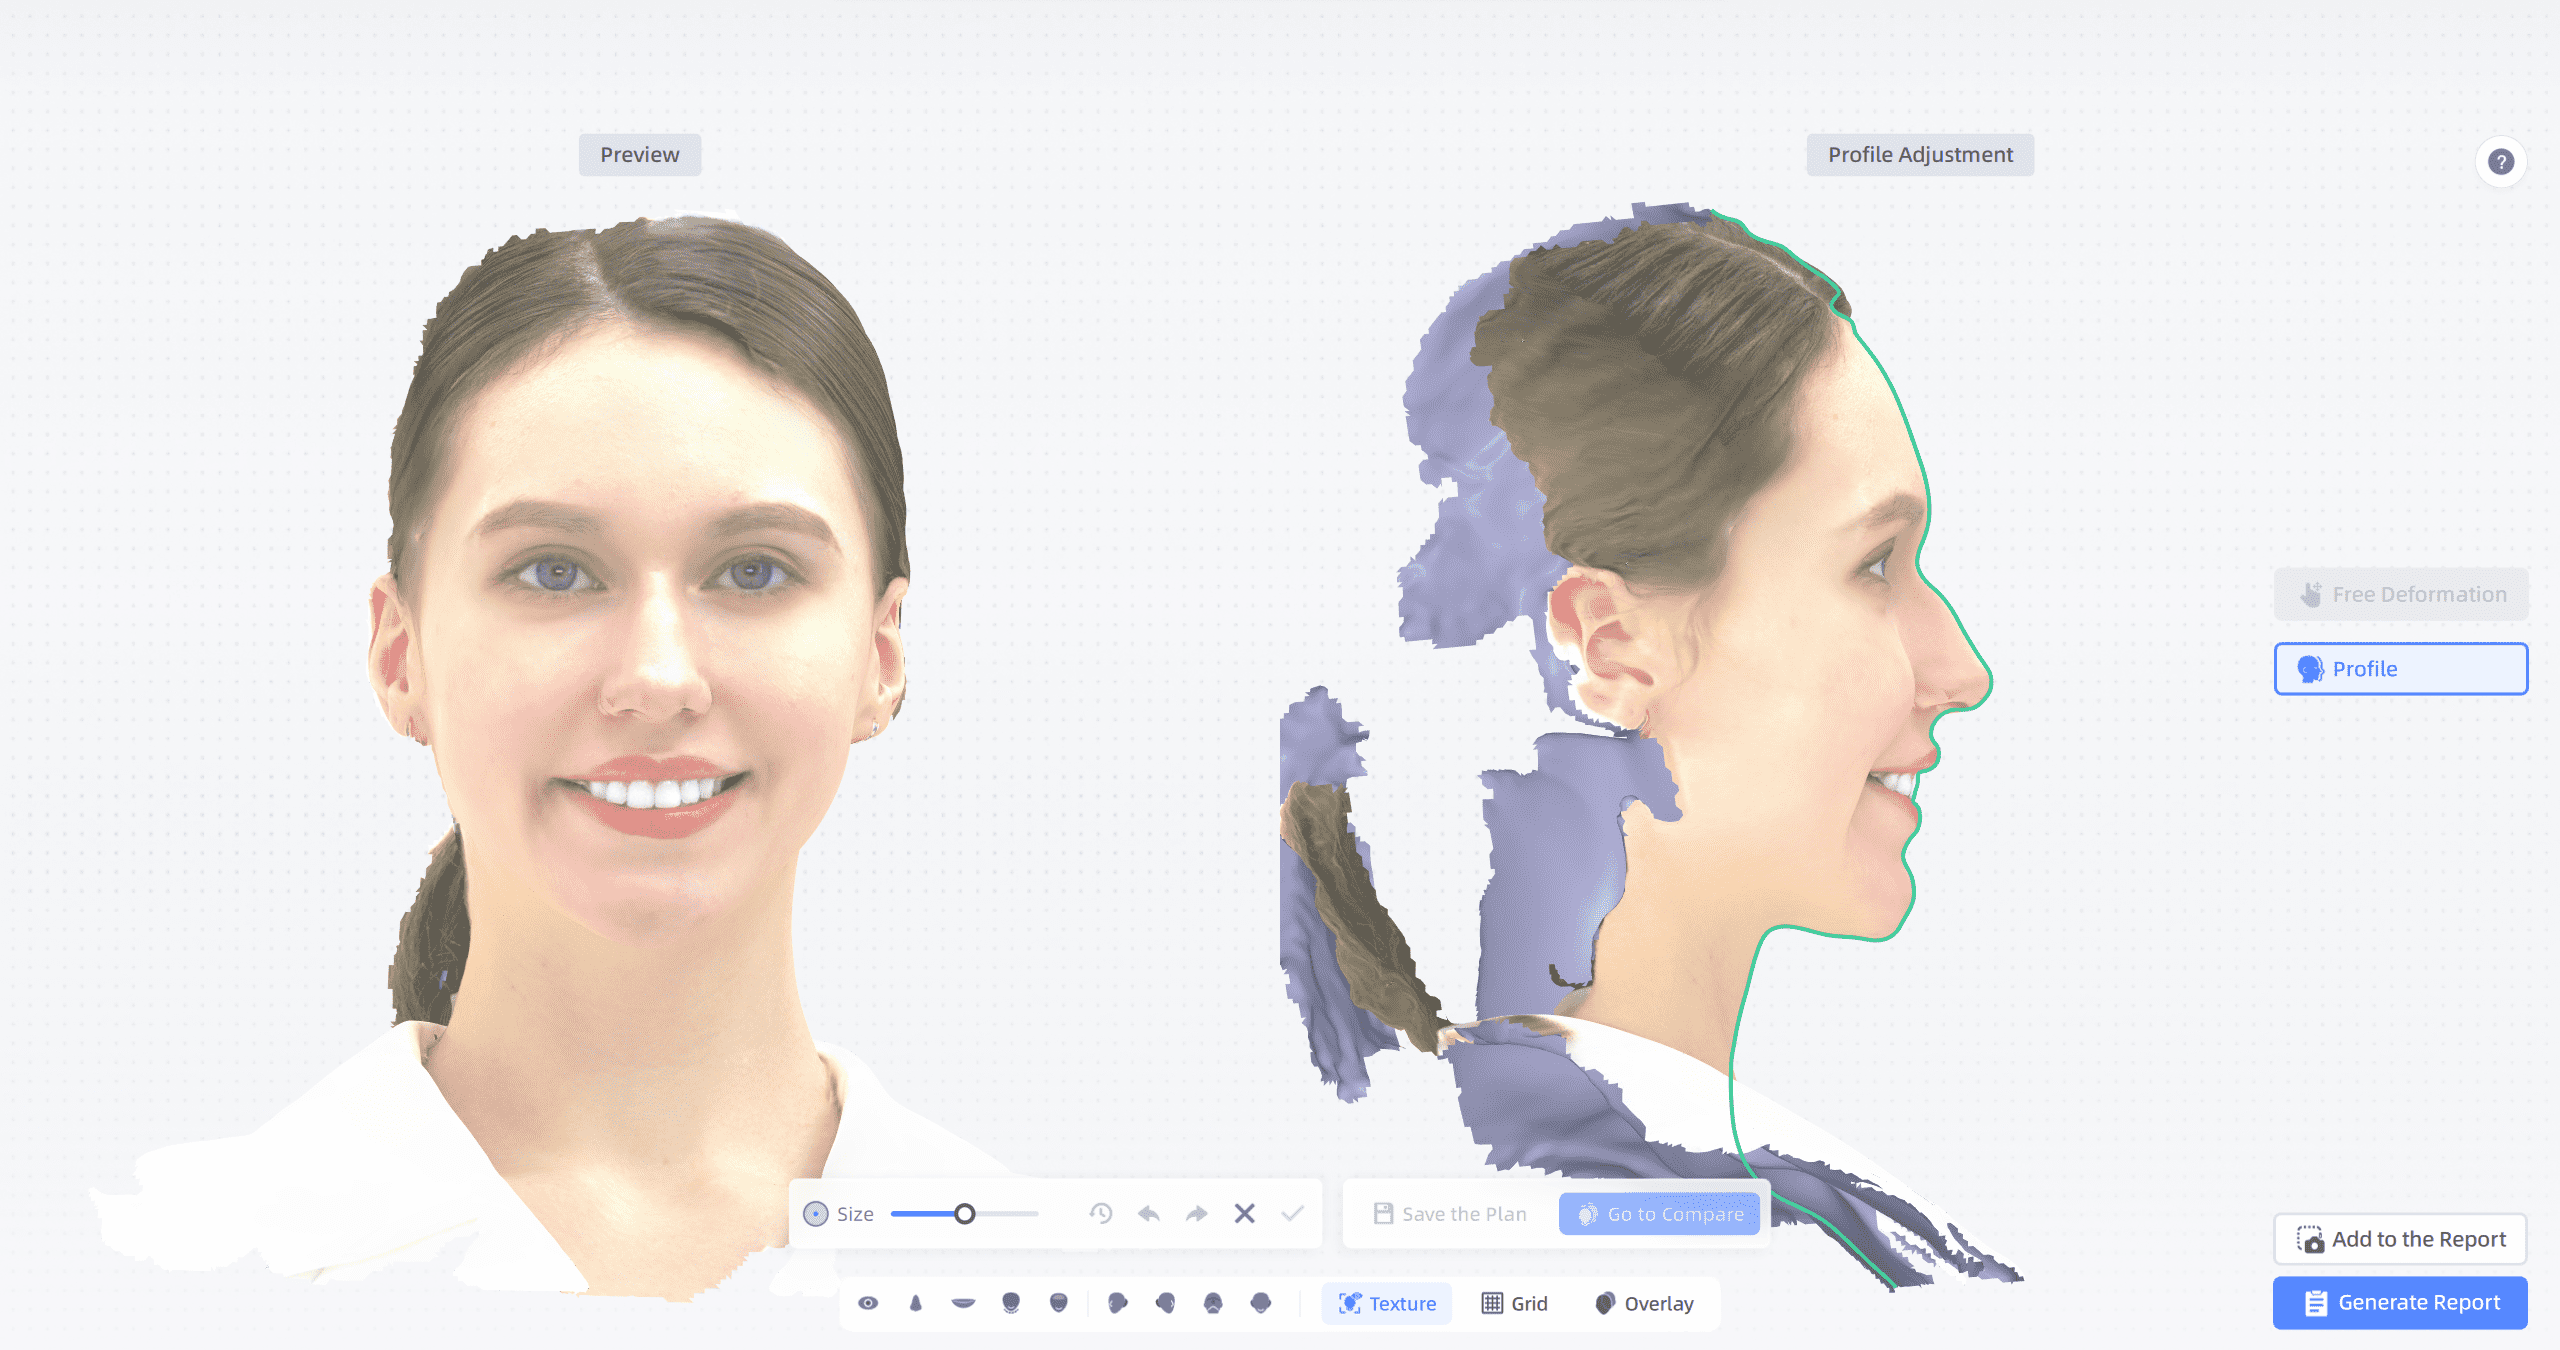
Note
- Preview View: The default front view of the facial model. You can rotate, zoom, and pan the model.
- Profile Adjustment View: The fixed right-side view of the facial model. You can zoom and pan the model, but rotation is not supported.
Steps:
- Adjust Deformation Strength
Use the slider to control the deformation strength. Slide to the right to increase the strength and to the left to decrease it. The greater the deformation strength, the more noticeable the changes to the 3D model. - Real-Time Preview
- When the cursor hovers over the facial contour lines within the deformable range, the lines will turn blue.
- Click and hold to drag the contour lines to adjust them.
- The preview view is synchronized in real-time with the deformation effect.
- Apply Deformation Effect
Click to apply the deformation effect. - Save Design Plan
Click Save the Plan. In the dialog that opens, enter the Planning Name and then click Save as New Plan. The successfully saved plan will be added to the far right end of the timeline. - Model Comparison
Click Go to Compare to enter the comparison function and compare the changes to the face before and after planning.
② Toolbar
Facial Area
| Icon | Name | Description |
|---|---|---|
| Eyes | Align the model based on the benchmark result and focus on the eye area. | |
| Nose | Align the model based on the benchmark result and focus on the nose area. | |
| Lips | Align the model based on the benchmark result and focus on the lip area. | |
| Chin | Align the model based on the benchmark result and focus on the chin area. | |
| Forehead | Align the model based on the benchmark result and focus on the forehead area. |
Four Views
| Icon | Name | Description |
|---|---|---|
| Right View | Display the right view of the model based on the benchmark result. | |
| Left View | Display the left view of the model based on the benchmark result. | |
| Bottom View | Display the bottom view of the model based on the benchmark result. | |
| Front View | Display the front view of the model based on the benchmark result. |
Functions
| Icon | Name | Description |
|---|---|---|
| Texture | Show/Hide textures, textures are shown by default. | |
| Grid | Show/Hide the grid, the grid is hidden by default. | |
| Overlay | Show/Hide the overlay effect of the planned model and the original model. Click once to display Overlay 1, click again to display Overlay 2. |
Note
- Original Model: The model on the far left of the timeline.
- Overlay 1: Original model is transparent, planned model is opaque.
- Overlay 2: Original model is opaque, planned model is transparent.
③ Report
See Report.