Parameter adjustment
CreSplint will automatically generate the margin line according to the teeth model and pre-settings. You can manually adjust the margin line and parameters. It is supported to check undercut depth and the sectional view between the model and the splint.
Visualization tools
The path insertion refers to the direction in which the splint is positioned. Different path insertions have different undercut ranges, affecting the shape of splint.
Click ![]() Undercut Depth and the model will be colored to show the undercut depth.
Undercut Depth and the model will be colored to show the undercut depth.
Move the cursor to the colored area and the accurate value of undercut depth will be shown.
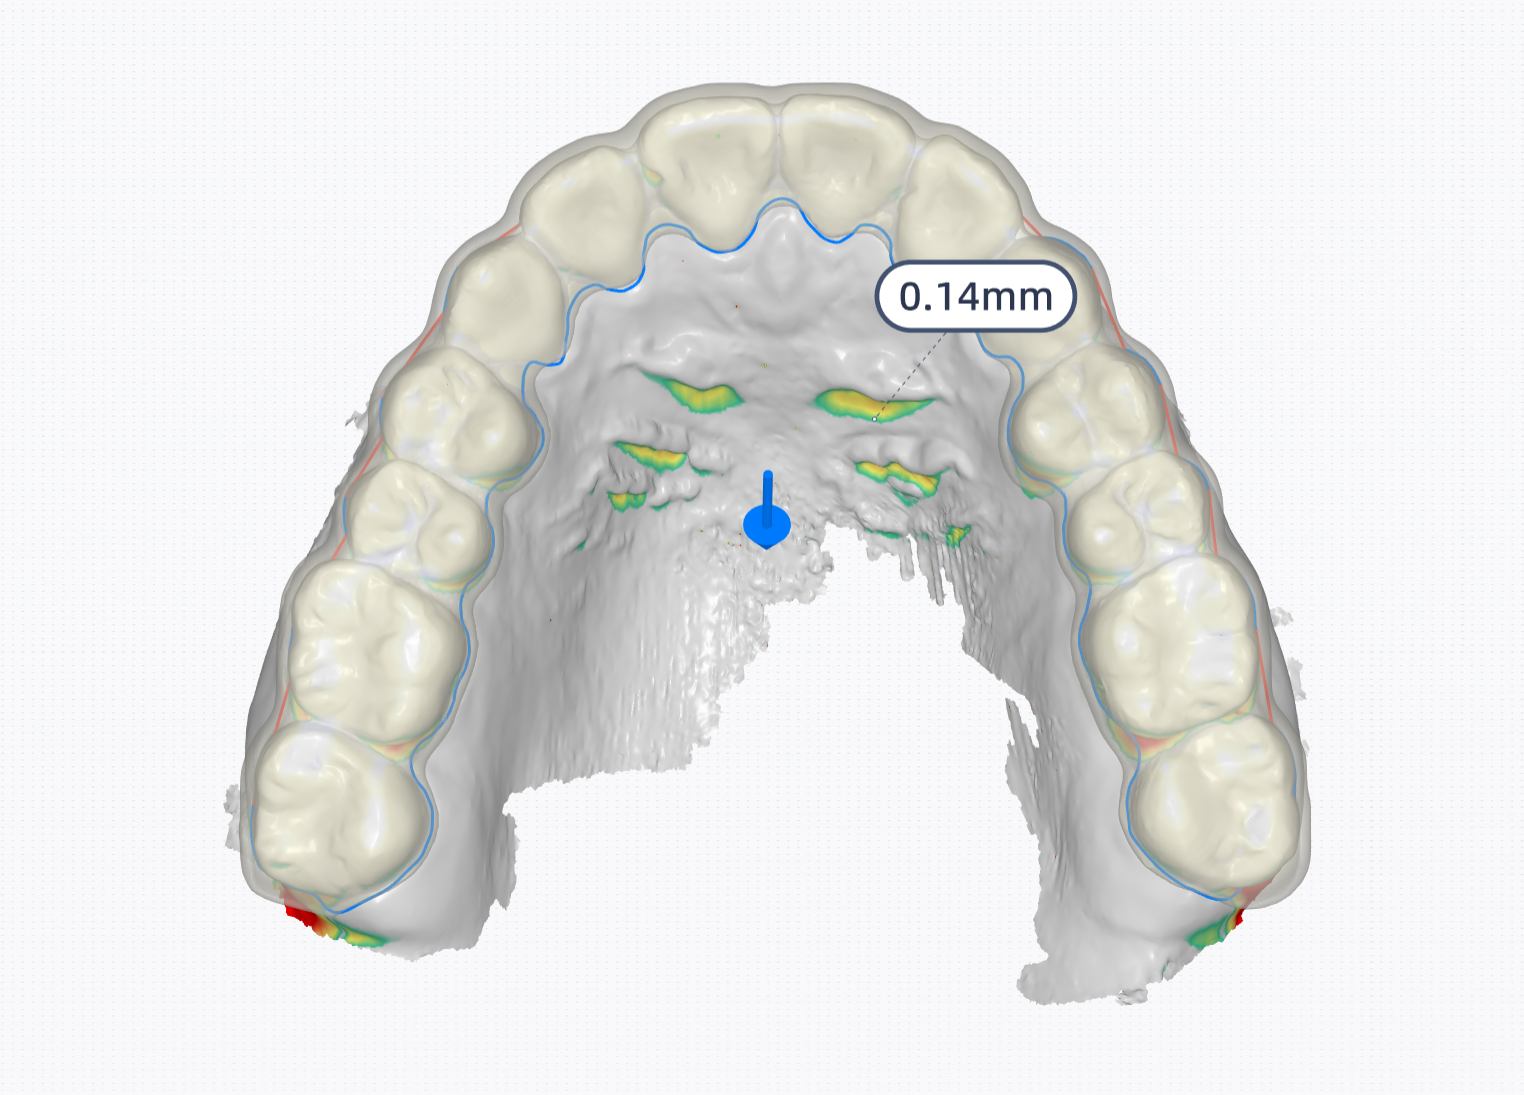
A color bar will be shown on the left bottom corner, on which you can click the arrow to adjust the range of undercut depth.
Steps for adjusting the path insertion
- Rotate the model to the expected perspective where you can see the blue arrow.
- Click the blue arrow pointing to the upper/lower jaw and the software will automatically adjust the path insertion.
- Check the path insertion.

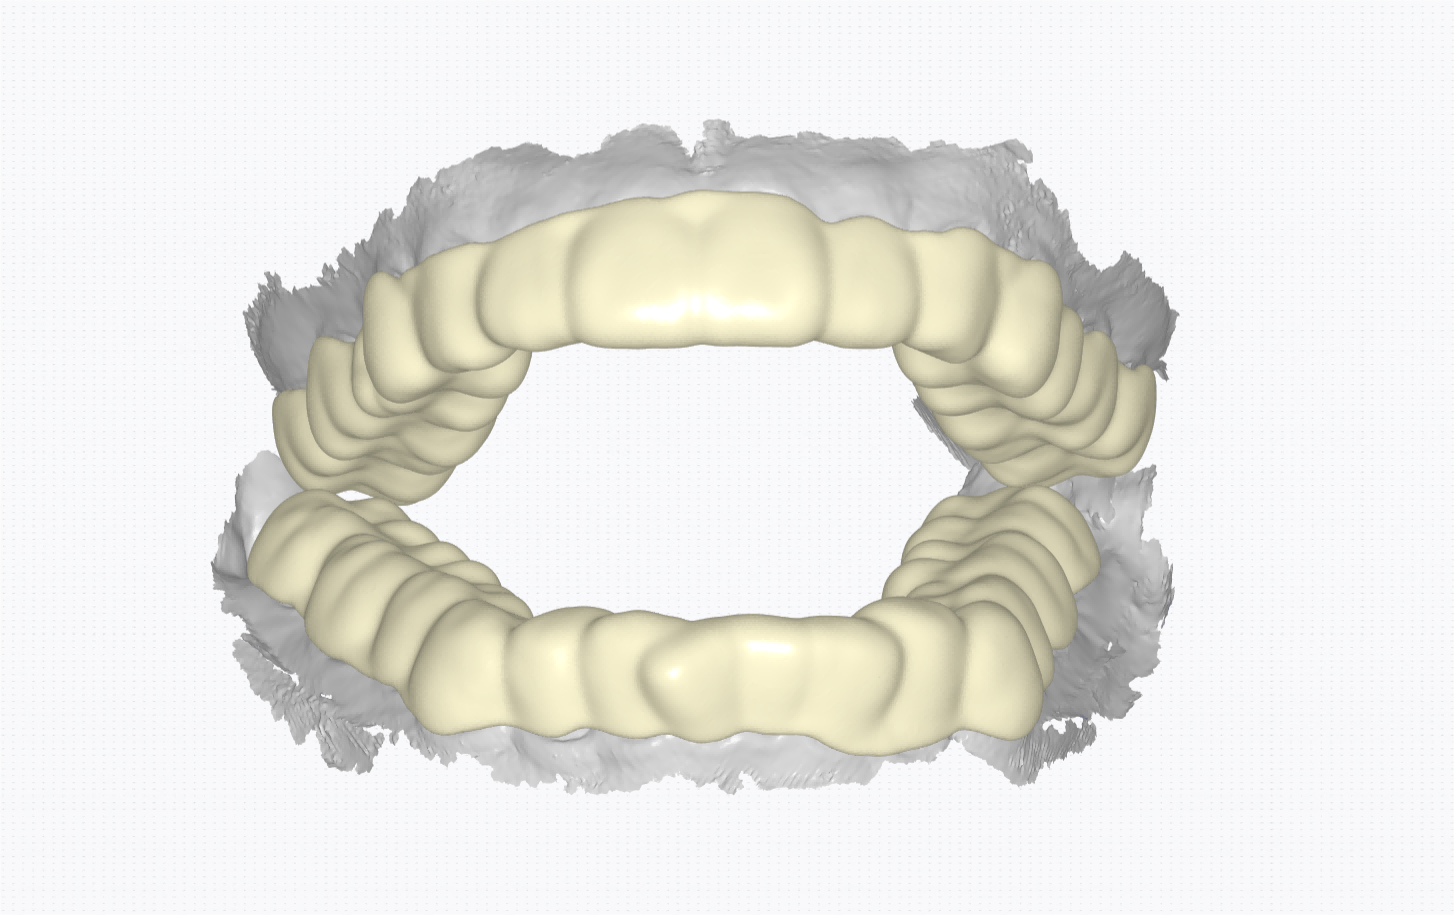
Click ![]() Sectional View and a screenshot plane will be automatically created on the model.
Sectional View and a screenshot plane will be automatically created on the model.
The 2D window in the lower right corner shows the corresponding intersecting parts between the plane and the model.


| Plane operation | Description |
|---|---|
| Move the plane | Press the ball on the middle of the plane and move the cursor. |
| Rotate the plane | Press the other part except the ball of the plane and move the cursor. |
| 2D Window operation | Description |
|---|---|
| Vertical to dental arch | Click |
| Draw a section | Click Press and hold the left mouse button, then drag to draw a line to generate a section. |
| Reset | Click |
| Zoom in/out | |
| Measurement | 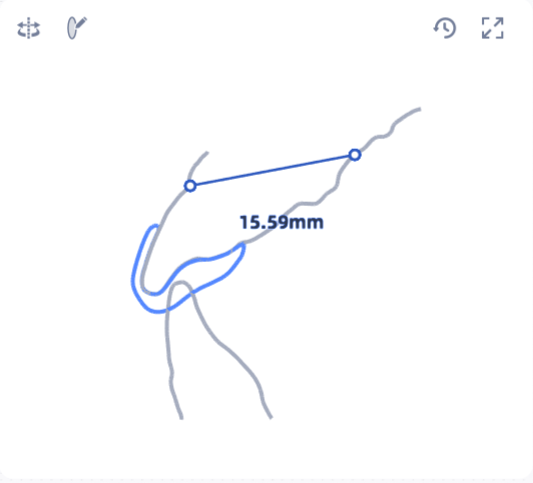 |
On the model list, click ![]() to show the texture
to show the texture
Col
 Disabled
Col
 Enabled
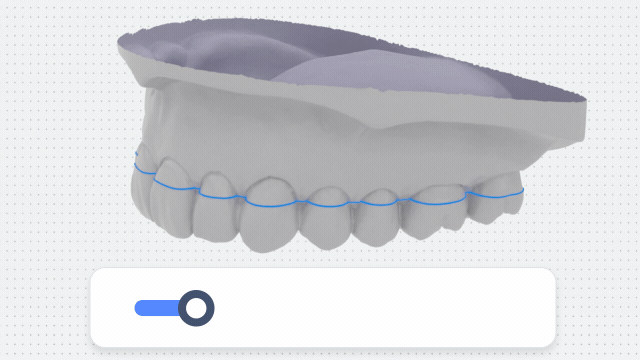
Margin line
The margin line wraps the range of splint. Editing the margin line changes the range of splint.
Click ![]() Margin line and there are several methods to edit edit the margin line.
Margin line and there are several methods to edit edit the margin line.
Note
After editing the margin line, CreSplint will re-generate it. During this process, you can still edit the margin line.
-
Method 1: Mode Selection. By Control Point Mode or Drawing Mode, you can edit the margin line.
Click Control Point Mode and there are red control points on the margin line. You can move these points to change the range of splint.

Purpose Operation Edit margin line Press a control point ad move the cursor to edit the margin line. Delete a control point Double-click right mouse button to delete the certain control point. Add a control point Move the cursor on the line and there will be a green point. Click on the margin line to add a new control point. You can press the lft mouse button and move the cursor to draw a line on the model. And this line will replace the former margin line.

-
Method 2: Type Selection. Change the types of the margin line.
Type Picture Type Picture Half-wrap around the lips and cheeks 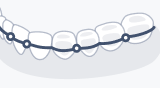
Half-wrapped around the anterior teeth 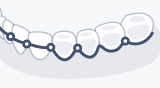
Straight line in neck area 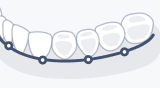
Curve line in neck area 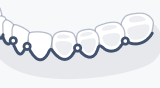
-
Method 3: Overall adjustment. By changing the labial height and lingual height of upper jaw or lower jaw, you can edit the margin line as a whole.
Parameters
Click ![]() to edit the parameters again.
to edit the parameters again.
Next step
After adjusting the parameters, click Next Step.