Measure
Click Measure in the top navigation bar to enter the gauges module, where you can measure with ![]() calipers, or measure the area, volume, thickness and trim/hemming edge of models.
calipers, or measure the area, volume, thickness and trim/hemming edge of models.
Note
Only support measuring mesh models.
Calipers

- In the Measure toolbar, click
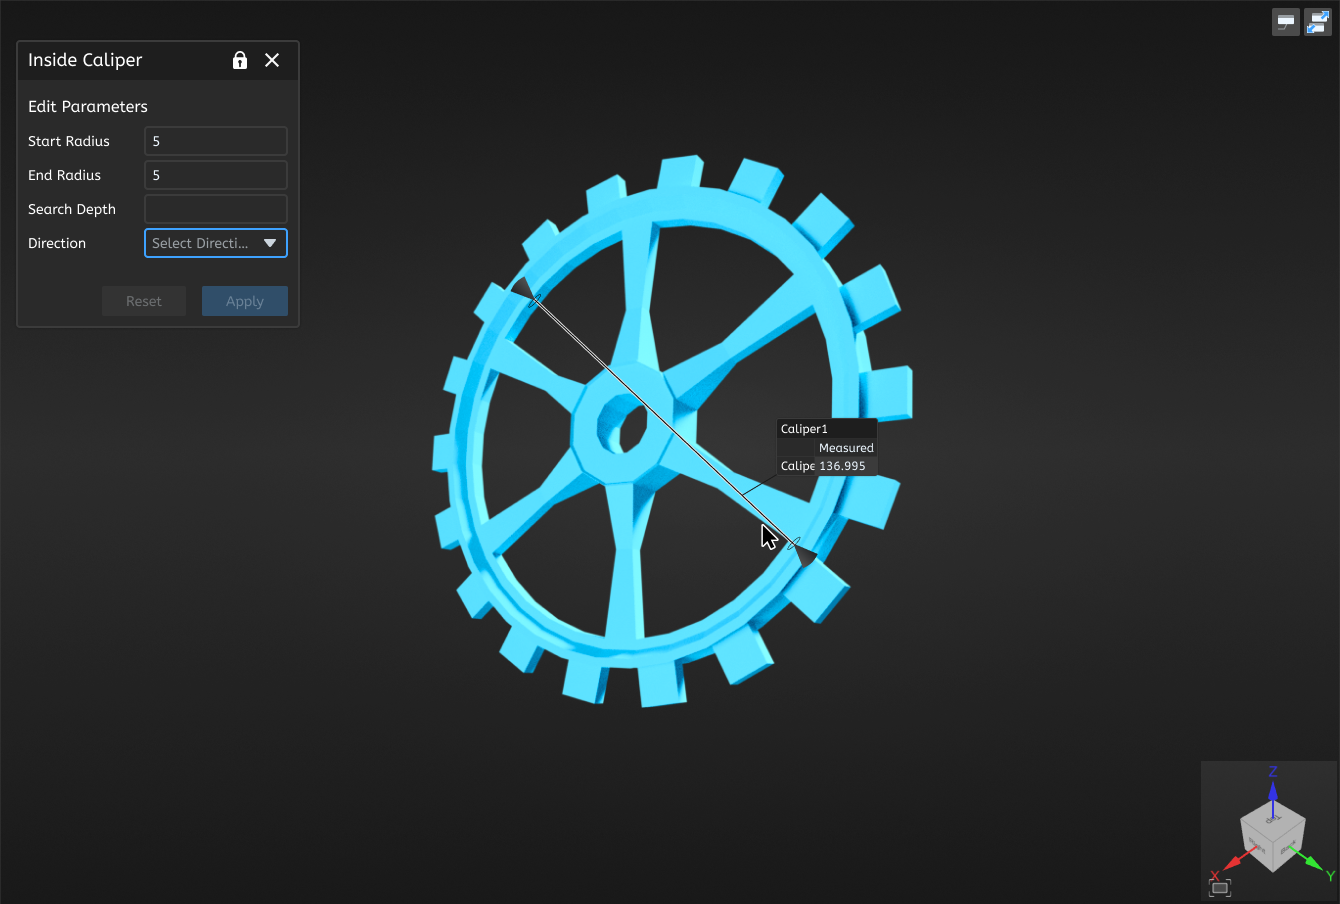
 Calipers to expand the drop-down list, where you can select Inside Caliper / Outside Caliper to open the corresponding window.
 - Edit parameters including start radius, end radius, search depth and direction (along normal of start region, X / Y / Z axis or customize).
- After completing relevant settings, click on the model in the 3D scene to select the start and end point.
- Click Apply to save the caliper, and the
 caliper object will be displayed in the
  gauges module in the left-side tree view.
Note
- When creating a caliper, both the start and end point should be specified.
- Only one caliper can be created for each time, and new caliper can be created after clicking Apply.
Area Measurement

-
In the Measure toolbar, click
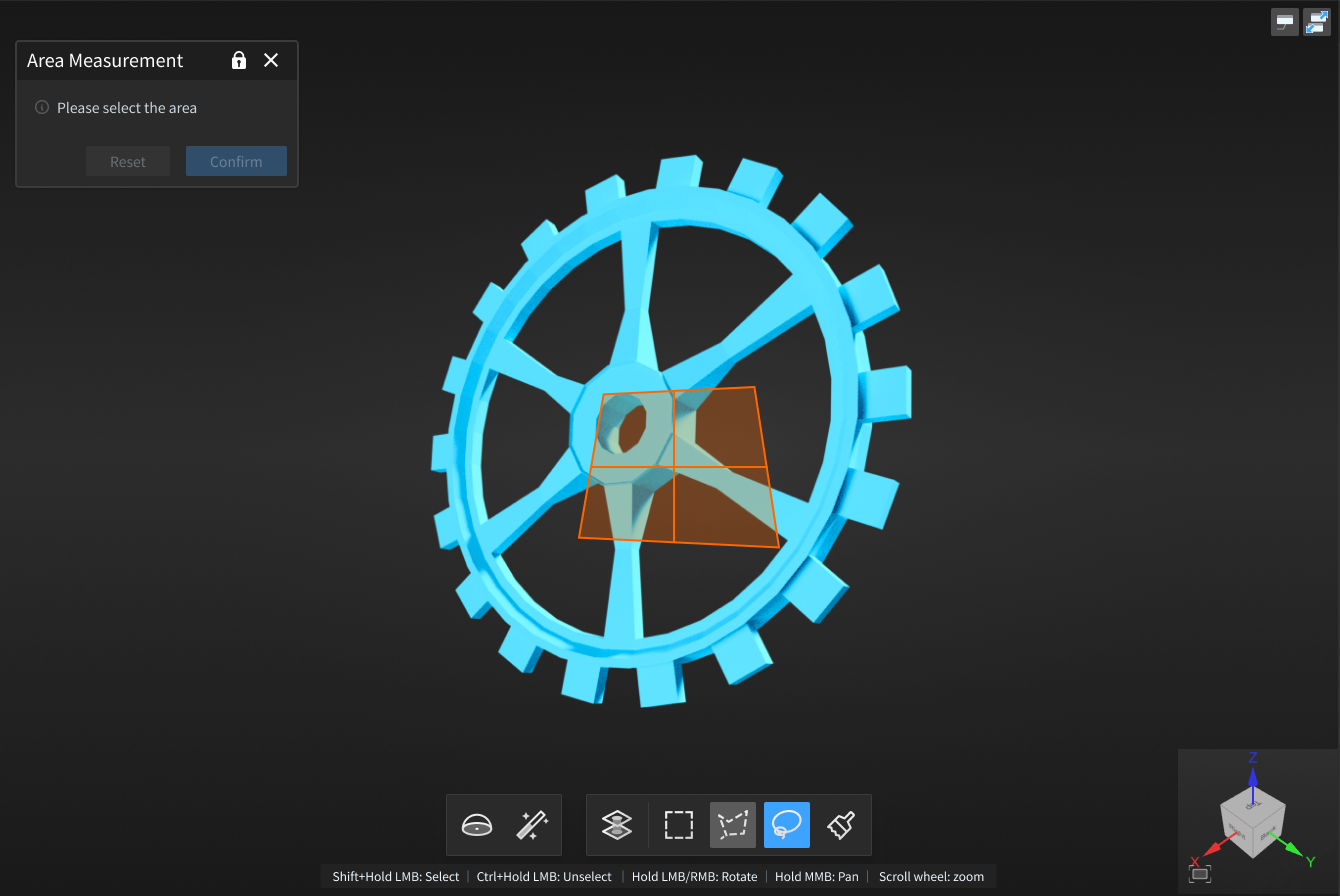
Area Measurement to open the corresponding window.
-
Select tools in the toolbar under the 3D scene, and select the area to be measured on the model.
-
Click Confirm and the label will be displayed in the 3D scene, and the
area object will be displayed in the
 gauges module in the left-side tree view.
The introduction to toolbar as well as shortcuts is as follows:

| Icon | Name | Description |
|---|---|---|
| Sphere | Select mesh vertices on the surface of the mesh model to choose the fitting region. After enabling this function, other selection tools or the select through function can not be used. |
|
| Magic Wand | Automatically select adjacent areas on the mesh model according to curvature. |
|
| Select Through | Disabled by default, which means only visible surfaces can be selected; it can be enabled to select both the front and back regions of the model. | |
| Rectangle | Select / Deselect the data area in the form of |
|
| Polygon | Select / Deselect the data area in the form of |
|
| Lasso | Select / Deselect the data area in the form of |
|
| Brush | Use brush (support brush adjusting) to select / deselect the data area. |
| Function | Shortcut |
|---|---|
| Select | Shift+left-button |
| Deselect | Ctrl+left-button |
| Adjust the size brush | Shift+left-button |
Note
For more shortcuts, please refer to ![]() > Shortcut Instructions in the top right corner of the interface.
> Shortcut Instructions in the top right corner of the interface.
Volume Measurement

-
In the Measure toolbar, click
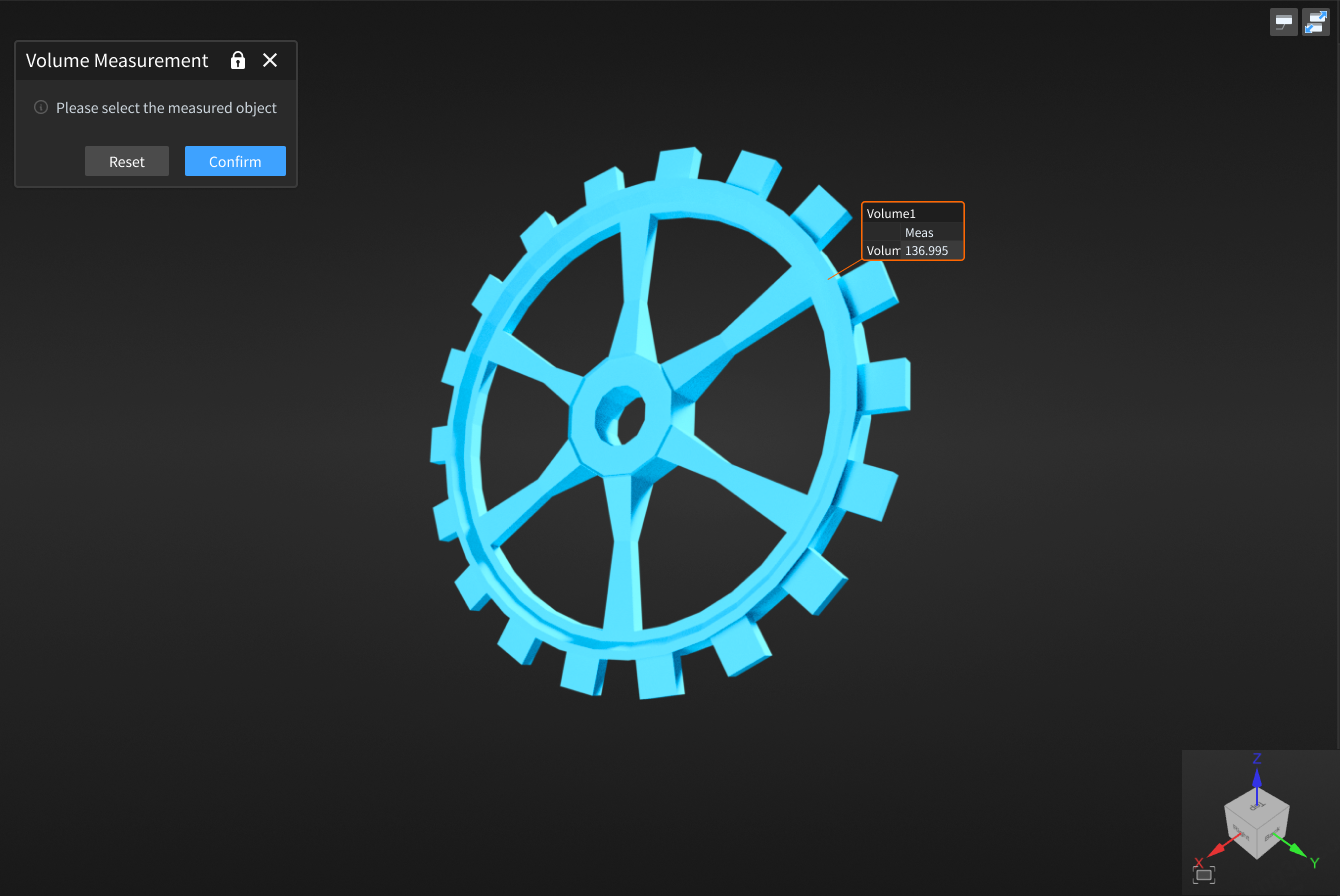
Volume Measurement to open the corresponding window.
-
Click to select the model in the 3D scene, click Confirm and the label will be displayed in the 3D scene, and the
volume object will be displayed in the
 gauges module in the left-side tree view.
Note
Please select a watertight model for measurement, or it will prompt that "![]() Calculation failed".
Calculation failed".
Thickness Measurement
This function can be used to measure the thickness of scanned workpieces.
- In the measurement toolbar, click
 Thickness Measurement to open the corresponding window.
 - Select a tool from the toolbar at the bottom of the 3D scene, then select the area to be measured on the model.
- Enter the inspection parameters and color map parameters.
- Click Preview to display the color band effect; click Confirm to complete the thickness detection.
- After the detection is complete, the measurement item will be displayed in the
 measurement module of the left directory tree.
 - Click anywhere in the area where the thickness detection was completed to display the thickness detection value of the model at that point.
The introduction to toolbar as well as shortcuts is as follows:

| Icon | Name | Description |
|---|---|---|
| Sphere | Select mesh vertices on the surface of the mesh model to choose the fitting region. After enabling this function, other selection tools or the select through function can not be used. |
|
| Magic Wand | Automatically select adjacent areas on the mesh model according to curvature. |
|
| Select Through | Disabled by default, which means only visible surfaces can be selected; It can be enabled to select both the front and back regions of the model. | |
| Rectangle | Select / Deselect the data area in the form of |
|
| Polygon | Select / Deselect the data area in the form of |
|
| Lasso | Select / Deselect the data area in the form of |
|
| Brush | Use brush (support brush adjusting) to select / deselect the data area. |
| Function | Shortcut |
|---|---|
| Select | Shift+left-button |
| Deselect | Ctrl+left-button |
| Adjust the size brush | Shift+left-button |
Note
For more shortcuts, please refer to ![]() > Shortcut Instructions in the top right corner of the interface.
> Shortcut Instructions in the top right corner of the interface.
Trim and Hemming Edge Measurement
This function can be used to measure the edges or hems of sheet metal parts.
- In the measurement toolbar, click
 Trim/Hemming Edge Measurement to open the corresponding window.
 -
Select the reference data, measurement data, aligned object, and the inspect feature.
Note
- Trim Edge measurement requires the object to be measured to be a plane.
- Hemming Edge measurement requires the object to be measured to be a cylinder.
- The constraint plane and the inspect plane to be measured cannot be the same.
- Supports using Ctrl + left mouse button to quickly create features by clicking on the model.
-
Edit the parameters.
Parameter Value Range Gauge Distance 1 ~ 100 Feeler Gauge Length 0.001 ~ 100 Feeler Gauge Width 0.001 ~ 100 Upper Tolerance / Lower Tolerance / -
Click Confirm to complete the measurement.
- After the measurement is complete, the measurement item will be displayed in the
 measurement module of the left directory tree.