Implant Scan
Create an order
Implant scan takes a case of full crown as an example.
Enter necessary information.
1 Choose patient types, first visit or follow-up.
2 Enter necessary information of the patient such as name and age.
3 Add a doctor/operator. Click ![]() and enter the doctor's name, then click
and enter the doctor's name, then click to confirm.
4 Choose implant as the dentistry type. Add notes such as teeth shade.
5 Select the tooth and select Full Crown as the treatment type.
- Click on the number of one tooth to select it (click right mouse button on the number to cancel the selection). Multiple selection is available.
- Click Ctrl+left mouse button to copy the restoration type of last tooth to the currently selected tooth.
- Click Shift+left mouse button to copy the restoration type of last tooth to all the teeth between the last tooth and the currently selected tooth.
6 Select Custom Base or Screw Retained to create a implant order.
7 Select material to restore the tooth according to the case.
8 Click Scan to enter the scanning interface.
Start Scanning
Steps of implant scanning: lower jaw (implant a tooth on the lower jaw) →implant on the lower jaw→ upper jaw→ full jaw.
1 Scan lower jaw (without intraoral scan body) and click![]() to complete lower jaw scanning.
to complete lower jaw scanning.
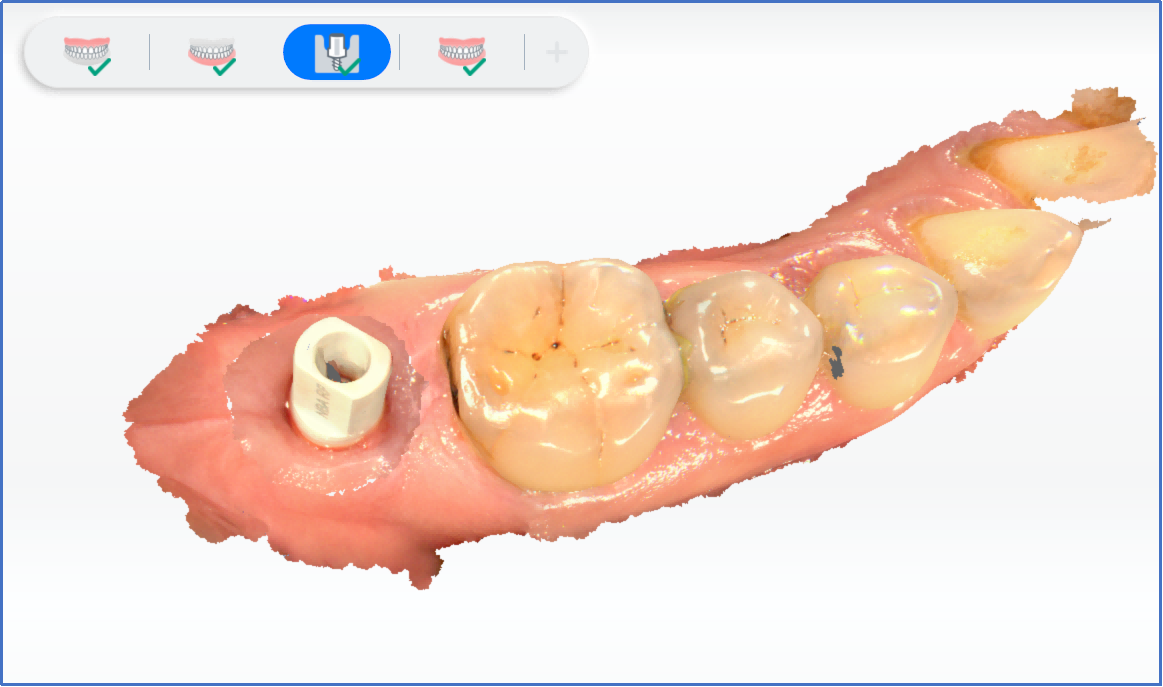
2 Scan lower jaw implant.
(1) Enter the interface of lower jaw implant. Scroll the wheel up and down to zoom in and out the tooth model. Select the tooth place and make preparation for digging a hole.
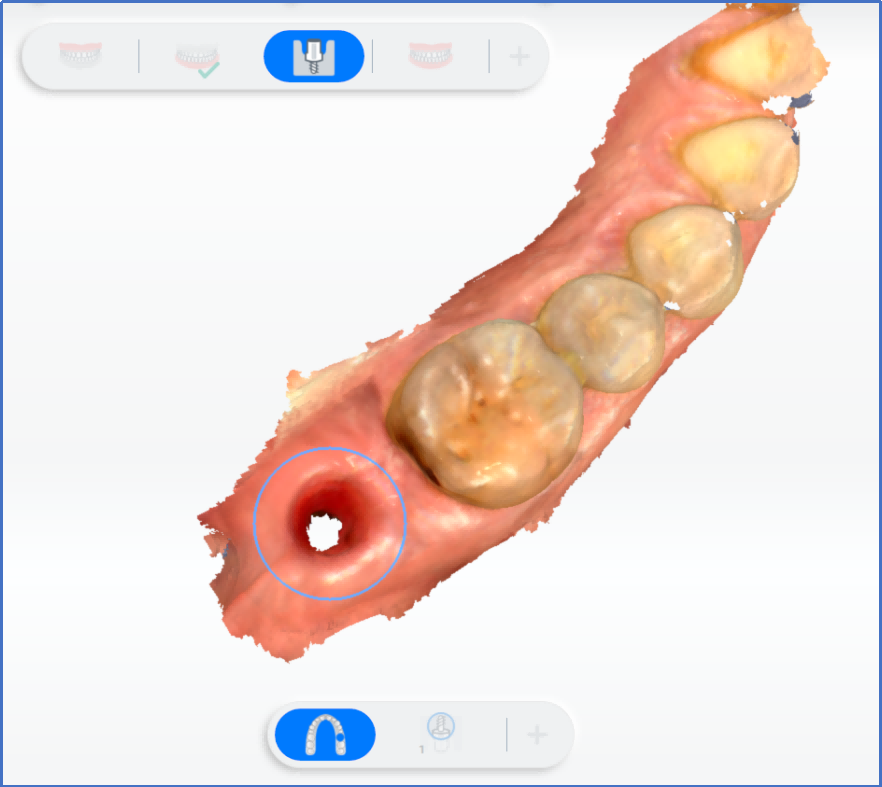
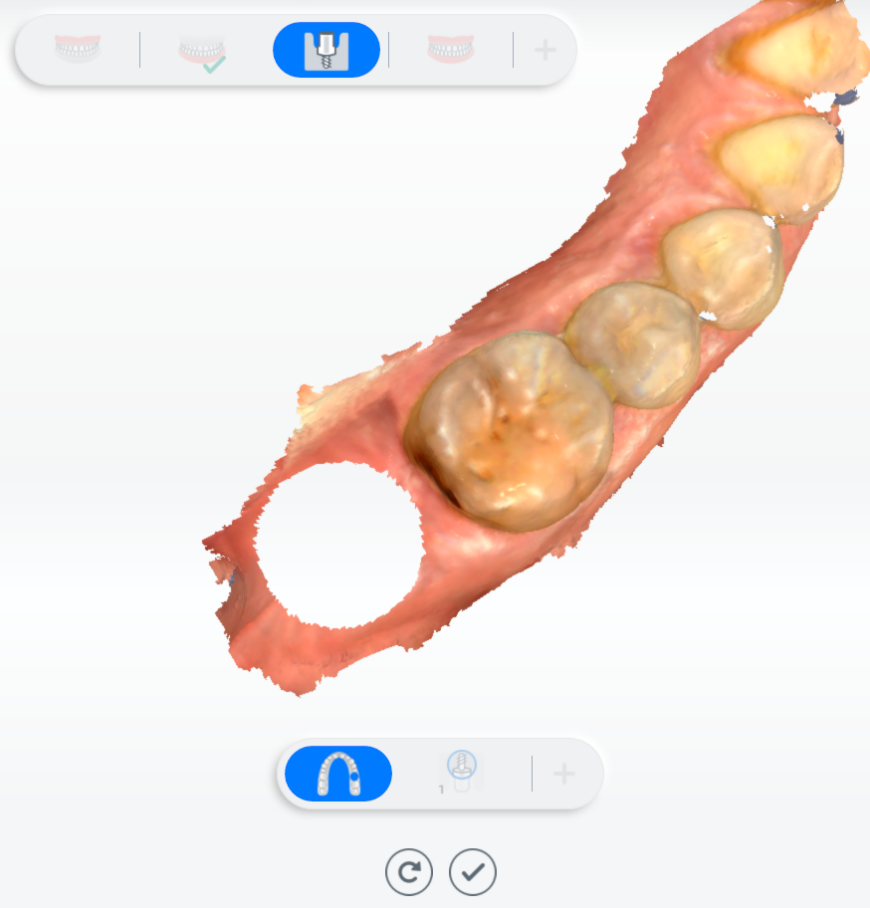
(2) Double-click to dig a hole.
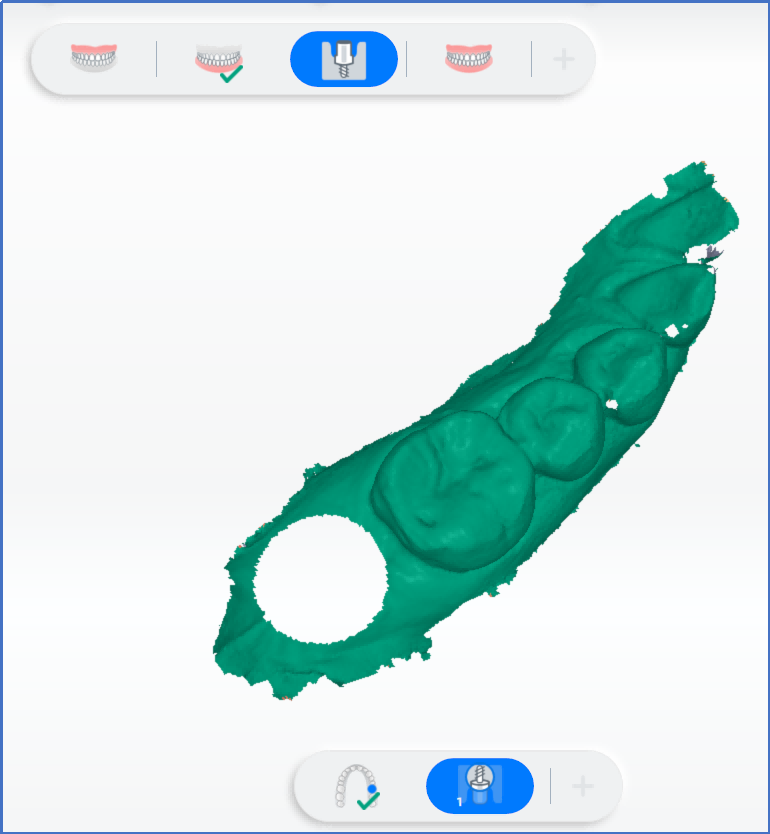
Note
Locked data is displayed in dark green. Only the unlocked areas can be edited.
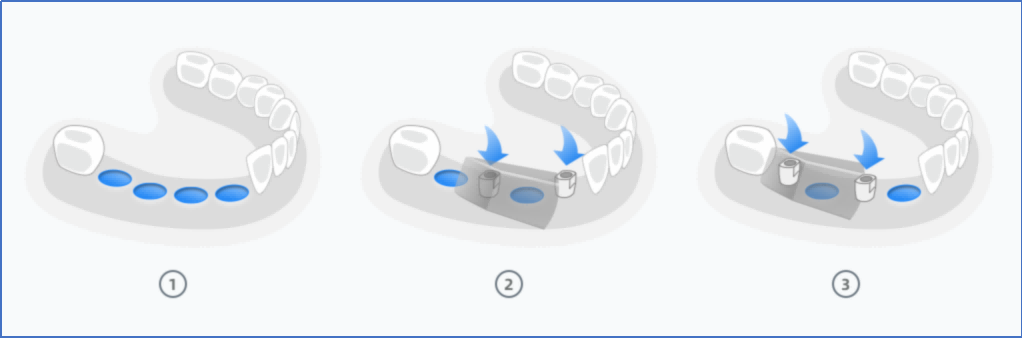
3 (Optional) Scan multiple implant teeth.
(1) Enter the hole digging interface. Dig hole at the location of the implant and delete collected data.
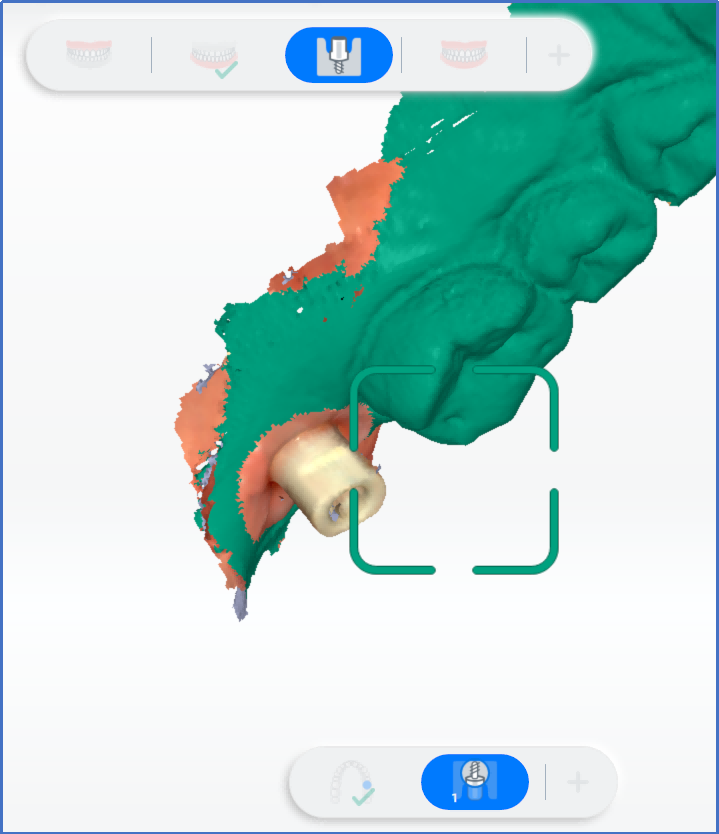
(2) Follow the guidance on the left panel and scan implants in groups. Try to stagger adjacent scan body. Insert the first group of scan bodies and then scan again. After scanning, click to pause.

Caution
When you start scanning next group of scan bodies, the data of first group will be locked and displayed in dark green. You can not add scanning to the groups that have been scanned.
Pause scanning and click next group to continue if there are more groups.
(4) Click ![]() to complete scanning.
to complete scanning.
4 Scan bite parts. After scanning and saving upper jaw and lower jaw, the software will start bite scanning.
5 Click on the right panel to edit the model. Details see Data Edit.
6 Click to confirm the changes and exit the edit interface.
Scanning Completed
Click ![]() to complete scanning. Click pre-design on the lower right corner to enter pre-design interface.
to complete scanning. Click pre-design on the lower right corner to enter pre-design interface.