Restoration Scan
Create an Order
Pre-op scanning takes restoration of full crown as an example.
Enter necessary information.
1 Choose patient types, FirstVisit or FollowUp.
2 Enter necessary information of the patient such as name and age.
3 Add a doctor/operator. Click and enter the doctor's name, then click
to confirm.
4 Choose restoration as the dentistry type. Add notes such as teeth shade.
5 Select the tooth.
Click on the number of one tooth to select it (click right mouse button on the number to cancel the selection). Multiple selection is available.
- Click Ctrl+left mouse button to copy the restoration type of last tooth to the currently selected tooth.
- Click Shift+left mouse button to copy the restoration type of last tooth to all the teeth between the last tooth and the currently selected tooth.
6 Select treatment type, including full crown, pontic, inlay, veneer and antagonist. 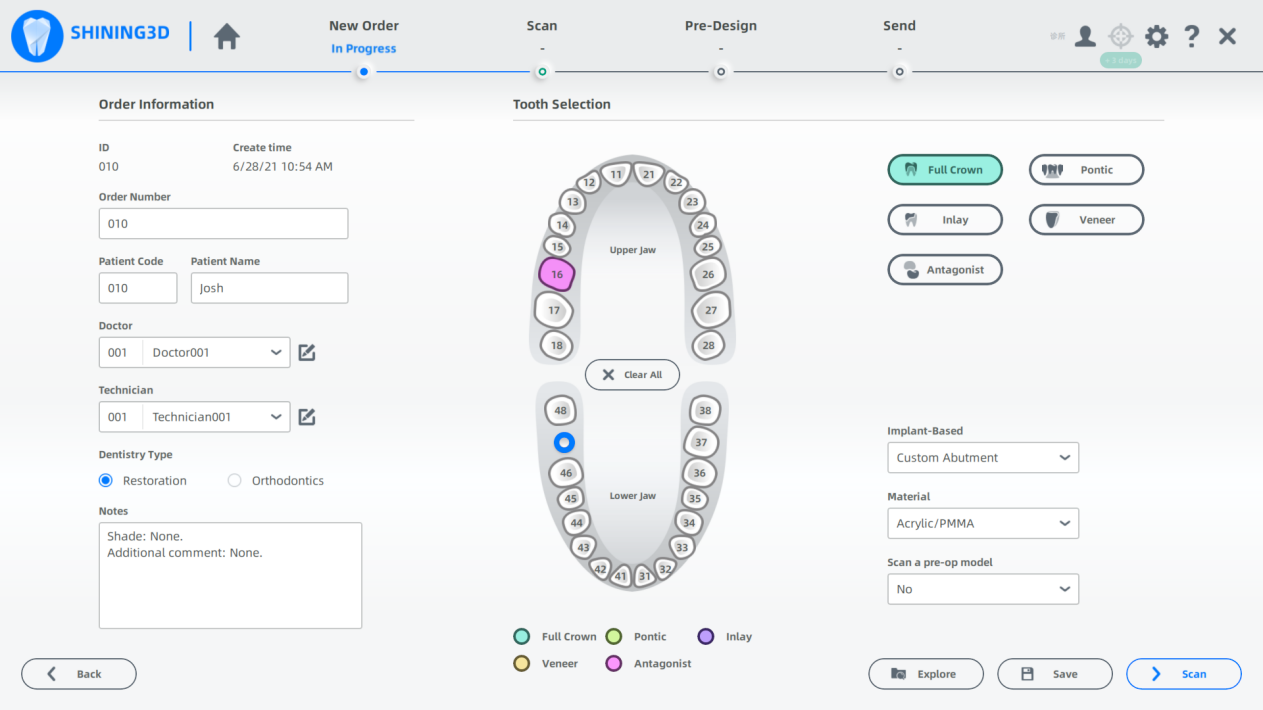
7 Click Scan to enter the scanning interface.
Start Scanning
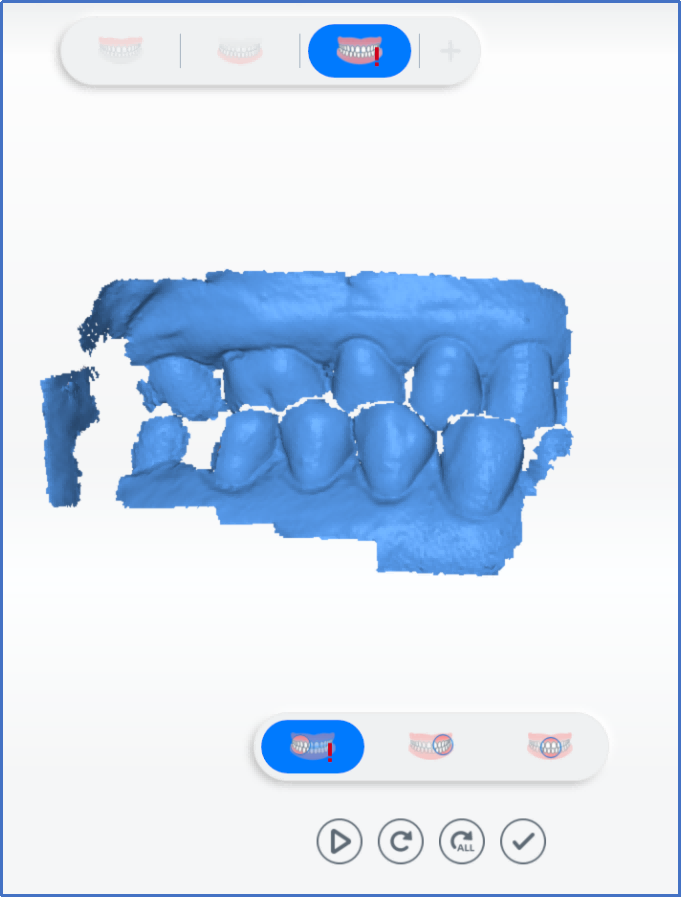
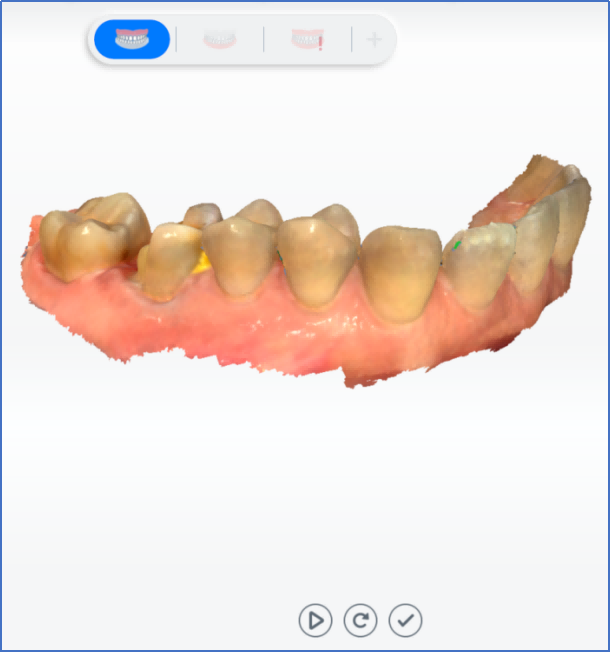
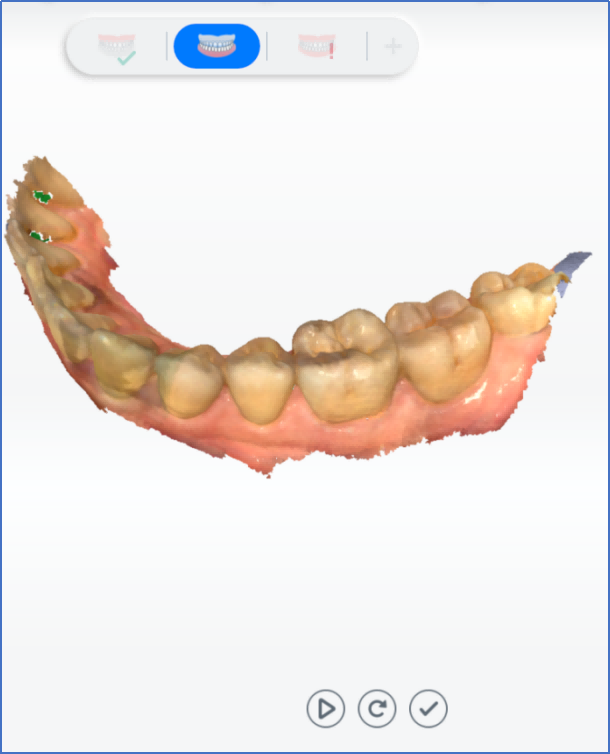
Bite scanning can be put at first step. Click and you will see the bite scanning points.
1 Scanning bites. A exclamation mark on the bite icon means alignment failure with collected bite data.
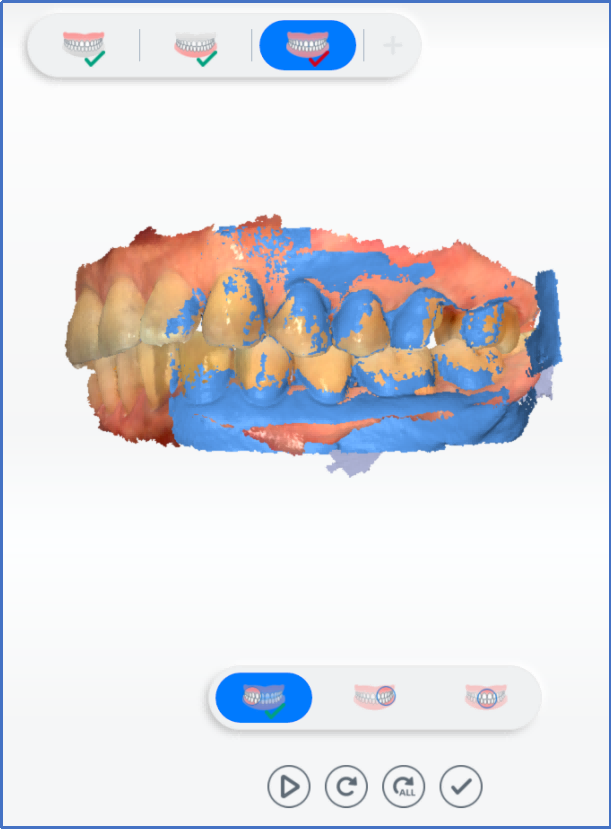
Dynamic Bite
Caution
- To collect data of dynamic bite, you need to collect data of static bite first.
- The areas of dynamic bite and static bite should be overlapped.
- The scanner tip should be at the center of upper and lower jaw when scanning.
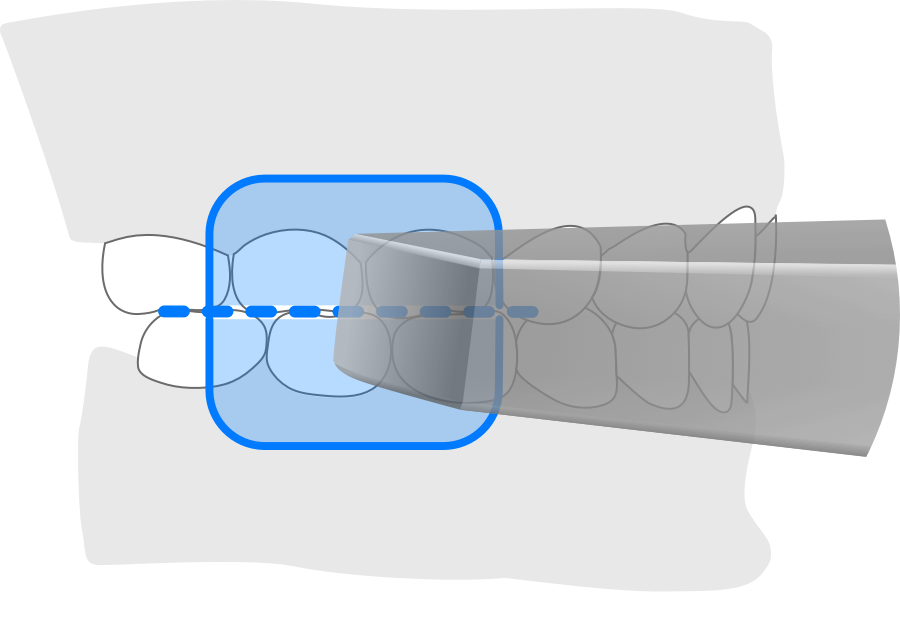
- Make sure there are contacting points when biting.

Step:
1 Click to open dynamic bite.
2 Click to start scanning.
3 Open mouth and scan the bite motion on the left and right.
4 Scanning completed, the video of dynamic bite is played automatically.
5 Click and save data of dynamic bite.
Note
You can move the cursor and rotate the model to view the bite condition from different perspectives.
Scanning Completed
Click to complete scanning. Click pre-design on the lower right corner to enter pre-design interface.