Preview Edit
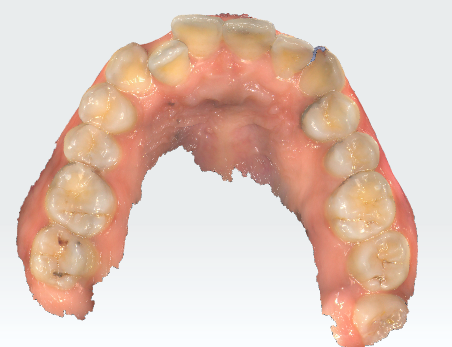
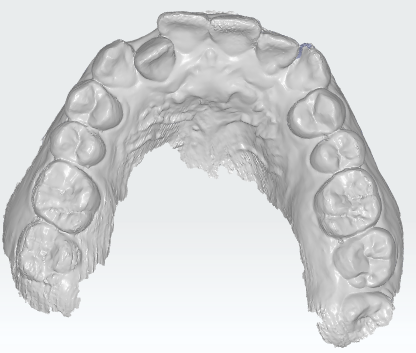
Observe the scanned model from different angles and then optimize scanning data.
Intraoral data
-
Change the opacity and switch the viewing angle to edit the stereoscopic data.
-
If multiple bites are added and scanned, the users can switch between different groups of multiple bites to check the models.
| Icon | Name | Description |
|---|---|---|
| Upper Jaw | Check the option to view the upper jaw data. Drag the slider to change the upper jaw opacity value. |
|
| Lower Jaw | Check the option to view the lower jaw data. Drag the slider to change the lower jaw opacity value. |
|
 |
View from Different Perspectives | Check the view of the model. |
Application list
The application list shows multiple functions in Pre-design.

- Click More Applications to check more on the pop-up window.
-
Click Adjust sequence to adjust the sequence of applications showing in the interface.
(1) Drag the icon of an application to adjust the sequence.
(2) Click Apply to save the adjustment. -
The last used application will be displayed before More Applications by default.
 Edit
Edit
Click to edit the model with the following tools.
| Icon | Name | Description |
|---|---|---|
| Rotate | Click and rotate the model. | |
| Brush | ||
| Free Choice | Hold the left mouse button to select. The area selected will be deleted. | |
| Undo | Clicking for undoing operations. | |
| Redo | Clicking for redoing operations. | |
| Cancel | Discard the changes. | |
| Confirm | Confirm the changes. |
 Remove Isolated Data
Remove Isolated Date can quickly delete small data isolated to the main model.
Fill Holes
Steps
-
Click the icon
to enter the Fill Holes interface.
-
Drag the slider to adjust the application range.
-
Click ✔ to confirm the operation and exit; click ✖ to discard the process and exit.
 Texture
Enabled by default. When enabled, the model will be colored.
Col

Enabled
Col

Disabled
 Smooth
Click to reduce noise and improve the quality of the model.
Fit View
Click to adjust the size of the model to be adaptive to the interface.