Temp crown
Before making a temp crown, designs and adjustments should be made according to form of the tooth that needs restoration. Temp crown design software is easy-to-use and convenient, and it can build temp crown models in a relatively short time.
With the prevailing popularity of 3D printing technology, temp crown made by digital 3D printing gradually replaces the traditional handmade temp crown by dentists.
Note
-
Temp crown is a full crown that tomporarily sticks in the patient's oral cavity after the tooth preparation and before the crown restoration.
-
The full crown is a restoration that can cover the whole tooth. The full crown can repaire the form of the broken tooth and restore its function.
Caution
Only when the order is Restoration, can the temp crown design be proceeded.
Click ![]() >Tempcrown in Pre Design interface.
>Tempcrown in Pre Design interface.
-
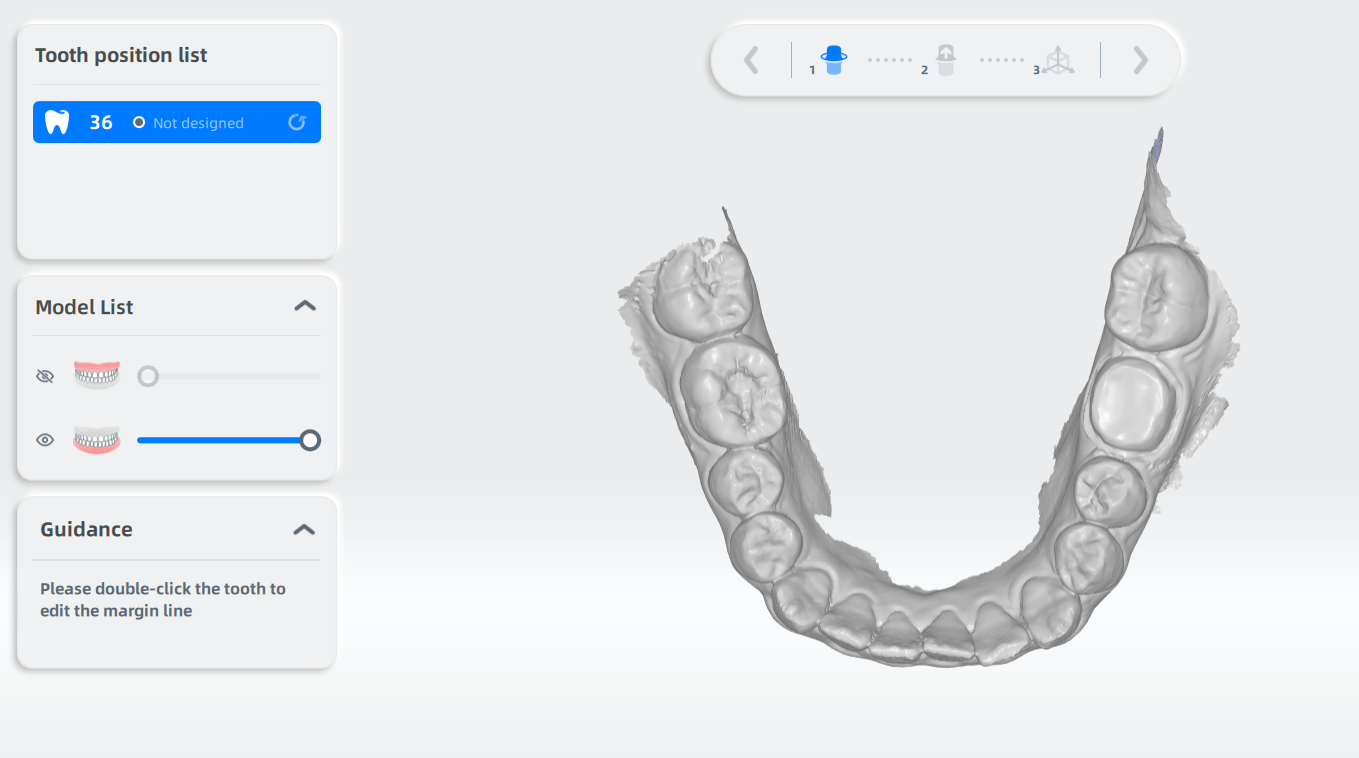
Select the tooth that needs the temp crown design on the model list.
-
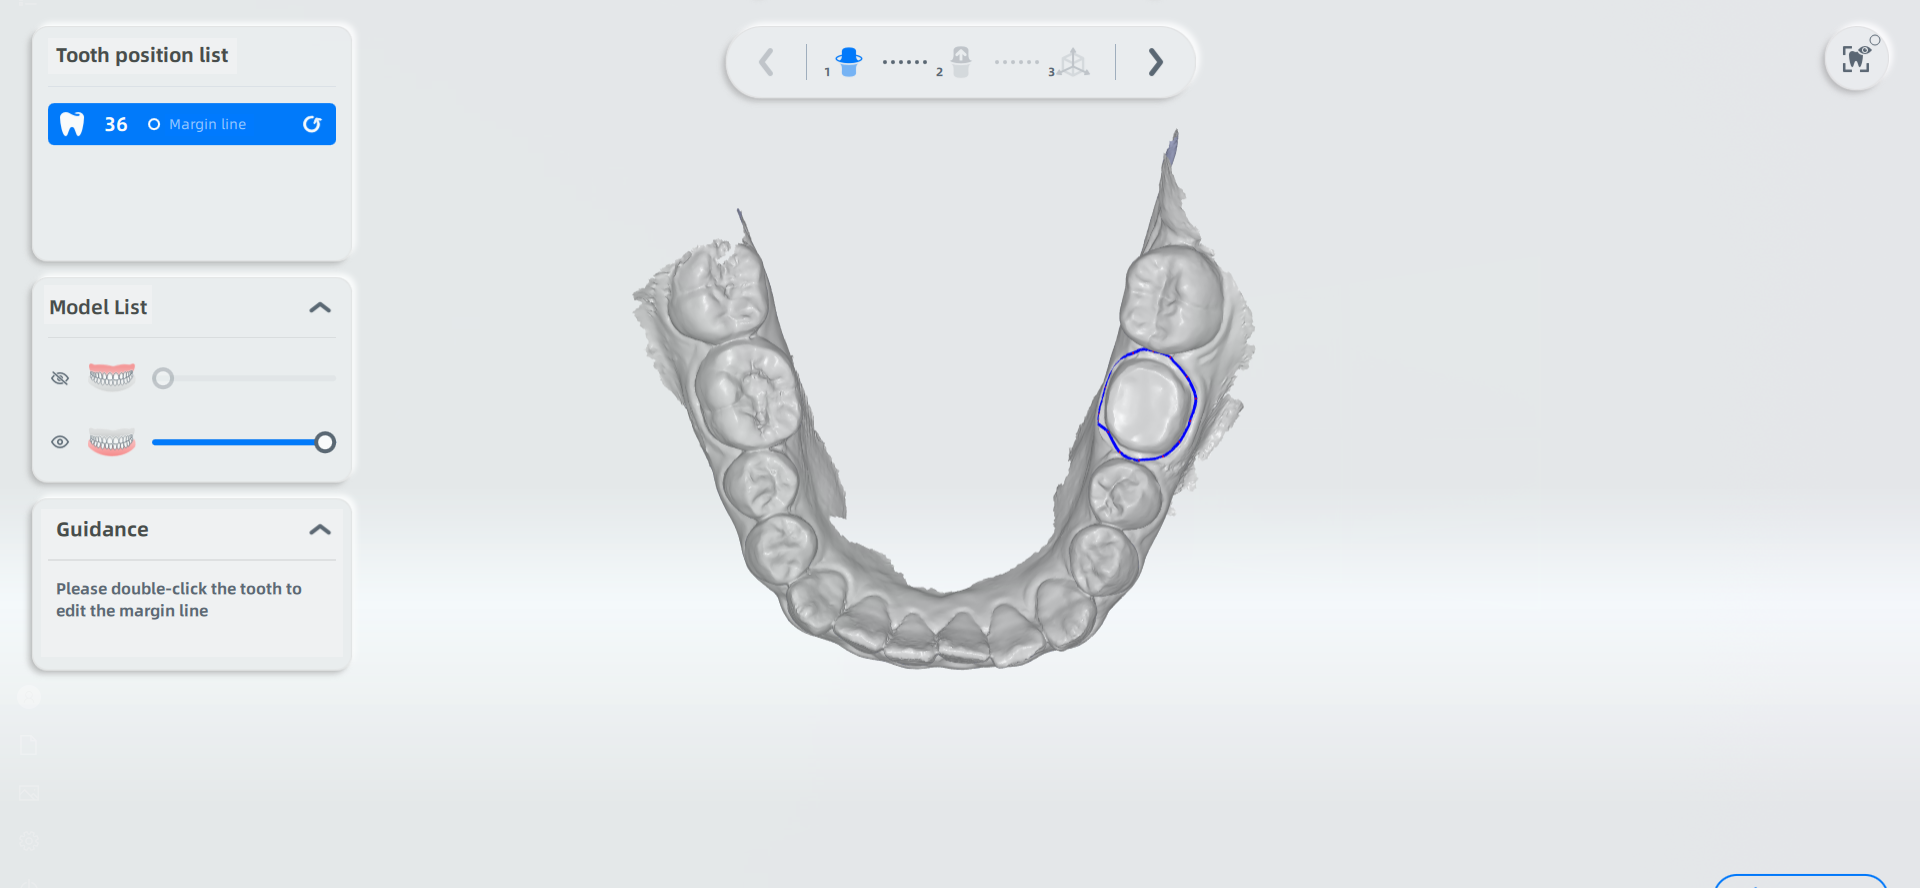
Double click the tooth that needs repair, and extract margin line for teeth automatically.
-
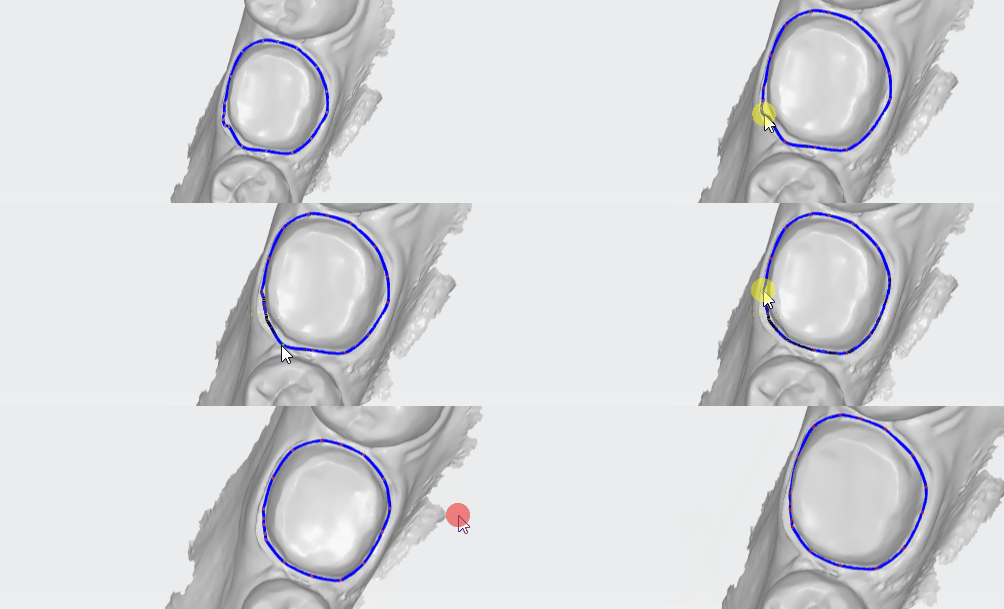
Adjust the margin line by dragging the point.
Note
Press and hold down the left button of the computer mouse, and choose and drag the point (When the cursor is placed on the point, its color will turn into green from red.), and then adjust the margin line.
-
Click
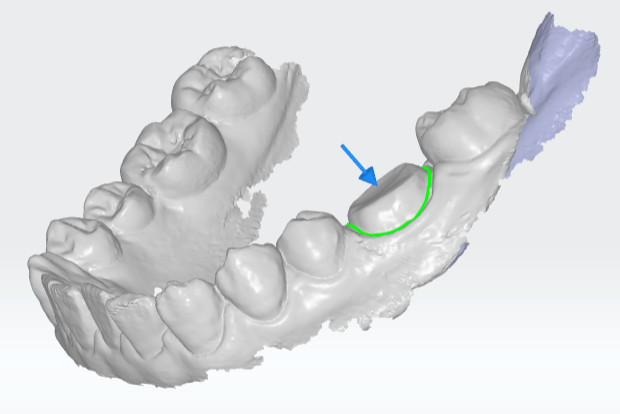
, to adjust the direction of the path of insertion. There will be an arrow on the tooth that needs restoration. Double-click the arrow to adjust the direction.
-
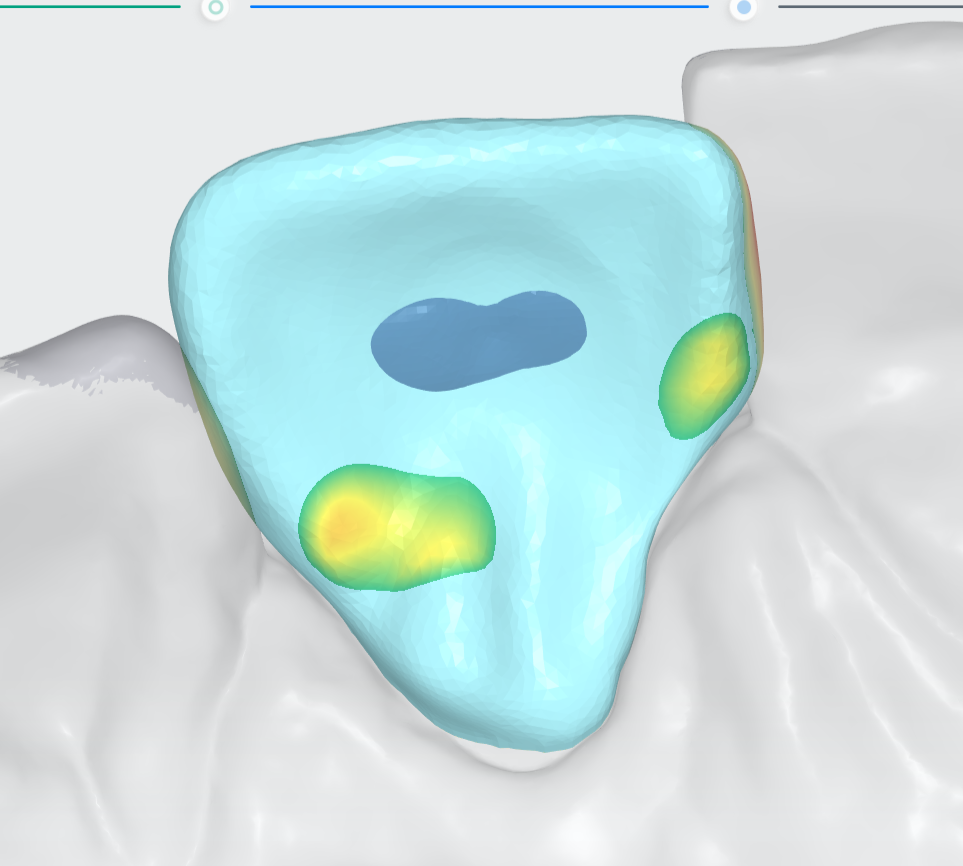
Adjust the position to check the position of the temp crown. The ribbon chart will show on the crown in real time.
Click Crown Design and there will be a crown model on the tooth that needs restoration. The crown model is light blue, and the thickness of the crown is dark blue.
| Icon | Name | Description |
|---|---|---|
| Sculpture | The sculpting tools enables operations including extrusion, intrusion, and smooth. The data can be denoised to make the model surface smoother and improve the data quality. Add or reduce model data of the model surface according to the actual needs. | |
| Parameter adjustment | Enables the user to modify the parameter of Inner wall reserve gap and Inner wall edge width. | |
| Sectional View | It's a two-dimensional measurement function. A screenshot plane will be automatically created after entering Sectional View. The section can be automatically positioned on the crown by double-clicking on the crown model. The two-dimensional window in the lower right corner shows the corresponding section line. You can drag, zoom in and out, and reset the position. Jaw, crown, and minimum thickness are presented by different color lines. The section line is updated in real time as the section moves, and two points can be selected in the section line for measurement. | |
| Interference detection | The virtual thickness model is displayed in real time on the crown model and cannot be modified. Interference detection shows the contact ribbon chart between the tooth and the adjacent teeth and the opposite jaw. | |
| Texture | The texture function is turned on to displays the colored model. | |
| Margin line | With the margin line function on, you can adjust model to its internal side to view the margin line and check if the margin line and the crown are in line. |
Once you have completed the crown design, you can click To Print to send the project file containing the crown model to the printer for printing.