Restoration Scan
Create an Order
Pre-op scanning takes restoration of full crown as an example.
Enter necessary information.
-
Choose patient types, FirstVisit or FollowUp.
-
Enter necessary information of the patient such as name and age.
-
Add a doctor/operator. Click
 and enter the doctor's name, then click
 to confirm.
 -
Choose restoration as the dentistry type. Add notes such as teeth shade.
-
Select the tooth.
Click on the number of one tooth to select it (click right mouse button on the number to cancel the selection). Multiple selection is available.- Click Ctrl+left mouse button to copy the restoration type of last tooth to the currently selected tooth.
- Click Shift+left mouse button to copy the restoration type of last tooth to all the teeth between the last tooth and the currently selected tooth.
- Click Ctrl+left mouse button to copy the restoration type of last tooth to the currently selected tooth.
-
Select treatment type, including full crown, pontic, inlay, veneer and antagonist.

-
Click Scan to enter the scanning interface.
Start Scanning
Bite scanning can be put at first step. Click![]() and you will see the bite scanning points.
and you will see the bite scanning points.
-
Scanning bites. A exclamation mark on the bite icon means alignment failure with collected bite data.
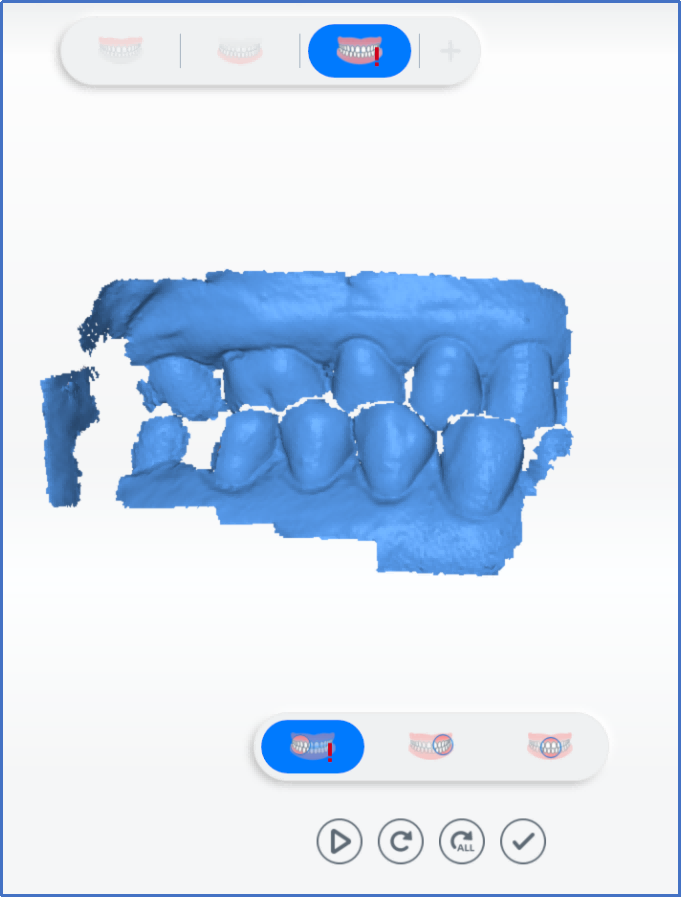
-
Scan upper jaw. Click
 when scanning completed.
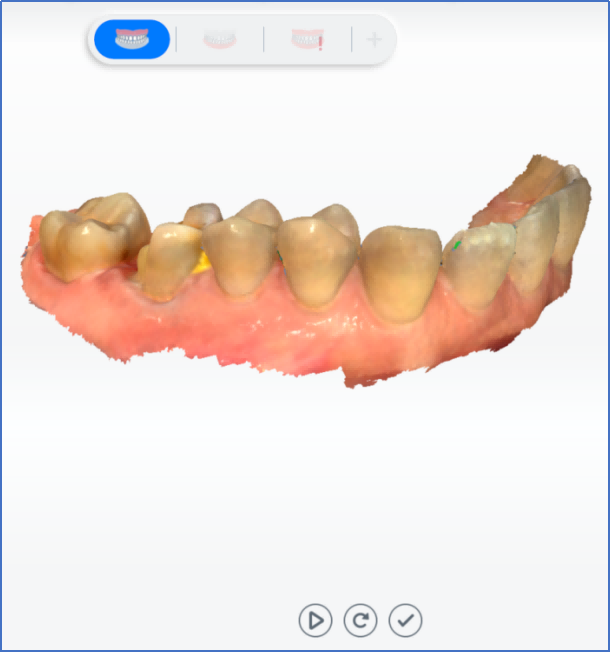
-
Scan lower jaw. Click
when scanning completed. 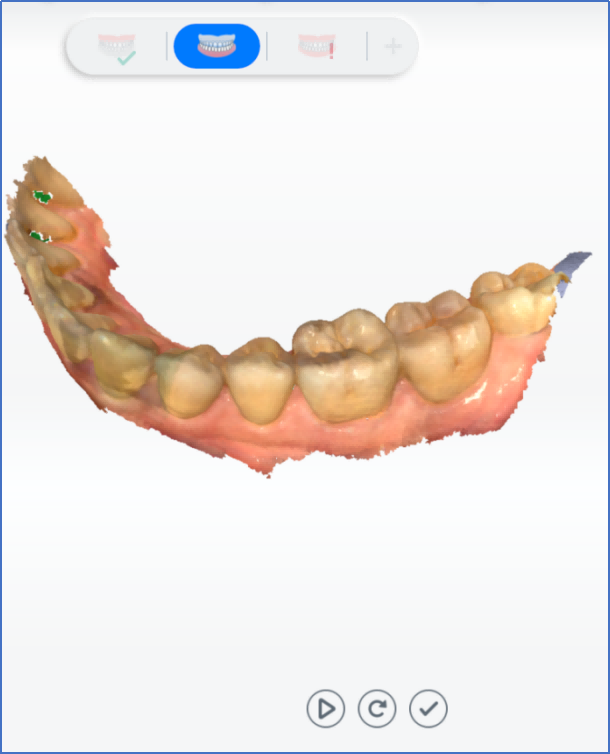
-
Scan left, right and front bite parts.
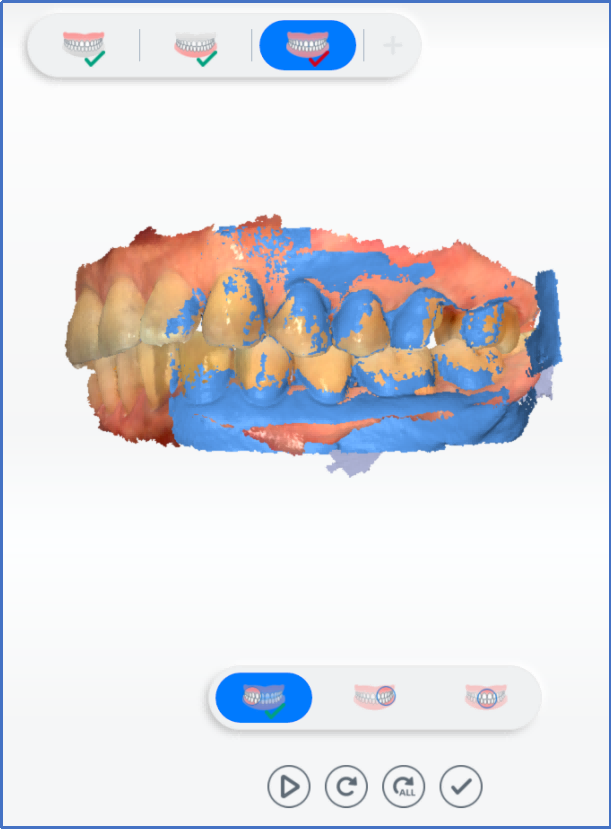
-
Align automatically. If it succeeds (
 displays), click . If it fails (
 displays), you need to re-scan bite parts.
Scanning Completed
Click ![]() to complete scanning. Once the data is post-processed, the software will enter the interface of pre-design.
to complete scanning. Once the data is post-processed, the software will enter the interface of pre-design.