Intraoral photogrammetry scanning
Taking both upper jaw and lower jaw as working jaws with pre-op process selected, this chapter introduces the suggested scanning process of intraoral photogrammetry.
Suggested scanning process
- Temporary denture scanning (optional)
- Bite scanning
-
Upper jaw
-
Lower jaw (same process with those of the upper jaw)
-
Bite check
Temporary denture scanning
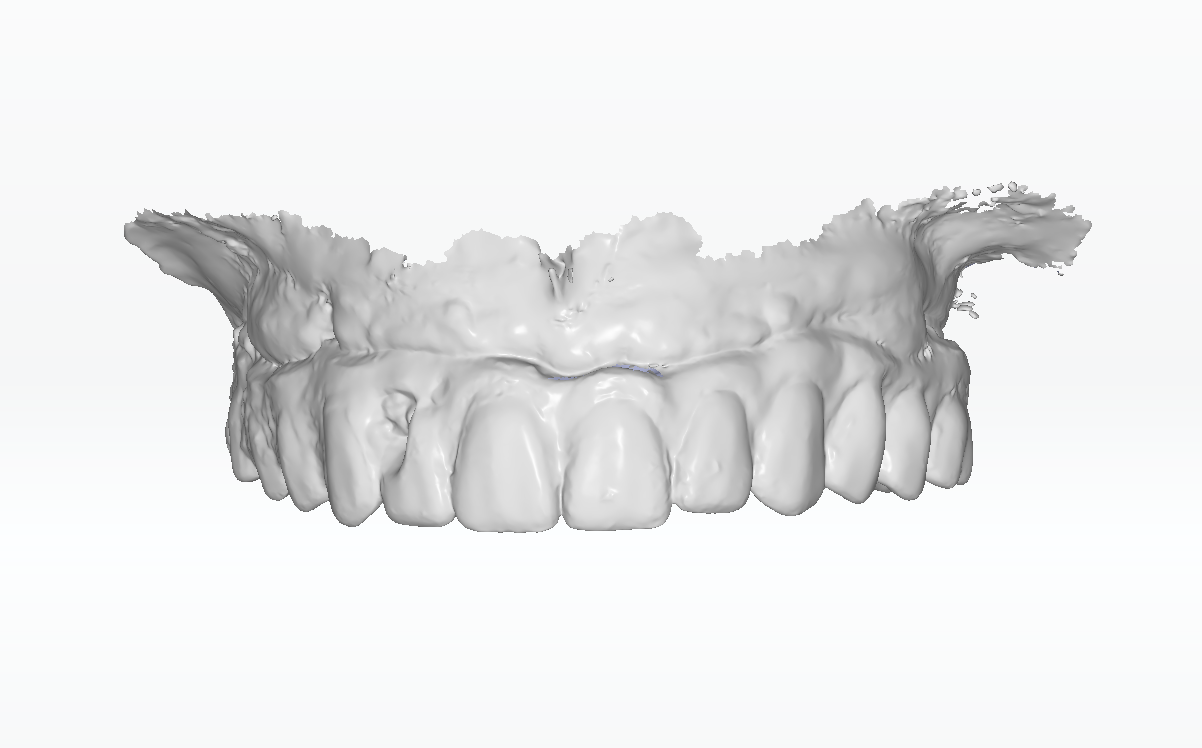
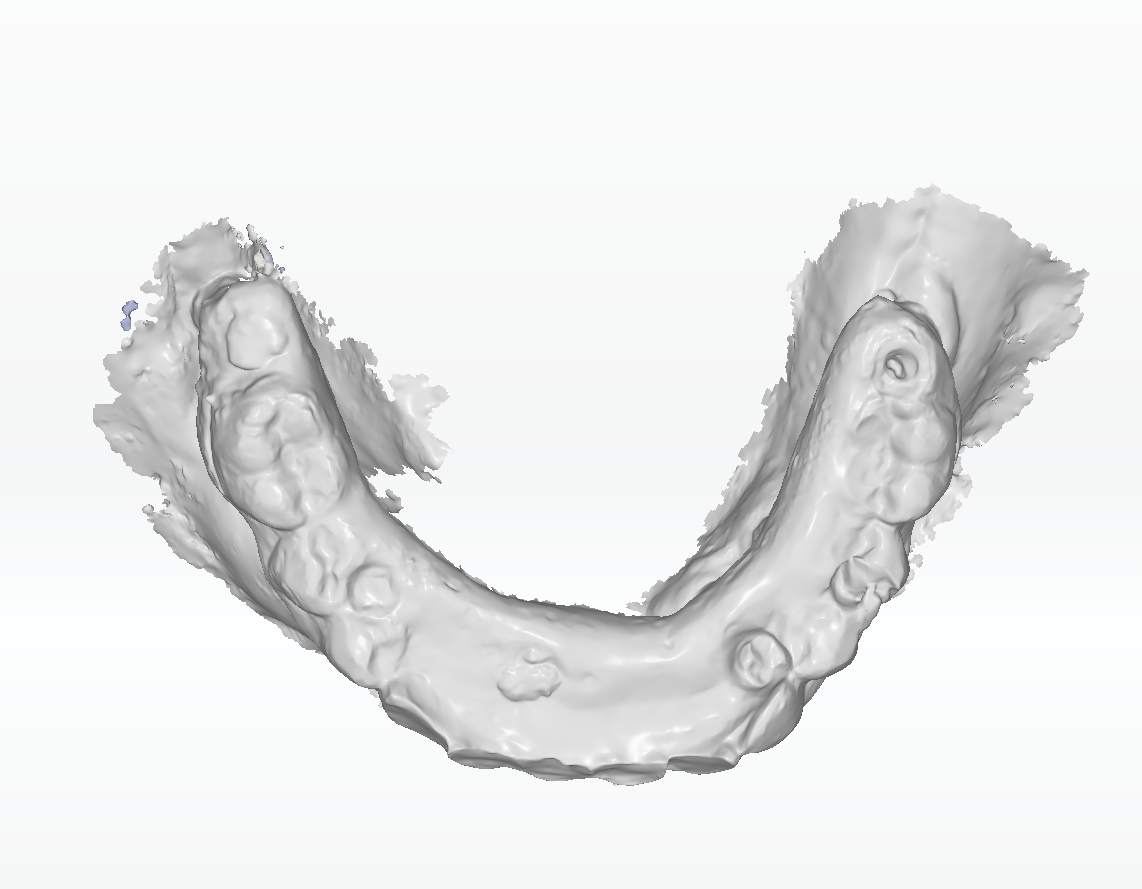
Scan the pre-op upper jaw and pre-op lower jaw with the temporary denture, as well as the pre-op bite.
| Pre-op upper jaw with the temporary denture | Pre-op lower jaw with the temporary denture |
|---|---|
 |
 |
Note
When scanning jaws with the temporary denture, ![]() All-on-X Provisional Denture Scanning will be enabled by default for optimizing scanning process of temporary denture.
All-on-X Provisional Denture Scanning will be enabled by default for optimizing scanning process of temporary denture.
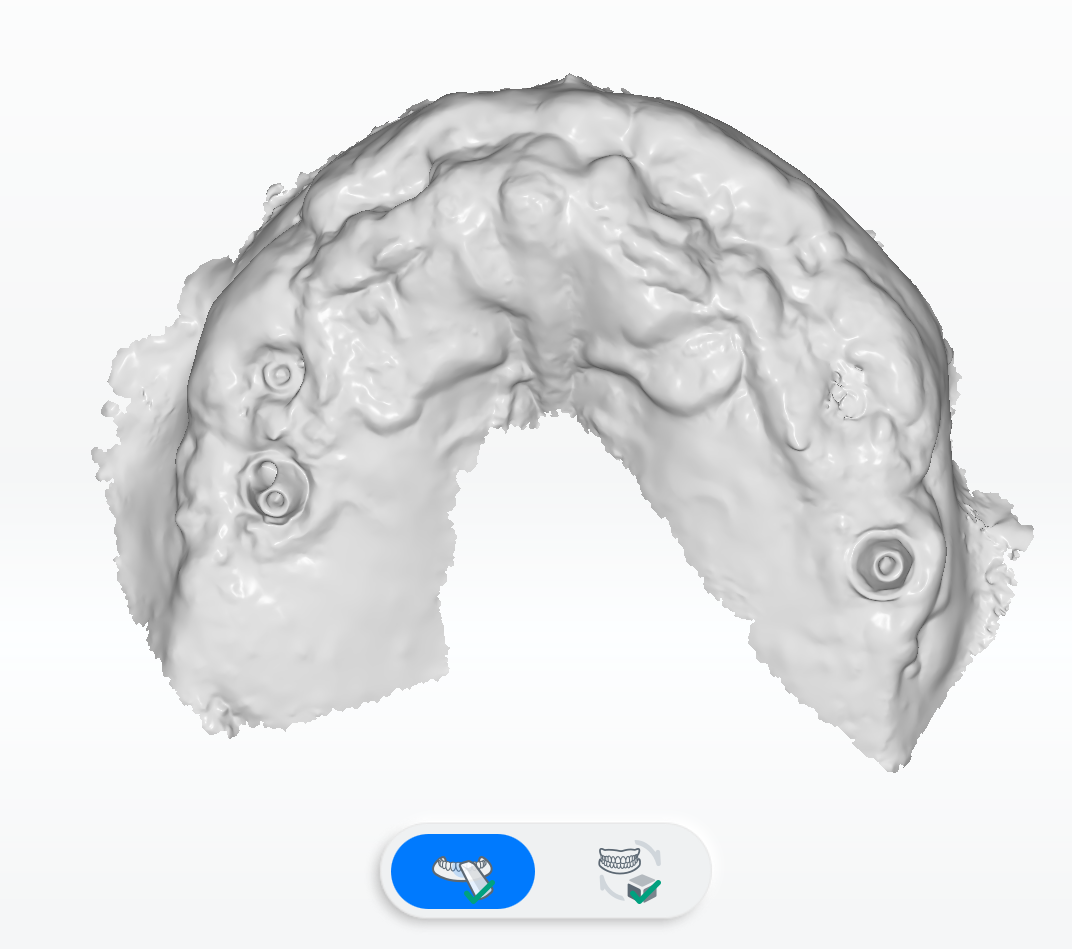
Jaw scanning
Scan the edentulous upper/lower jaw and align the temporary denture with the gingiva.
It is divided into ![]() Scan and
Scan and ![]() Align.
Align.
Scan steps
Scan the upper/lower jaw. After that, click ![]() .
.
Note
Extra match is supported during scanning.
Align steps
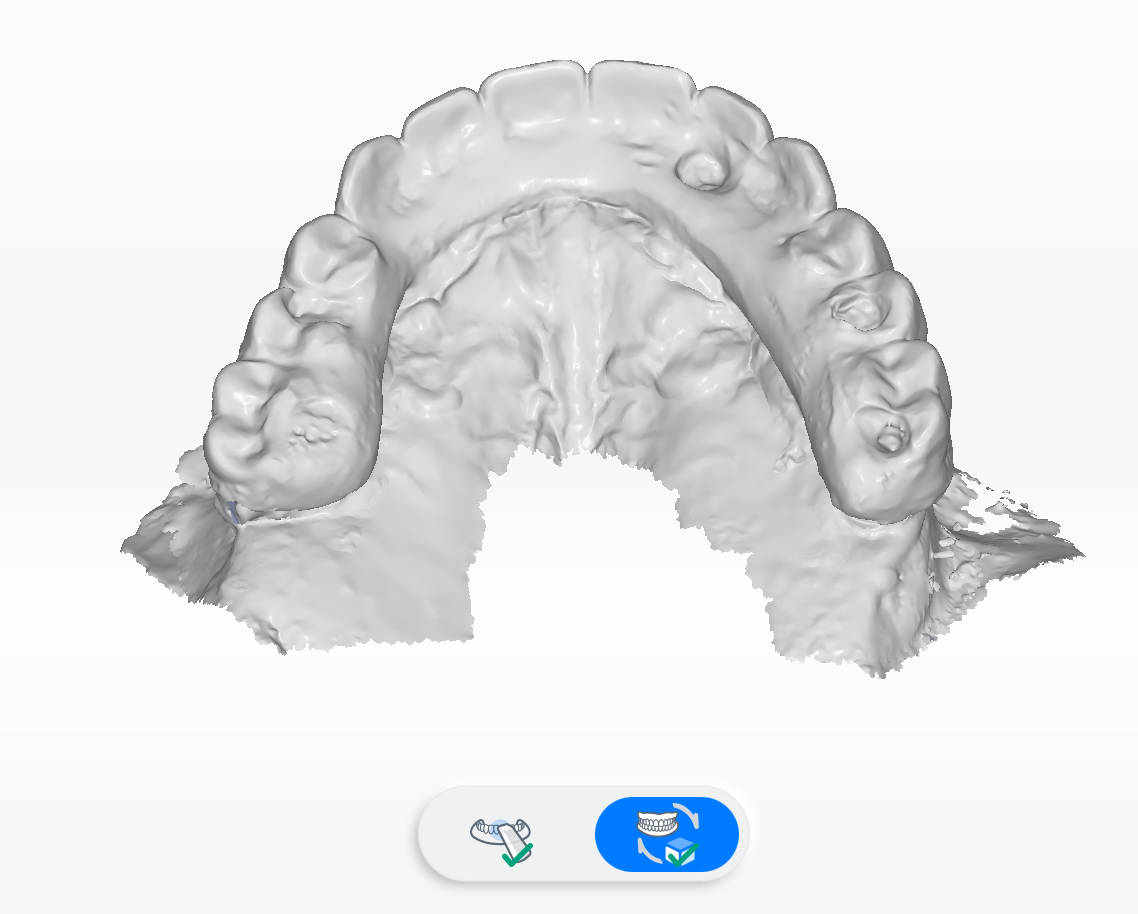
The scanned upper jaw/lower jaw will be automatically aligned with the temporary denture. Scanned data will be displayed on the right.
|
If something is wrong with the automatic alignment, please select the upper jaw/lower jaw and click Steps:
|
Implant scanning
Please install the coded scanbodies first and then scan them.
Install the coded scanbody
-
Prepare the coded scanbody and the special screwdriver.
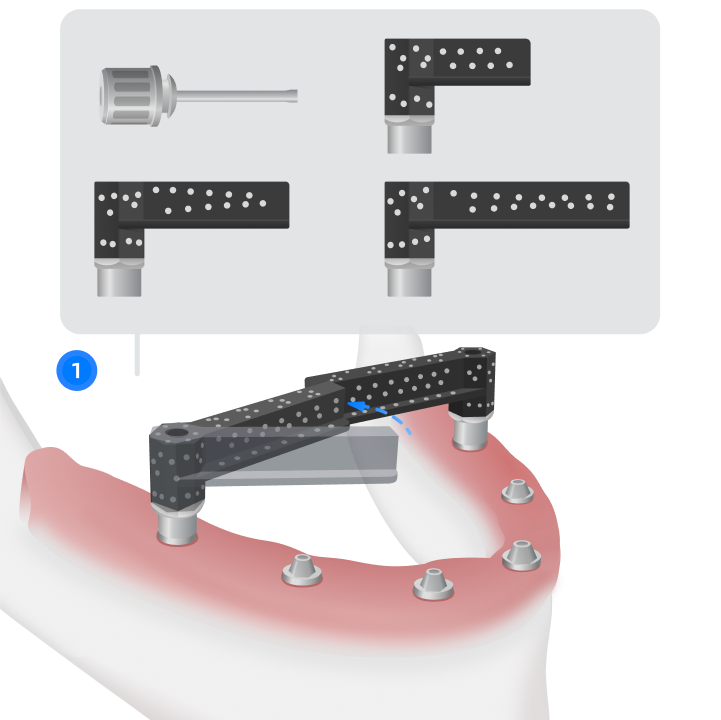
-
Install a coded scanbody with appropriate length at the corresponding implant.
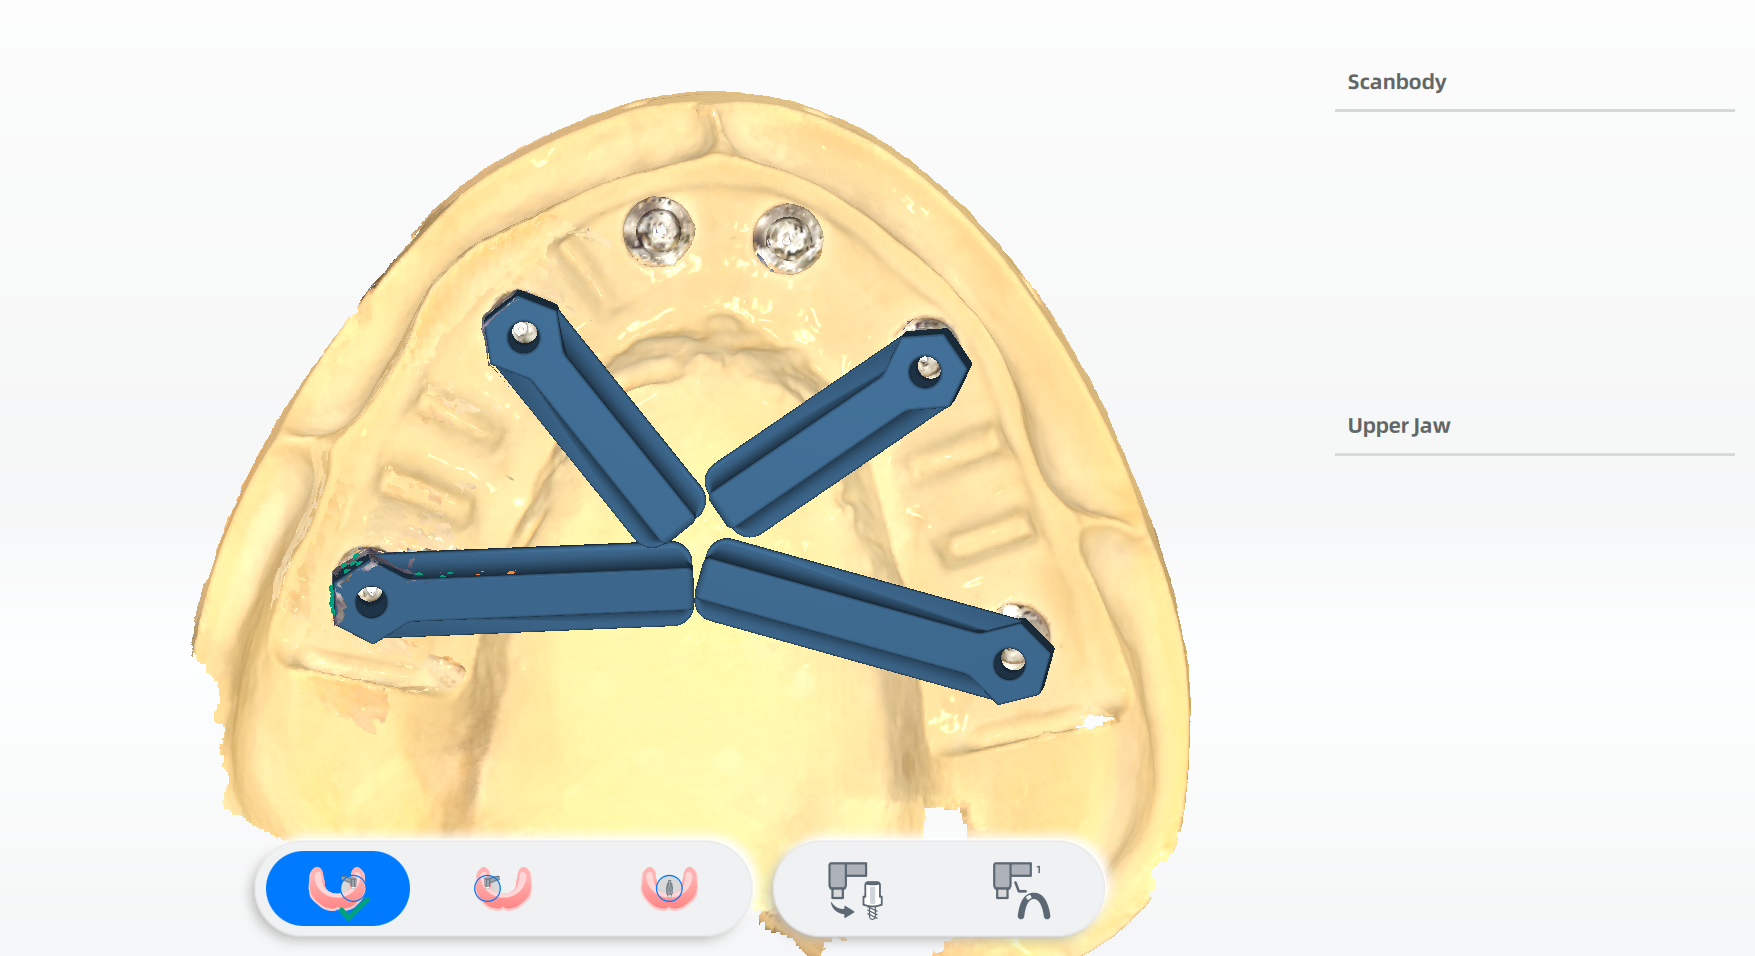
-
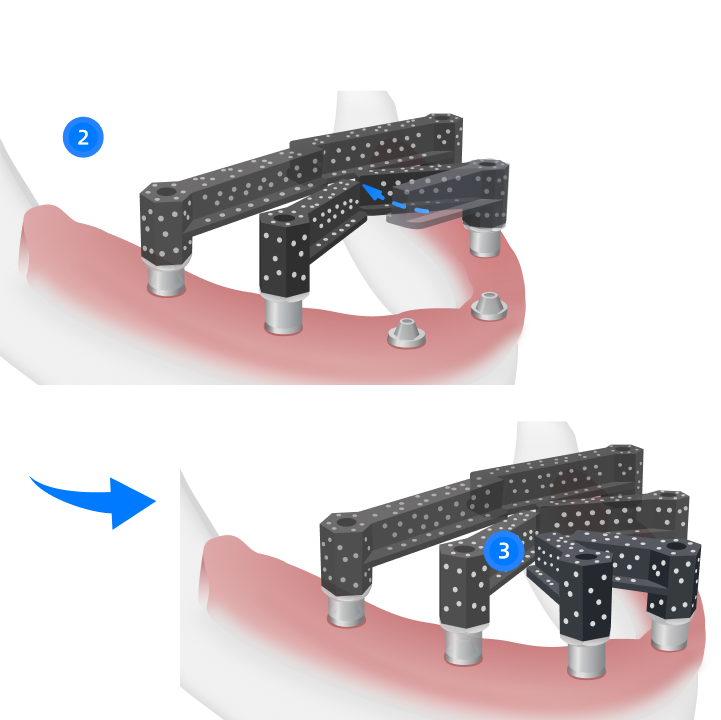
Adjust the orientation be gathering the ends of the coded scanbody towards the palatal side/lingual side. Try to contain 2 coded scanbodies within the scanner window.
-
Fix the coded scanbody with a screwdriver (About 10N·cm is suggested).
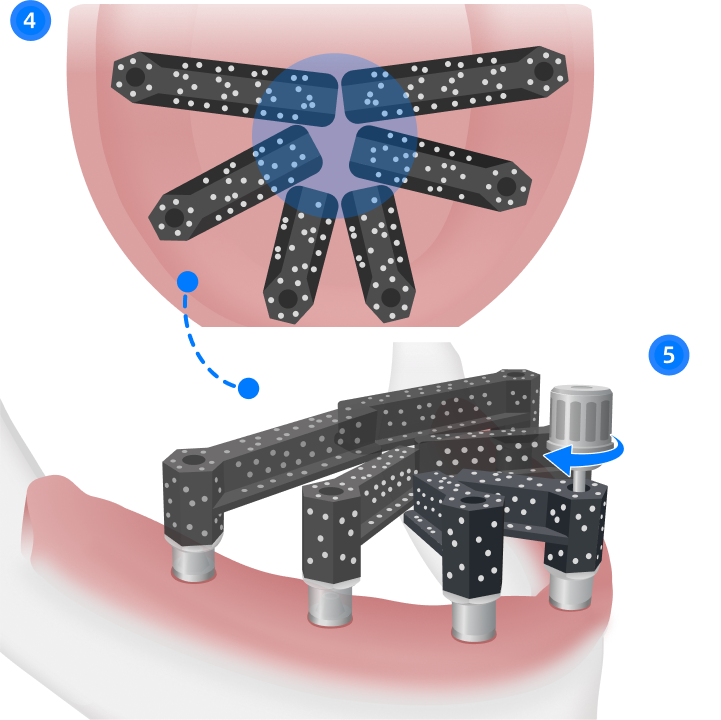
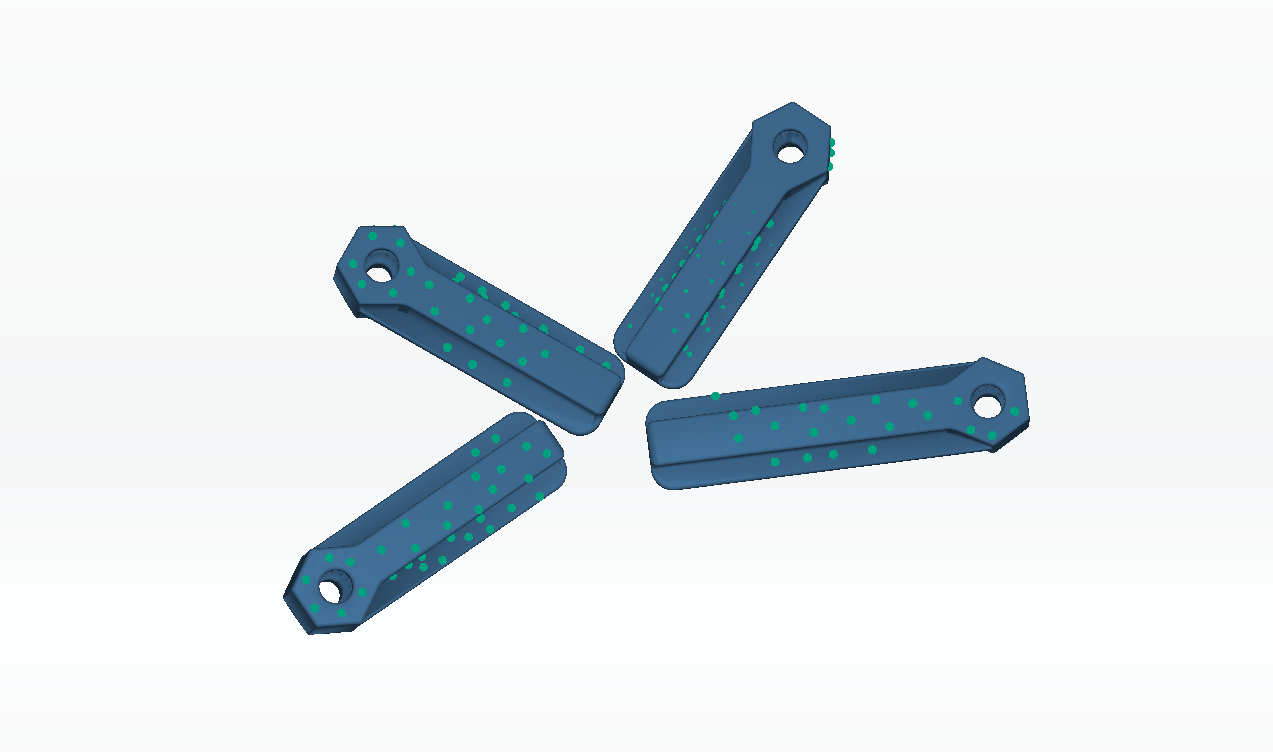
Scan the coded scanbody
- Follow the path showing in the software to scan the whole structure of the coded scanbodies. The markers on the scanbody which have been scanned are displayed in green.
-
Follow the path showing in the software to scan each rod again in fine detail.
Note
Try to contain 2 scanbodies within the scanner window.
-
Click
 to finish scanning.
Scan in groups
If the implants are so closer to each other that the coded scanbodies can not be scanned as a whole at the same time, you can scan them in groups.
- After scanning one group, click
 to add another.
 - Click to select the coded scanbody that needs to be removed (to unselect it, please click again) and remove it.
- Install another coded scanbody onto the implant that has not been scanned and scan it.
-
Click
to finish scanning.
Note
It is supported to add only one group.
Gingiva alignment
Scan the connection between the coded scanbody and the gingiva to align them.

The scanned upper jaw/lower jaw will be automatically aligned with the temporary denture. Scanned data will be displayed on the right.
|
If something is wrong with the automatic alignment, please select the upper jaw/lower jaw and click Steps:
|
After the alignment, conversion and mark of the scanbodies are needed.
Conversion and mark
After the alignment, the coded scanbodies can be conversed and marked.
Note
- Conversion and mark of the scanbodies can be done in Dental Cloud as well.
- To converse and mark the coded scanbody, please scan the coded scanbody first.
Conversion of the coded scanbody
To match the coded scanbody with the implant and make sure that the scanned data is useful, you can click ![]() to converse the coded scanbody when the alignment is paused or finished.
to converse the coded scanbody when the alignment is paused or finished.
-
Click
 to enter the interface of conversion.
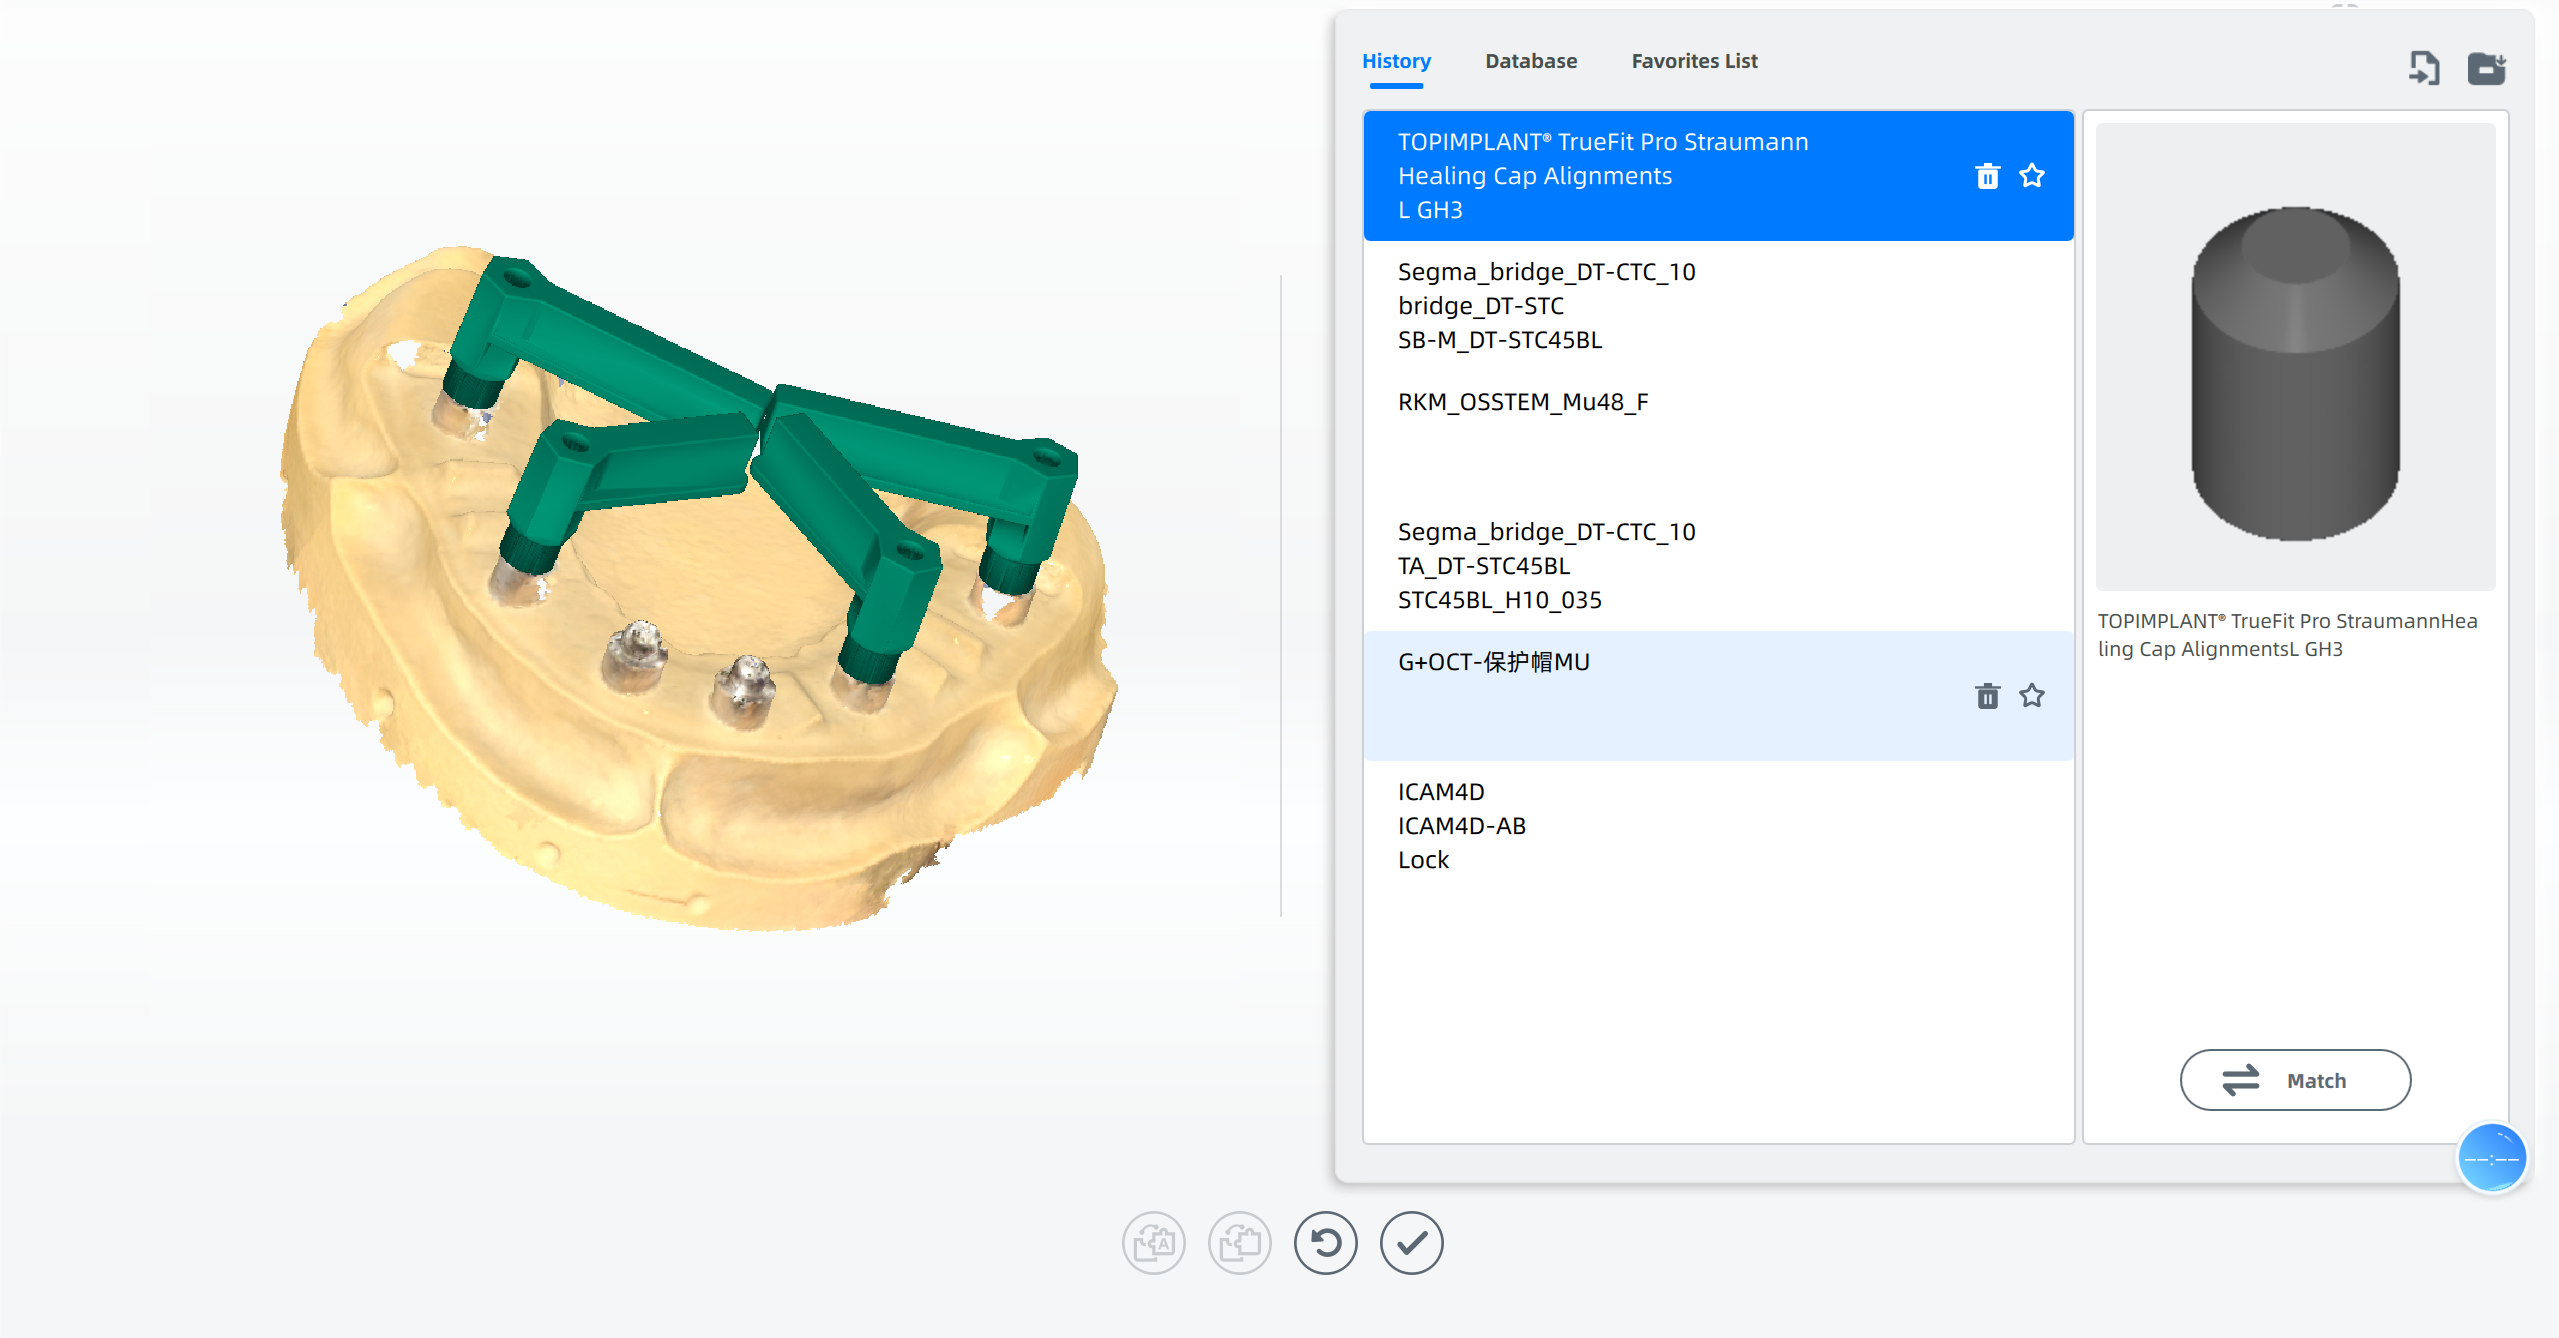
-
Select the type. Click Manufacturer Implant Type Sub Type.
Or enter the name of the scanbody to search the certain one. Or click
 to import a local file.
Click
 to download database of implant systems.
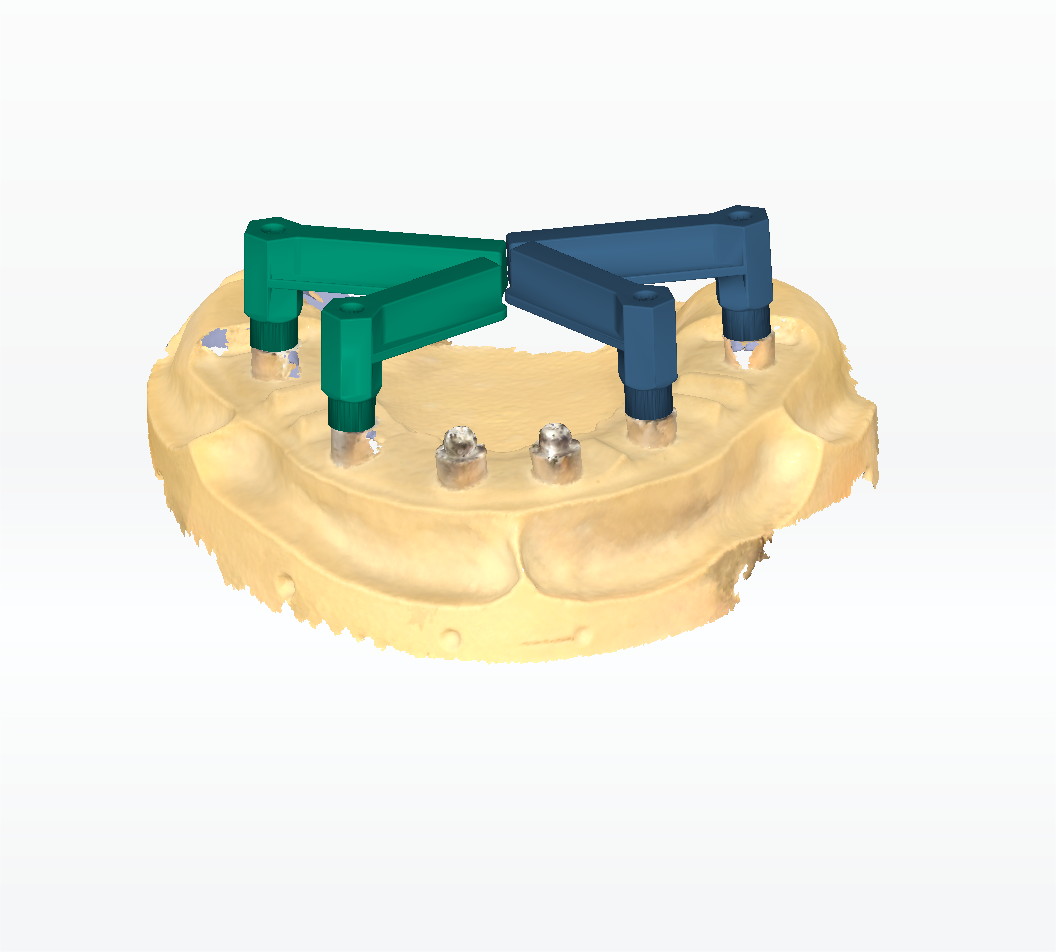
 -
Confirm the coded scanbody. All coded scanbodies are selected in green by default.
Note
To converse part of coded scanbodies to other types of implants, please click other scanbodies to unselect them and click Match to converse remained ones.
-
Click Match.
Note
- The users can click to add the implant into the favorites list for further use.
- By rotating/zooming in and out the coded scanbodies, you can check the effect after conversion.
-
Click
to save the current conversion and return back to the alignment.Click
 to reset the conversion.
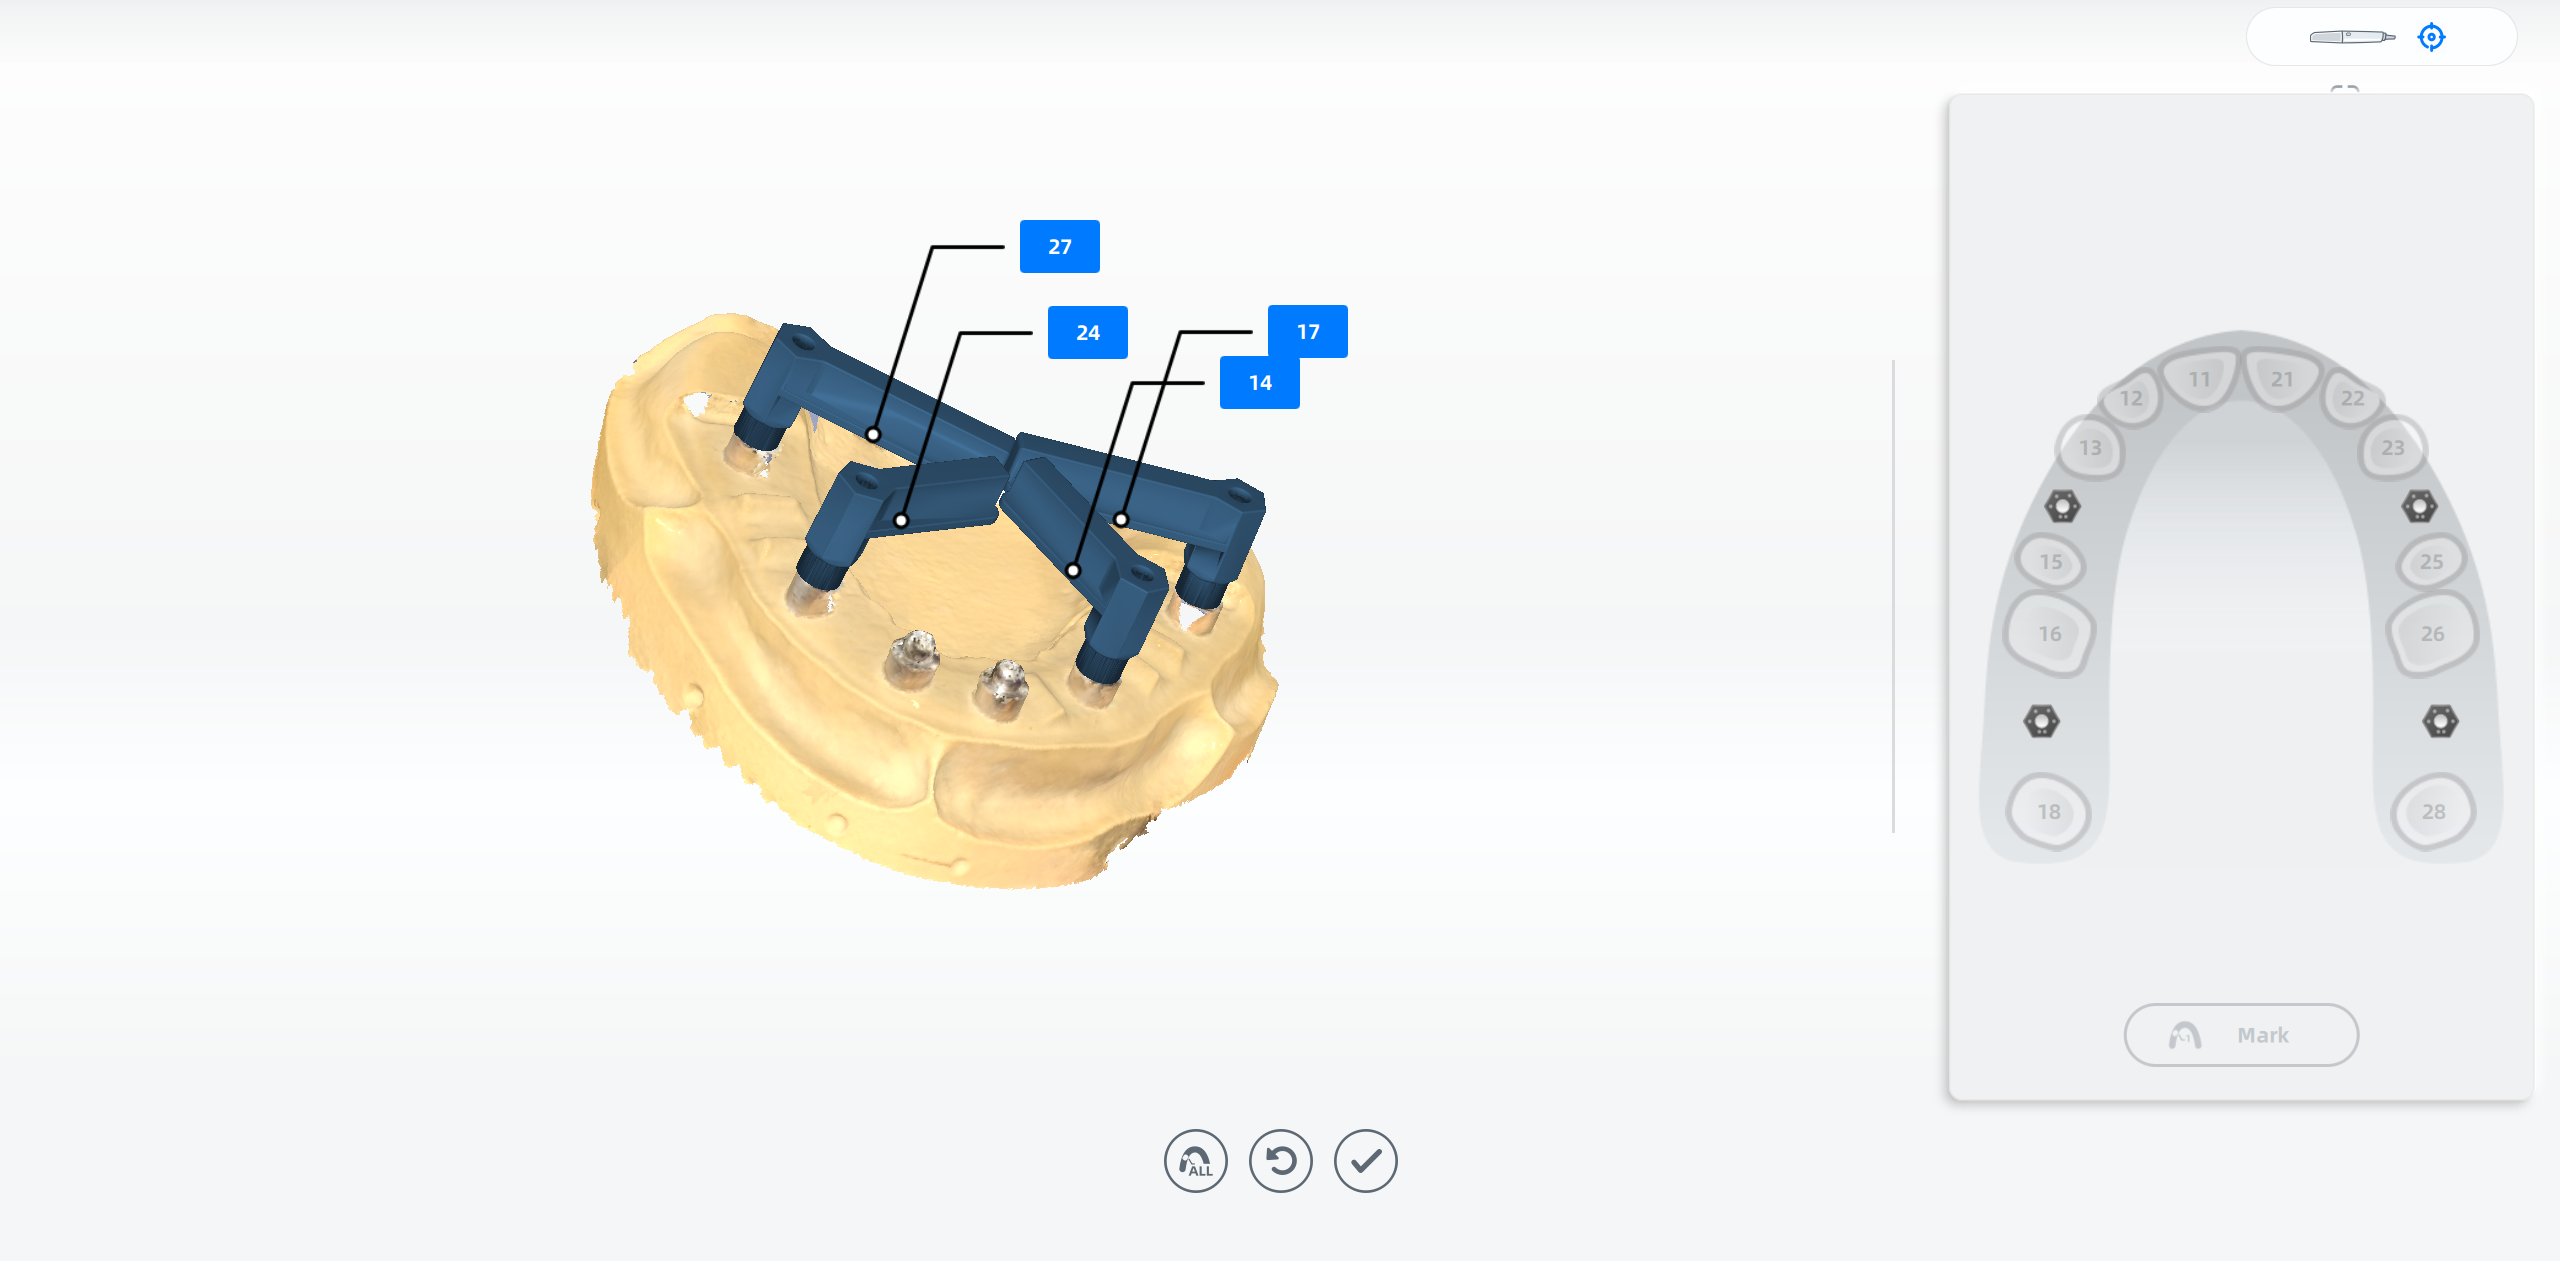
Mark of the coded scanbody
Click ![]() to mark the coded scanbody.
to mark the coded scanbody.
- Click
 to enter the interface.
 - Select the tooth on the tooth map.
- Select the corresponding coded scanbody.
-
Click Mark to add a tooth label on the coded scanbody.
-
Repeat step 3 to step 4 till all coded scanbodies are marked.
Or click
 to mark all coded scanbodies.
-
Click
to save and return back to the alignment.If you want to reset the marks, please click
.
Bite alignment
After scanning, you can check the bite alignment again.
Click ![]() to finish the whole procedure.
to finish the whole procedure.