Intraoral photogrammetry scanning with cap scanbody
In edentulous cases of immediate implantation or immediate restoration, the soft tissues will be transformed after installing coded scanbodies. Thus, cap scanbodies can be used to locate the implants on the soft tissues more accurately.
This chapter introduces the scanning process of intraoral photogrammetry with cap scanbody in edentulous cases of immediate implantation.
Suggested scanning process
Example 1:
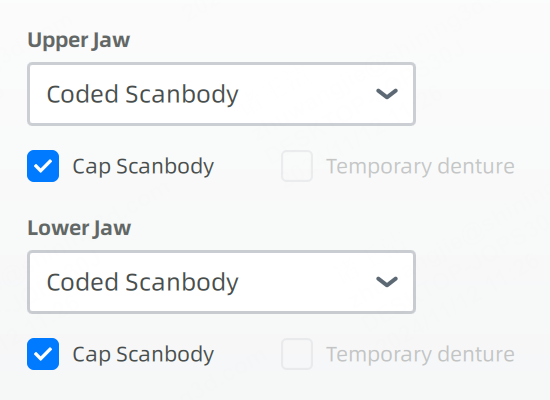
Both upper jaw and lower jaw are working jaws and without temporary denture.
Col
The suggested scanning process is:
-
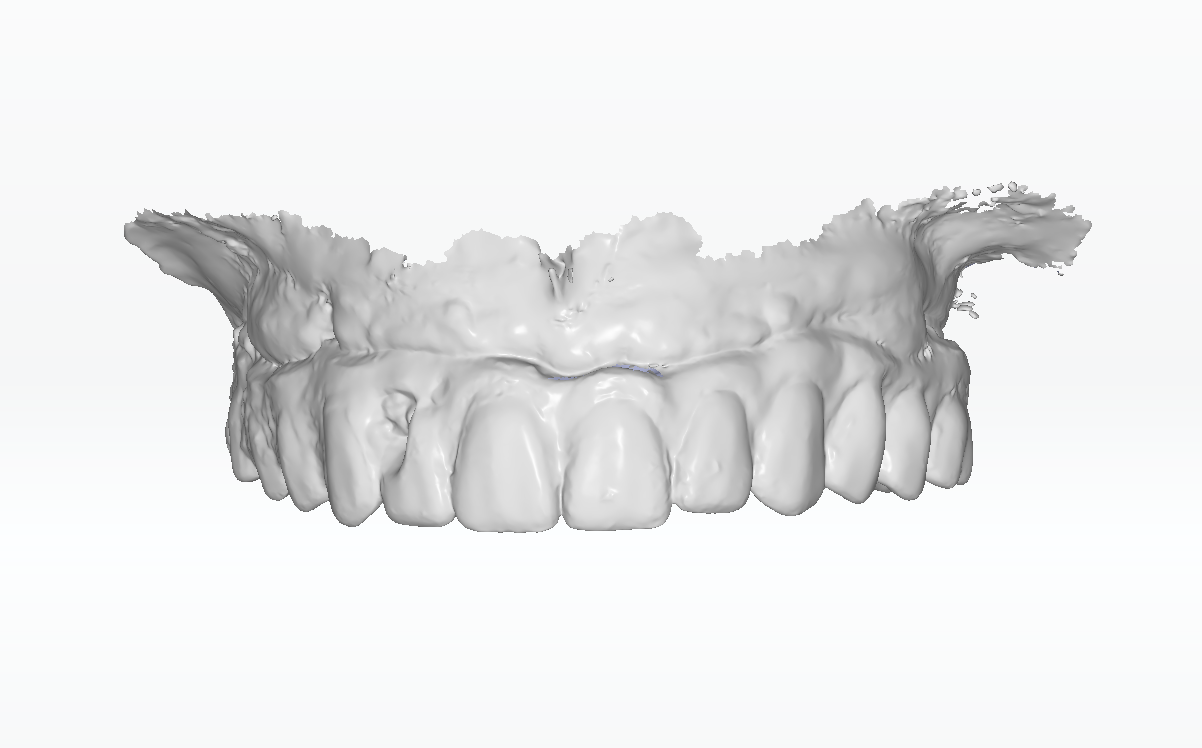
Upper jaw:
-
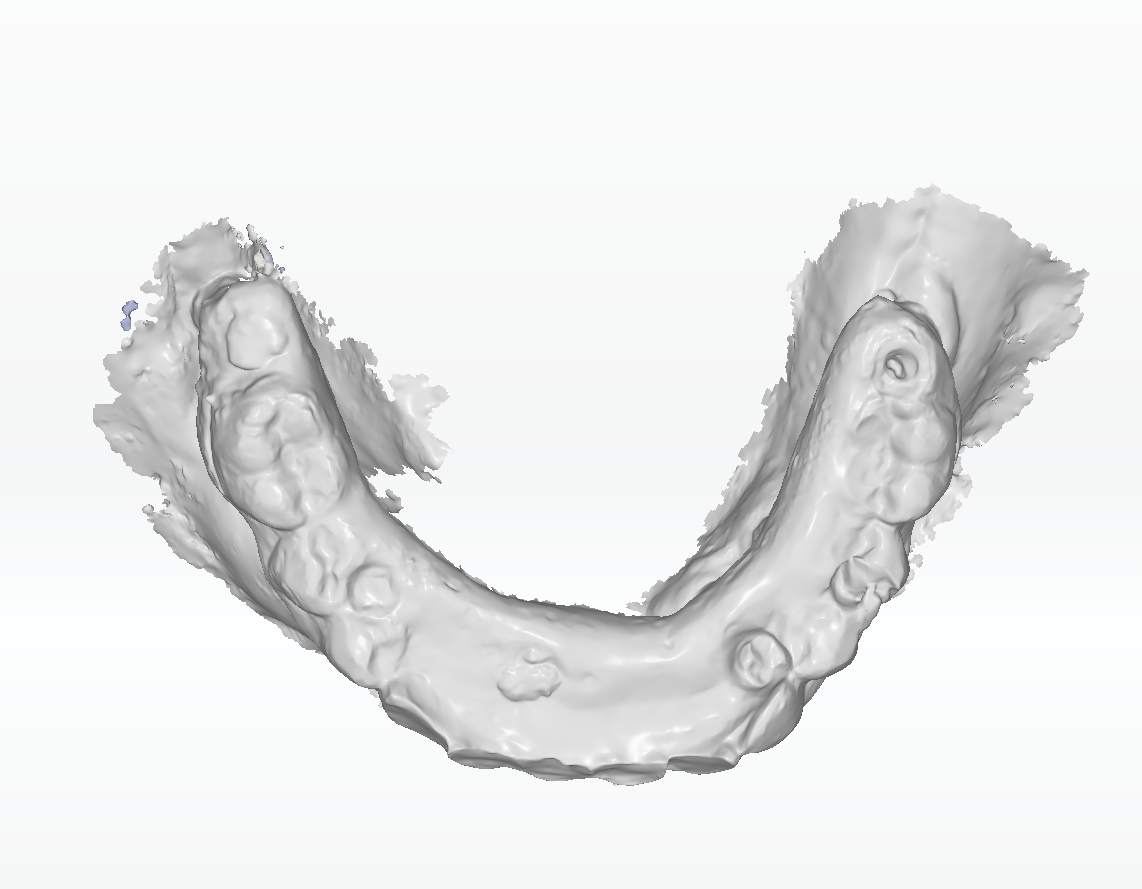
Lower jaw
(same process with those of the upper jaw)
-
Bite scanning
Col

Example 2:
Both upper jaw and lower jaw are working jaws with temporary denture.
Col
The suggested scanning process is:
- Temporary denture scanning
- Bite scanning
-
Upper jaw
-
Lower jaw
(same process with those of the upper jaw)
-
Bite check
Col


Temporary denture scanning
Scan the pre-op upper jaw and pre-op lower jaw with the temporary denture, as well as the pre-op bite.
| Pre-op upper jaw with the temporary denture | Pre-op lower jaw with the temporary denture |
|---|---|
 |
 |
Note
When scanning jaws with the temporary denture, ![]() All-on-X Provisional Denture Scanning will be enabled by default for optimizing scanning process of temporary denture.
All-on-X Provisional Denture Scanning will be enabled by default for optimizing scanning process of temporary denture.
Coded scanbody scanning
The steps of scanning the coded scanbody can be found in Implant scanning.
Note
- Skipping coded scanbody scanning is also supported.
- If the coded scanbodies are not scanned, conversion and mark are not supported.
Cap scanbody scanning
Install the cap scanbodies and start scanning. It can be divided into ![]() Cap Scanbody,
Cap Scanbody, ![]() Scanbody Alignment and
Scanbody Alignment and ![]() Denture Alignment.
Denture Alignment.
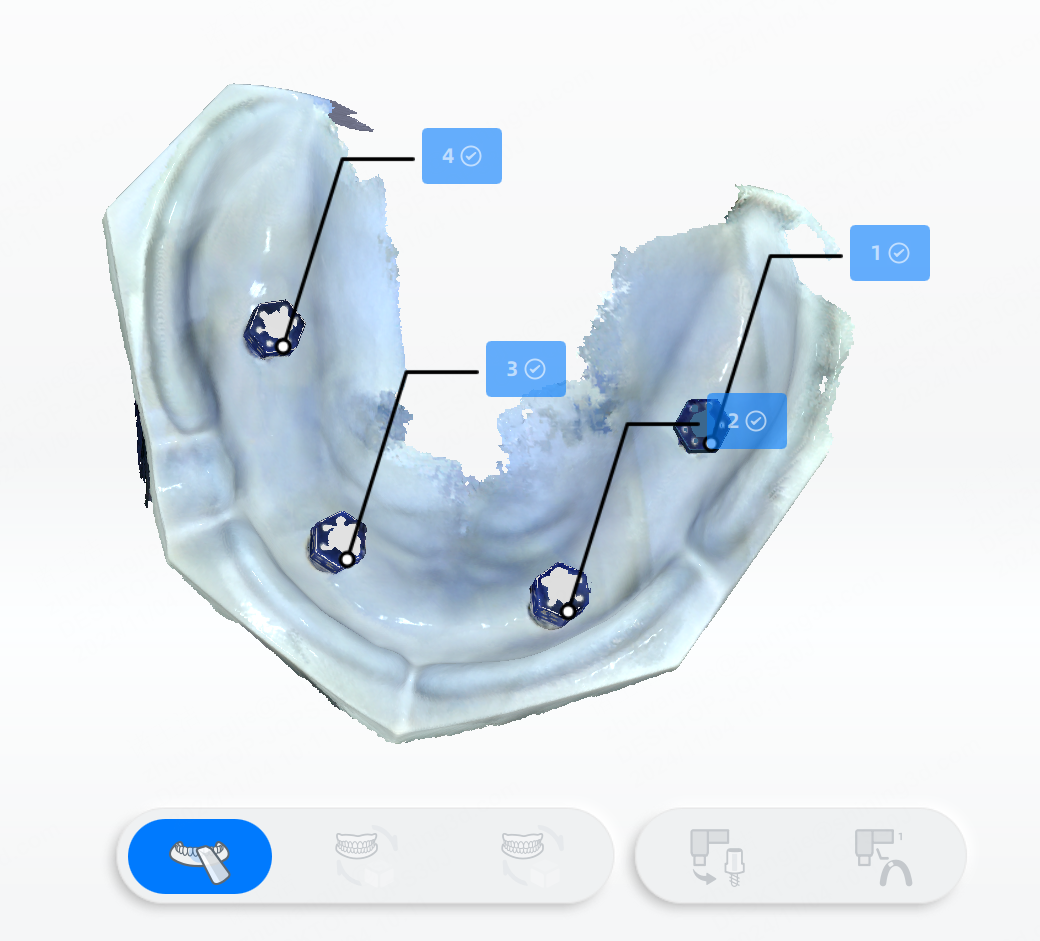
Step 1: Cap Scanbody
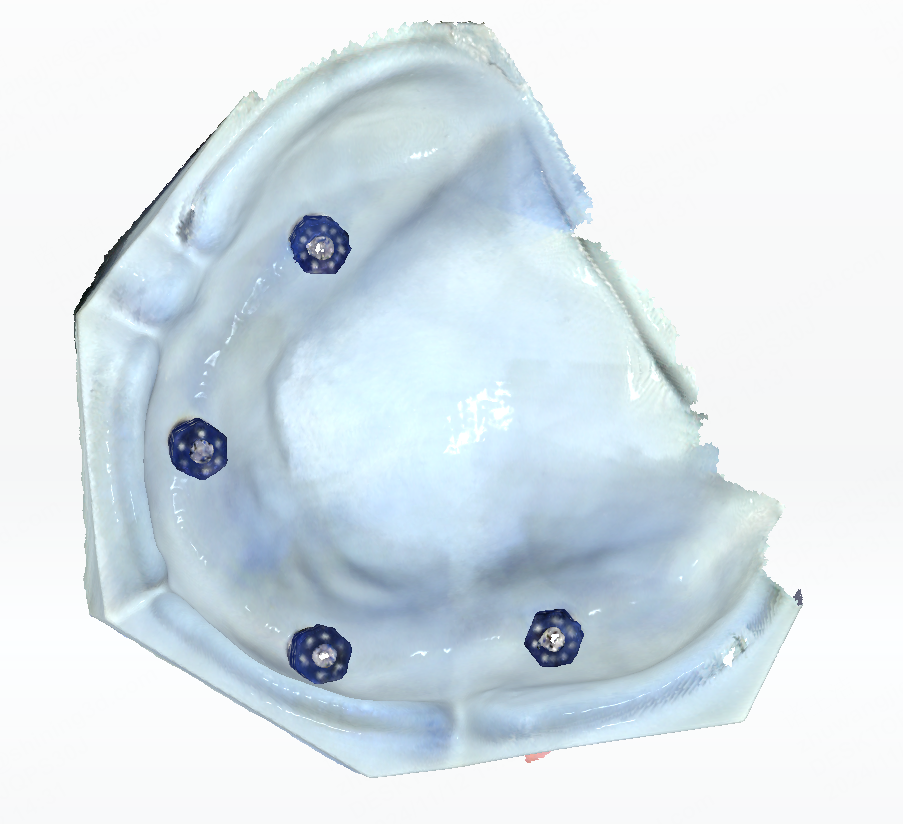
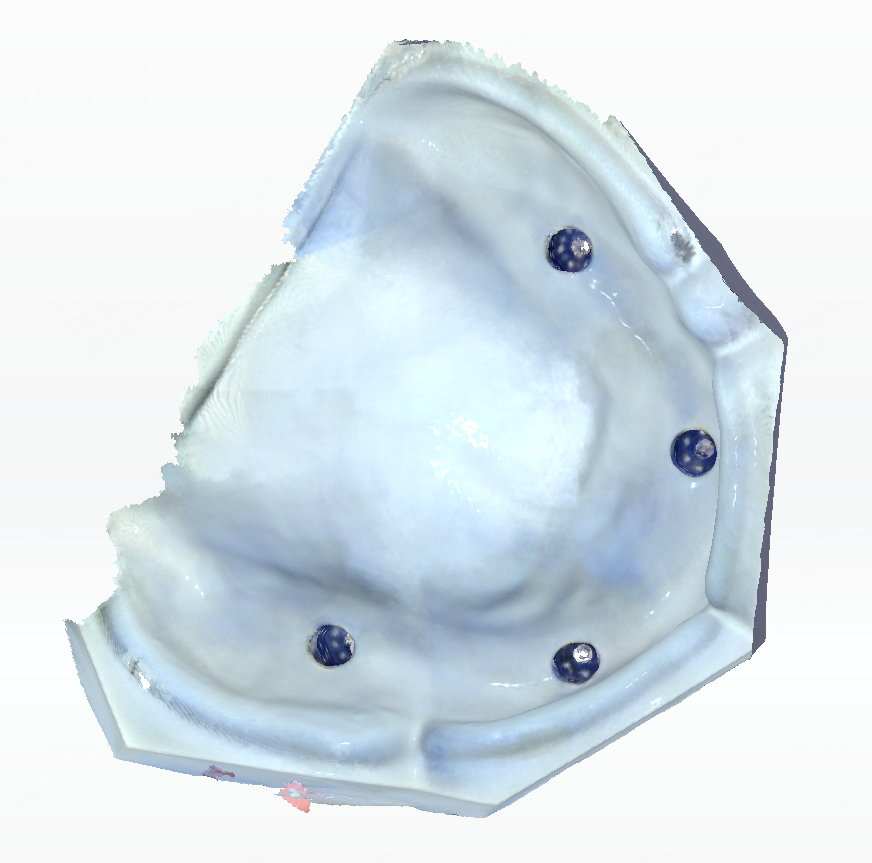
- Scan the gingiva and cap scanbody completely. The scanned cap scanbody will be numbered and aligned with the gingiva.
- Click
 to finish scanning and go to step 2.
Caution
To align with the coded scanbodies, the number of cap scanbodies should be no less than 2.
Manual alignment is also supported. Click
 to align the cap scanbodies with gingiva manually.
Click ![]() to enter the interface of manual alignment. The scanned scanbodies and the gingiva are displayed on the left, while the data of cap scanbody is displayed on the right.
to enter the interface of manual alignment. The scanned scanbodies and the gingiva are displayed on the left, while the data of cap scanbody is displayed on the right.
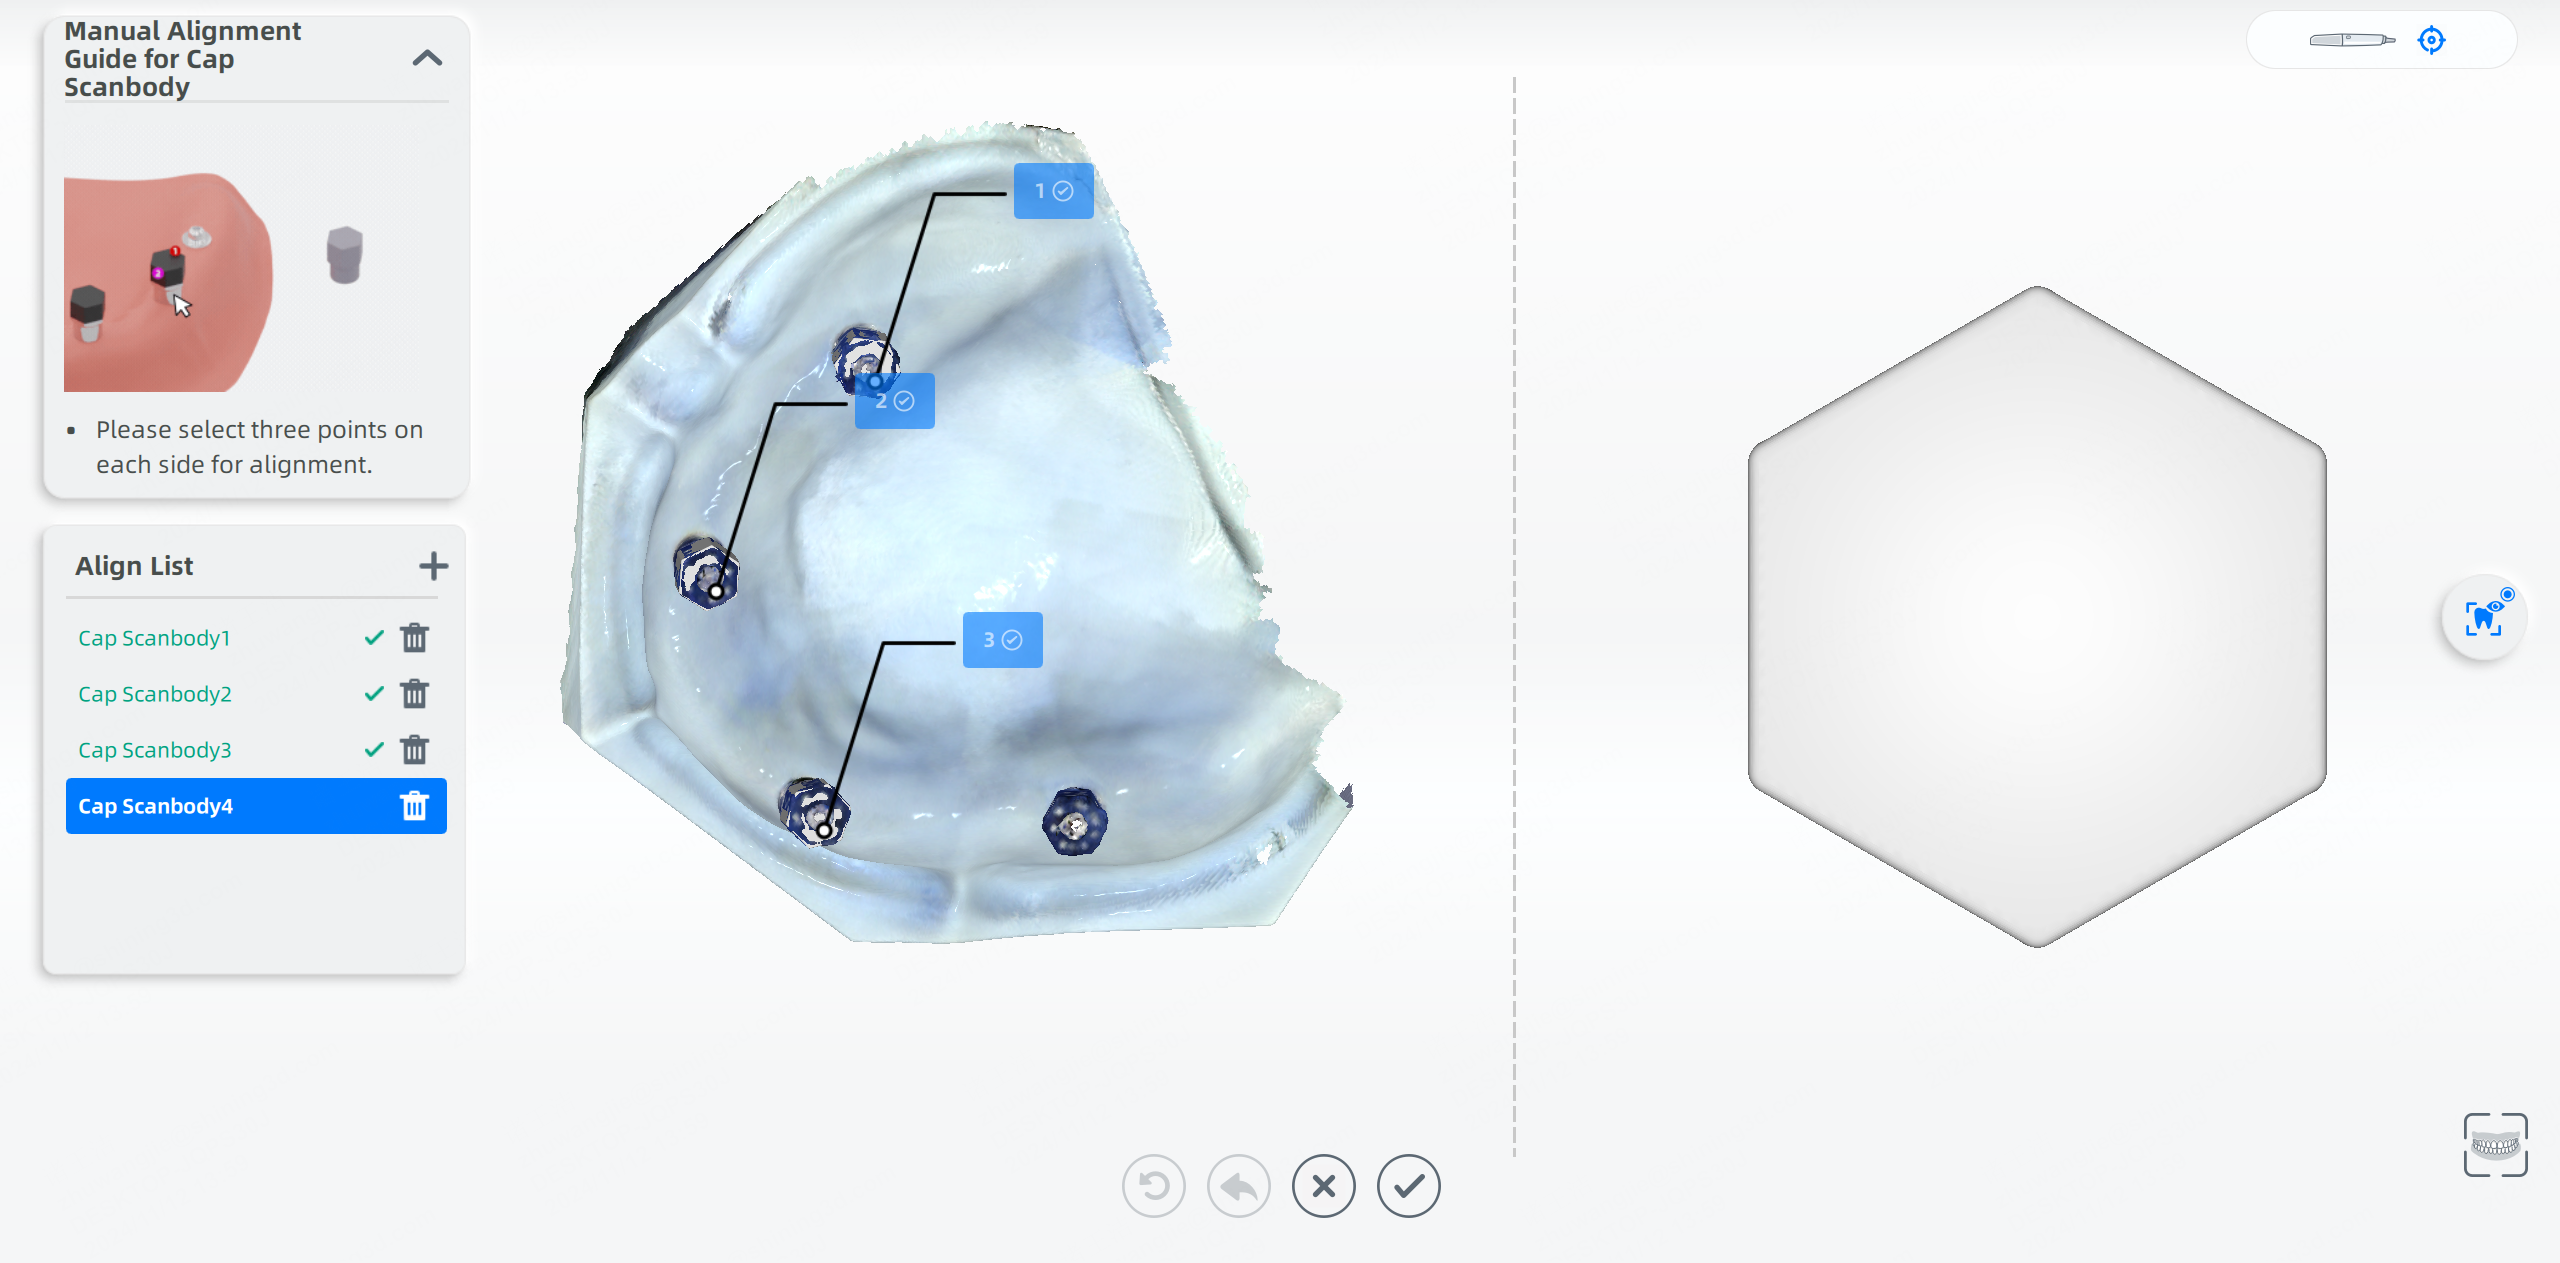
- Select the cap scanbody on the align list (for example, the Cap Scanbody 1).
-
Rotate the scanned model on the left and the cap scanbody on the right to the same position and double-click to choose 3 points on the models respectively.
-
After choosing points, you can preview the alignment effect.
Other operations
Col
 Reset: Delete all points on the model.
 Undo: Undo the last selected point.
 Cancel: Cancel the changes and exit.
Col
- Confirm: Confirm the manual alignment.
 Add: Add another cap scanbody (Maximum: 6).
 Delete: Delete the cap scanbody.
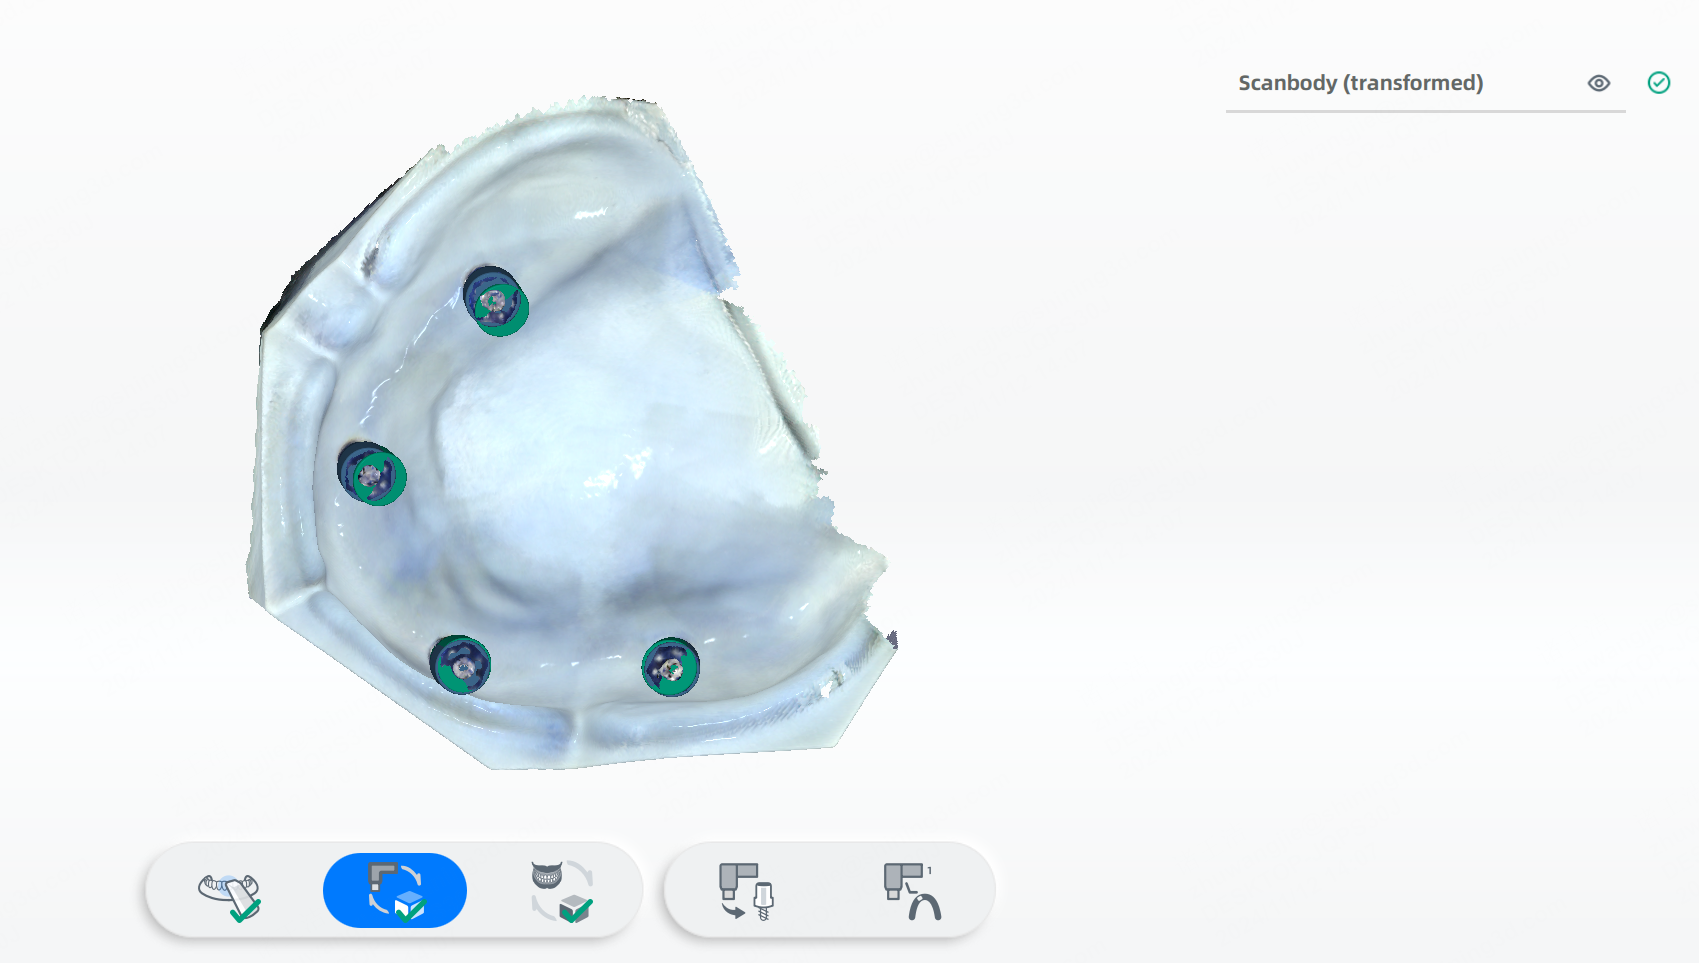
Step 2: Alignment with coded scanbody
In Step 2, the coded scanbodies, the cap scanbodies and the gingiva will be aligned together.
Click ![]() to confirm the alignment effect and go to step 3.
to confirm the alignment effect and go to step 3.
Col
![]() : Successful alignment.
: Successful alignment.
Col
![]() : Failed alignment.
: Failed alignment.
Col
![]() : Hide/show scanned models.
: Hide/show scanned models.
Click ![]() to re-align them again or click
to re-align them again or click ![]() to manually align them.
to manually align them.
Click ![]() to enter the interface of manual alignment.
to enter the interface of manual alignment.
The coded scanbodies are displayed on the right, while the cap scanbodies are displayed on the left.

- Rotate the coded scanbodies and the cap scanbodies to the same position.
-
Select at least 2 scanbodies respectively on each side. The scanbodies to be aligned together share the same color.
Caution
If there is only 2 cap scanbodies, please check Only two scanbodies exist.
-
Preview the alignment effect. Click
to confirm the effect.
Other operations
- Reset: Delete all points on the model.
- Cancel: Cancel the changes and exit.
- Confirm: Confirm the manual alignment.
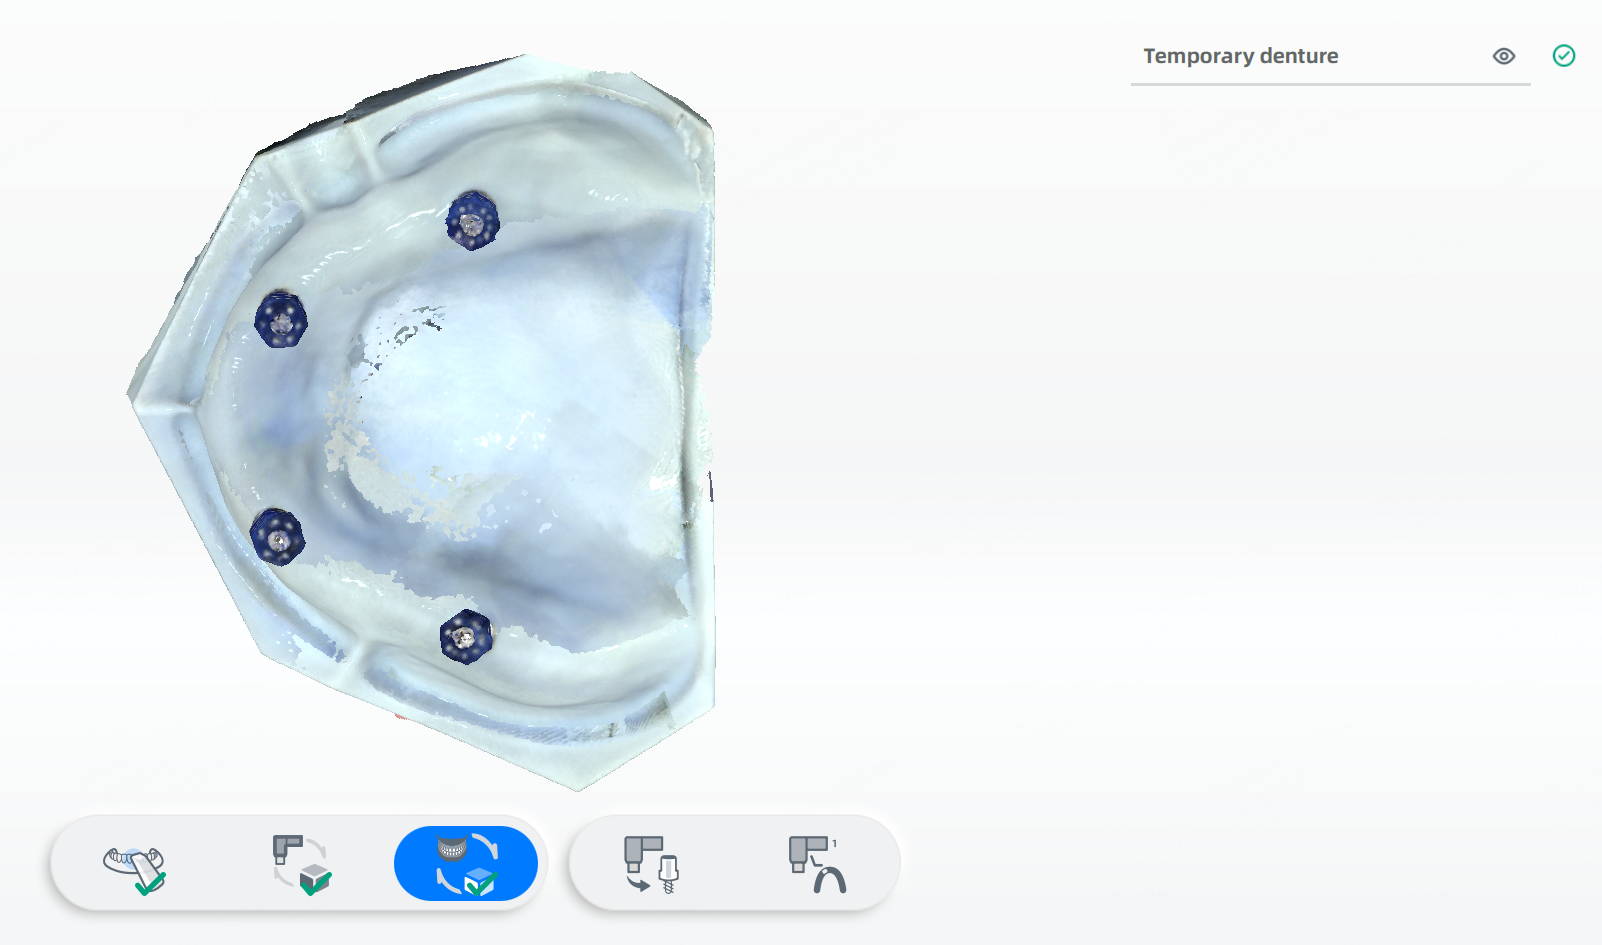
Step 3: Alignment with temporary denture
Caution
If Temporary denture is not selected when creating the order, the Step 3 is not supported.
In Step 3, the cap scanbodies and the temporary denture will be aligned.
Click ![]() to confirm the alignment effect and go to the next step.
to confirm the alignment effect and go to the next step.
Click ![]() to re-align them again or click
to re-align them again or click ![]() to manually align the cap scanbodies and the temporary denture.
to manually align the cap scanbodies and the temporary denture.
Click ![]() to enter the interface of manual alignment. The cap scanbodies are displayed on the left, while the temporary denture is displayed on the right.
to enter the interface of manual alignment. The cap scanbodies are displayed on the left, while the temporary denture is displayed on the right.
- Rotate them to the same position and double-click to choose 3 sets of points respectively.
Note
- The alignment mode include Oral Mucosal Region Alignment and Tissue Surface Alignment.
- When Tissue Surface Alignment is selected, the denture on the right should be rotated first.
Oral Mucosal Region Alignment:

Tissue Surface Alignment:
- Preview the alignment effect and click to confirm.
Other operations
- Reset: Delete all points on the model.
- Undo: Undo the last selected point.
- Cancel: Cancel the changes and exit.
- Confirm: Confirm the manual alignment.
Step 4: Conversion and mark (optional)
Conversion and mark are supported when alignment is completed.
Caution
To converse and mark the coded scanbodies, please finish scanning coded scanbody first.
Bite scanning
When the coded scanbodies and cap scanbodies on the upper jaw and lower jaw have been scanned, you can bite the scanning and check the occlusion.
Click ![]() to finish the whole scanning process.
to finish the whole scanning process.