Scanning Tools and Additional Functions
Scanning tools
Scanning tools include ![]() Edit,
Edit, ![]() Remove isolated data,
Remove isolated data, ![]() Refined area,
Refined area, ![]() Part lock,
Part lock, ![]() Undercut,
Undercut, ![]() Swap jaws.
Swap jaws.
Edit
Edit the model with the following tools.
-
 Rotate: Click and move the cursor to adjust the view of the 3D model.
 -
 Through: When Through is enabled and use Brush to paint on the model, all data within the brush range will be deleted, including underlying data that is blocked from view. It allows you to delete multi-layer data simultaneously.
When it is disabled, using the brush will only delete the surface data.
-
 Brush:
- Click and the cursor becomes a blue brush. Drag the slider to change its size.
- Move the brush to the areas you want to delete.
- Press and the area covered by the blue circle will be deleted.
- Click
-
 Free selection:
- Click .
- Move the cursor and press the left mouse button to draw a closed curve.
- Release the mouse and the selected areas will be deleted.
- Click
-
 Undo: Undo the last operation. Multi-clicking for undoing multi-operations.
  Redo: Restore the operation that has been undone. Multi-clicking for redoing multi-operation.
 Cancel: Cancel the operation.
 Confirm: Confirm the operation.
Remove isolated data
Delete smaller and isolated model data that are not connected to the main model. Help delete unrelated model data quickly.
Refined area
The area will display more partial details in a higher resolution grid during the post-op process.
This feature is best used with Tooth Color function to ensure that the quality of the tooth color is true in the refined area.
Select Refined Scan in the Settings -> Scanning Settings to automatically enter the process of refined area selection when the upper/lower jaw scanning is completed.
Part lock
When the scan is paused during the scanning process of pre-op or upper/lower jaw, click ![]() Part Lock to set the scanning lock area to ensure the data in the locked area will not change in subsequent scanning.
Part Lock to set the scanning lock area to ensure the data in the locked area will not change in subsequent scanning.
Undercut
It is used to check and calculate the undercut area on the marked teeth (in accordance with the order).
During the scanning process of upper/lower jaw, pause the scan and click Undercut.
The areas selected by the brush will be calculated automatically.
Swap jaws
Switch data of upper and lower jaw after the scanning is completed or post-processing is completed. This function is used when the upper and lower jaw is reversed during scanning.
Additional functions
| Icon | Description |
|---|---|
Texture |
Enable or disable the color display for the model. |
Scan Quality Indicator |
To show the scan quality of the model. If the gray color is displayed when scanning, it means the data quality in these area is not good enough, and the area should be scanned again. When the grey color turns into the model's true color, it means the data quality has reached the requirements for post-processing. |
Intelligent Scan |
Applied to intraoral scanning. After clicking it, miscellaneous data will be automatically deleted when scanning, such as data of buccal, lingual and soft tissues. When you use the software for the first time and enter the scanning interface, the button is gray and you need to wait for 1-2 minutes for initialization. After the initialization is completed, the button can be clicked. |
View Lock |
Check the model from one fixed perspective when scanning, and the automatic perspective tracking function is not enabled. This function is not enabled by default. |
Mental tooth scan |
Improve the scanning speed and sweep the whole situation for metal teeth.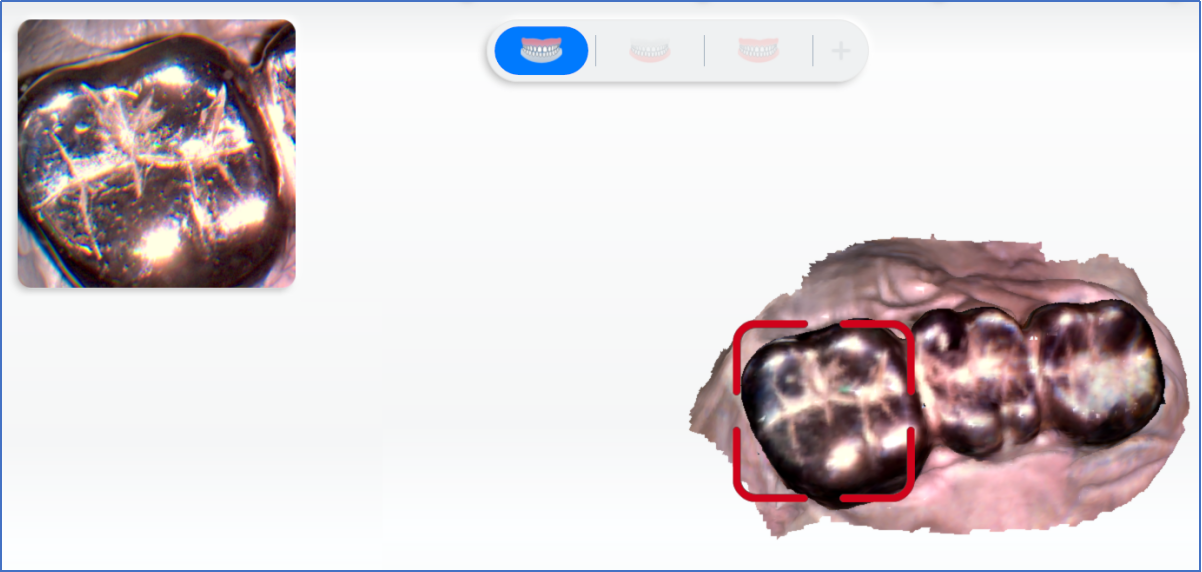 |