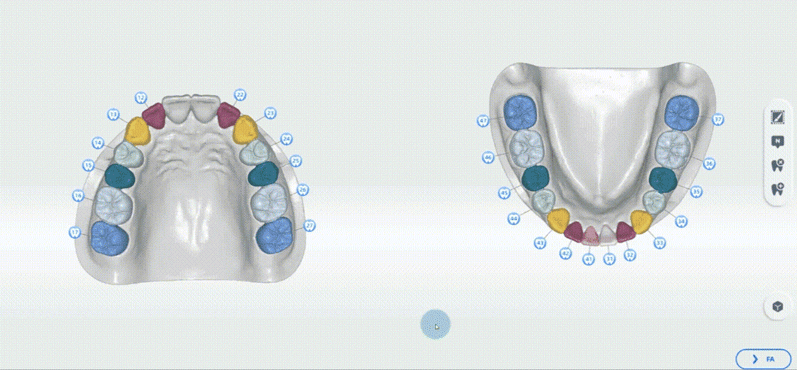
Segment
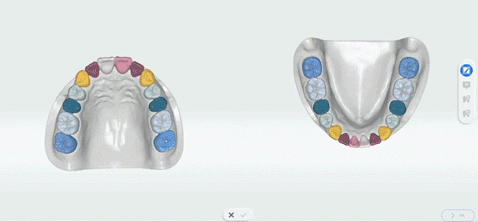
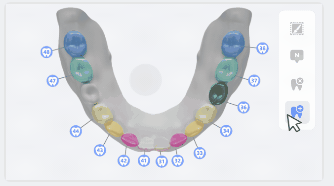
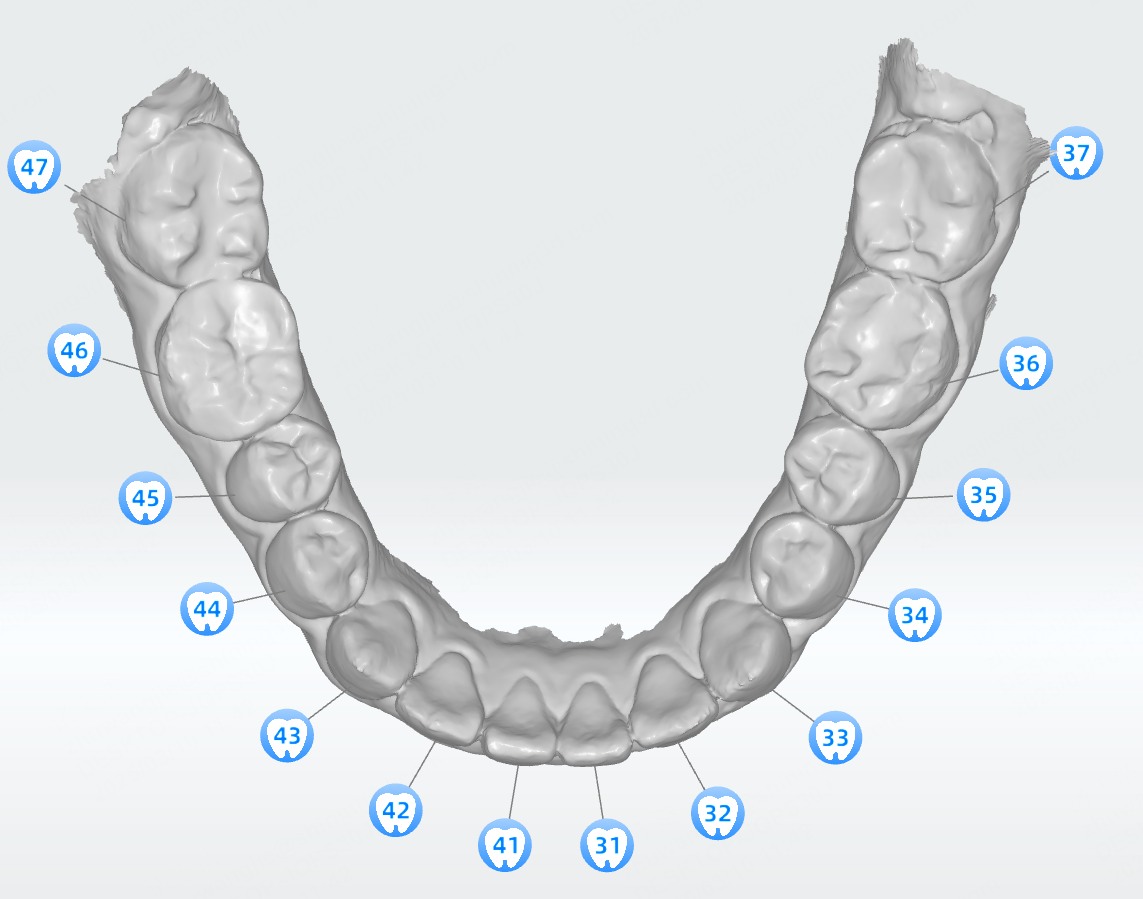
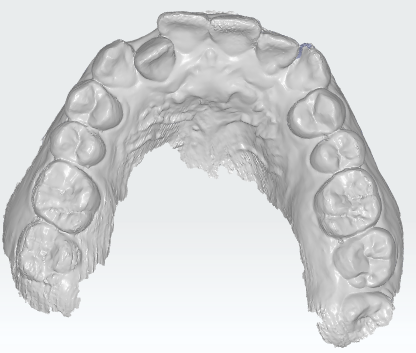
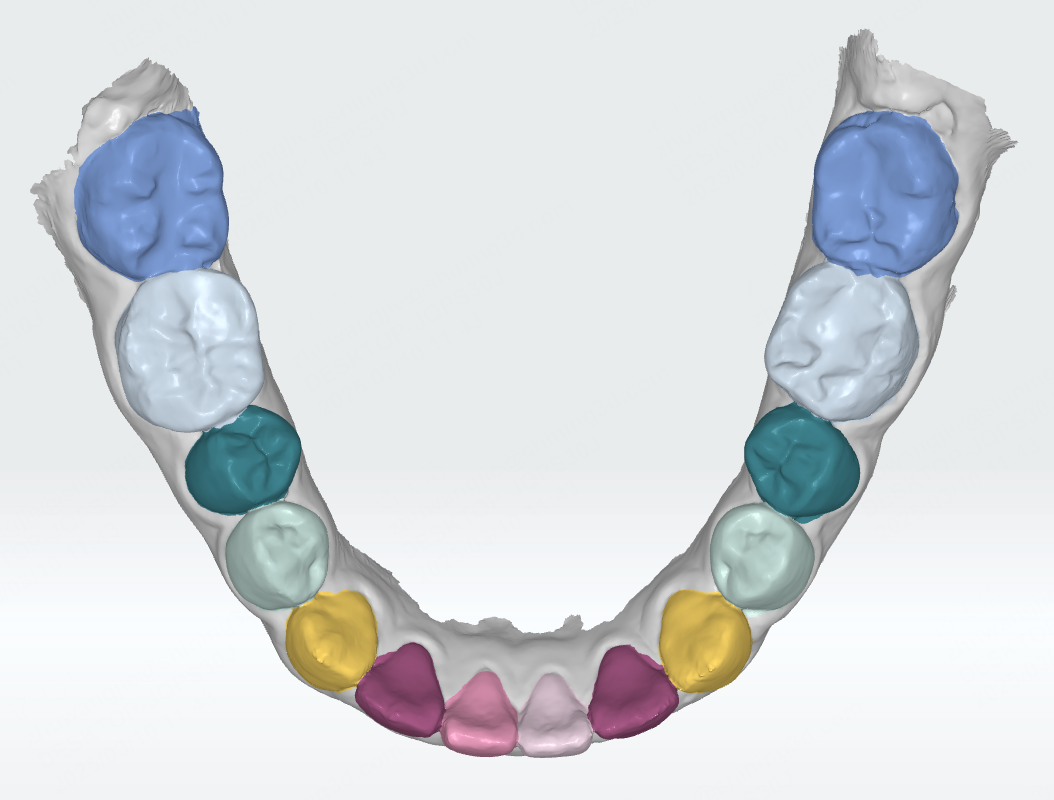
On the interface of segment, models of upper jaw and lower jaw are displayed separately. The software automatically recognizes each tooth with different colors and displays teeth numbers. Users can preview the upper jaw and lower jaw from different perspectives, check the teeth numbers, edit teeth areas, remove teeth and add teeth.
Interface
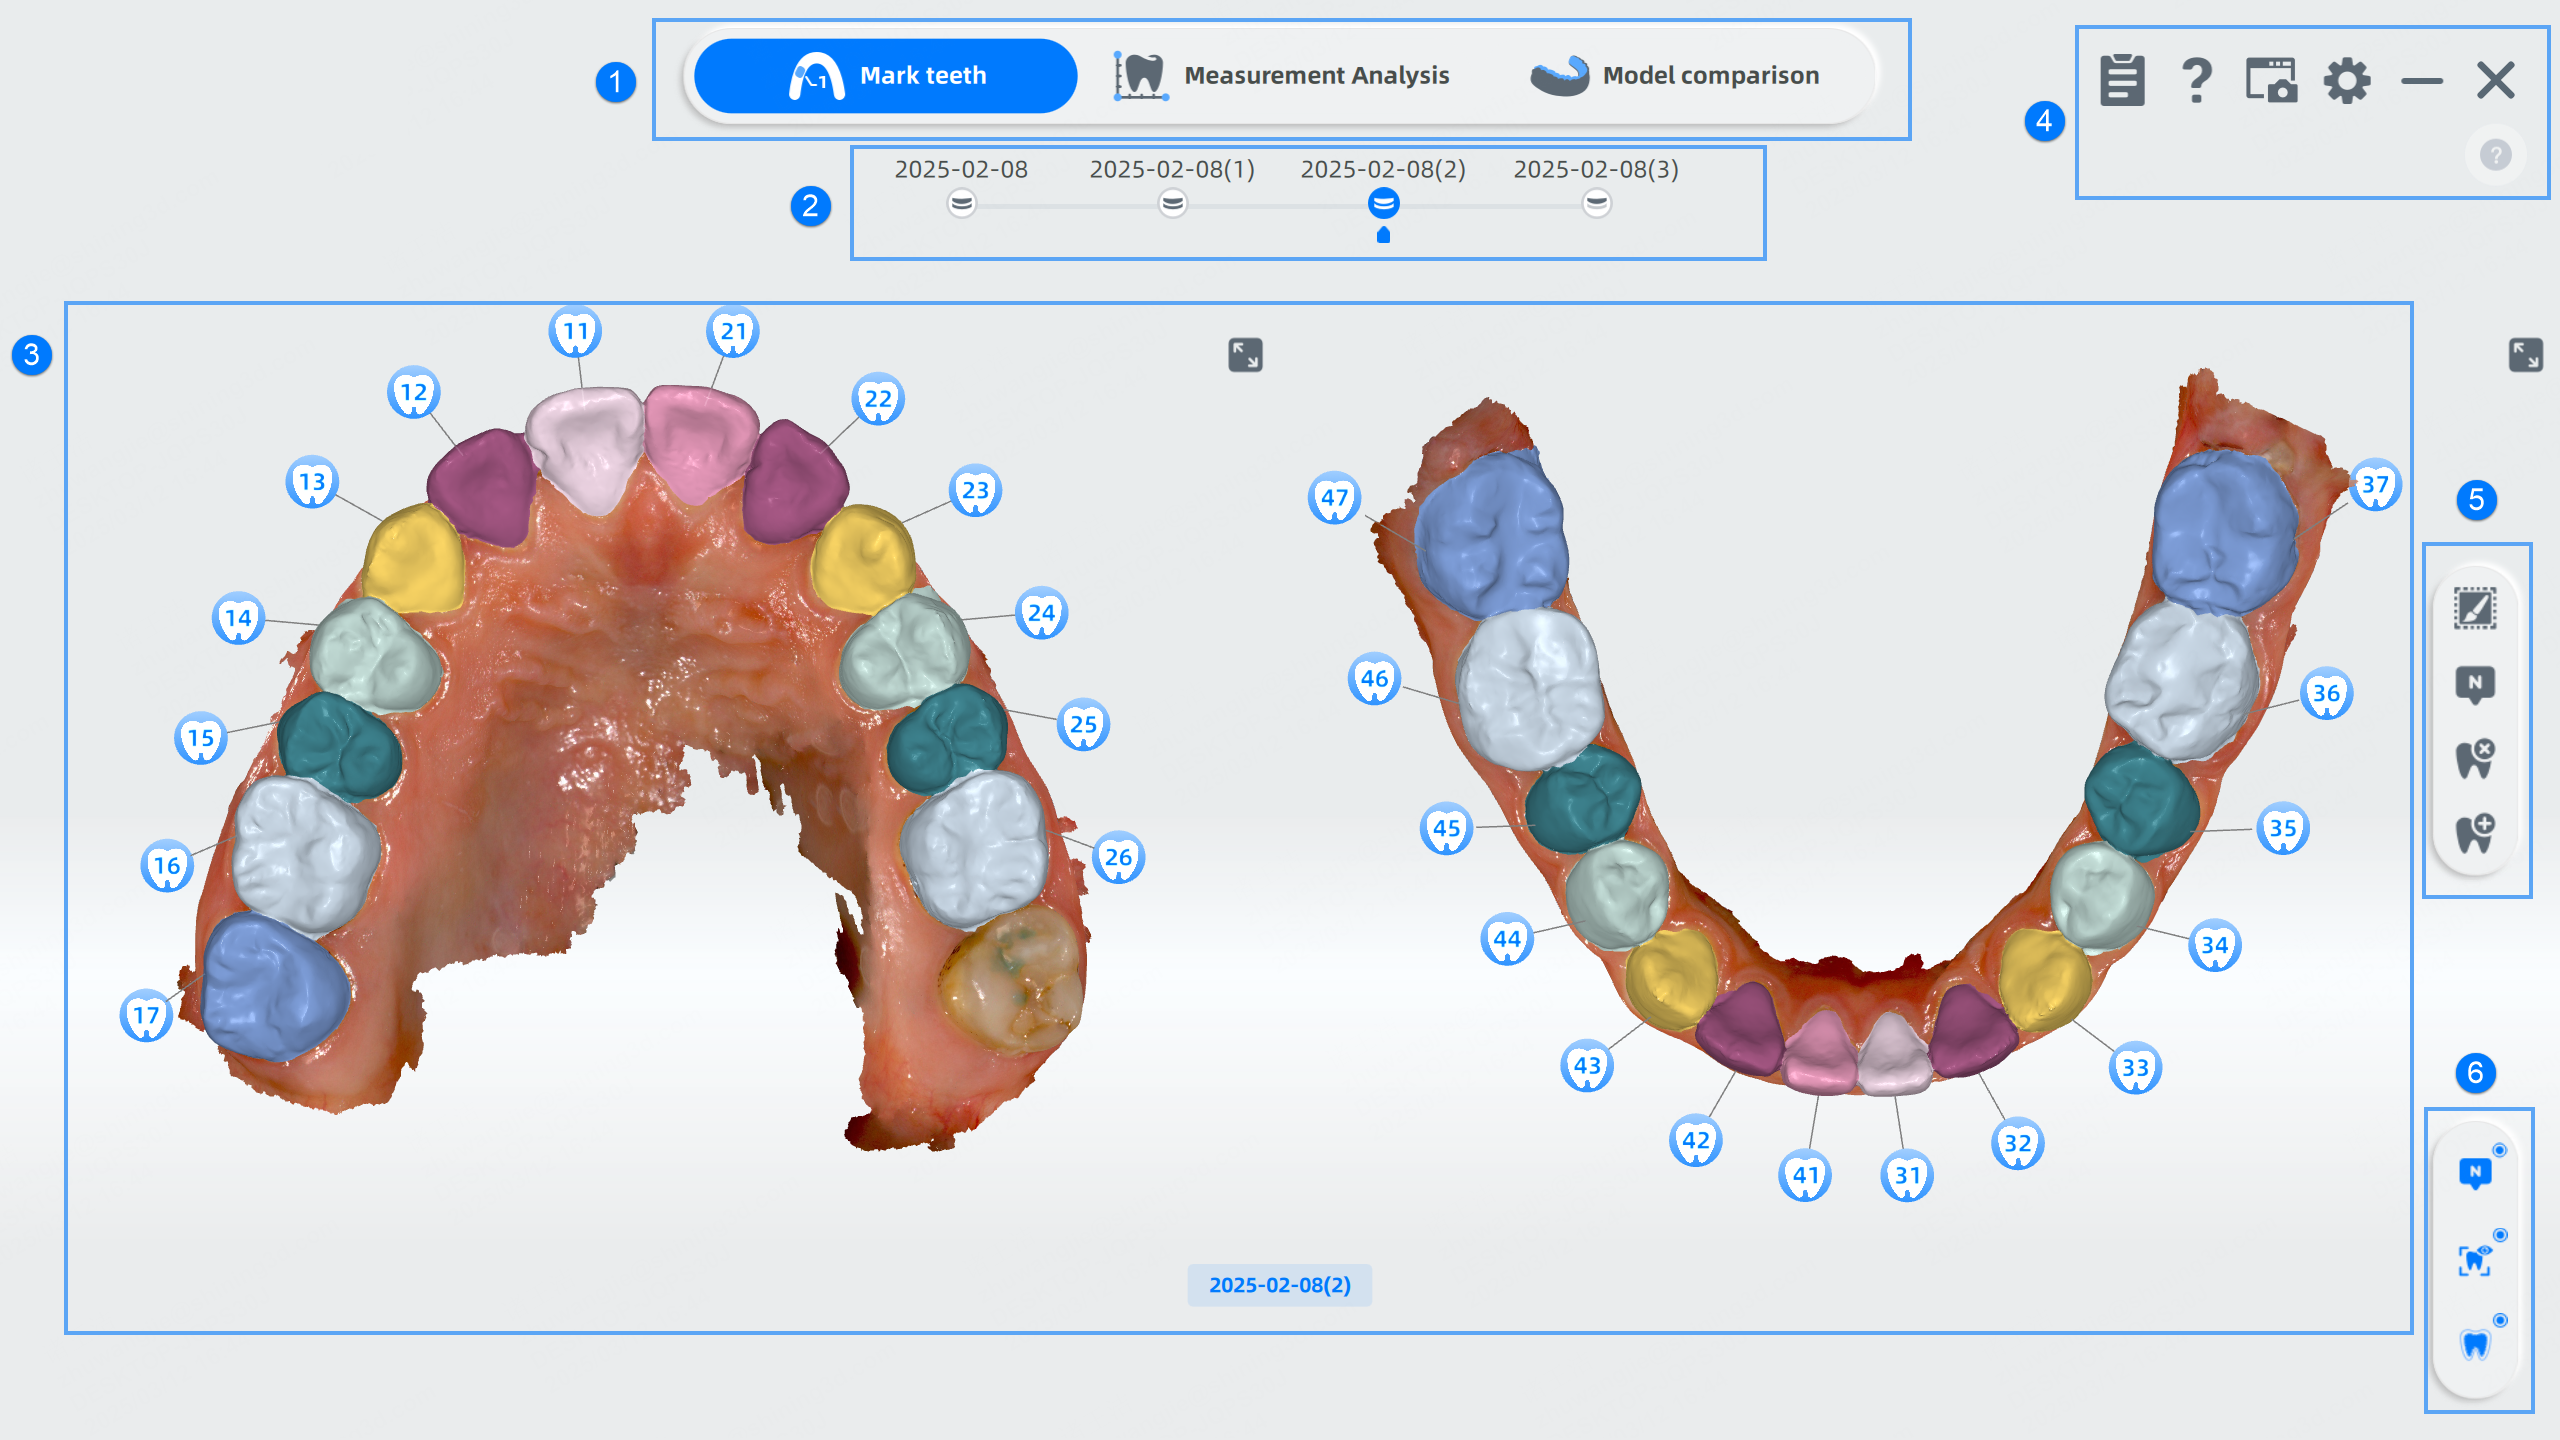
① Functions
MetronTrack includes Mark teeth, Measurement analysis and Model comparison. You can switch the functions by clicking the icons.
② Timeline
Via the timeline, you can drag ![]() to switch between the models or click
to switch between the models or click ![]() to add/delete another model.
to add/delete another model.
- Mark teeth only supports displaying one set of data.
- Measurement analysis supports displaying one or two sets of data.
- Model Comparison only supports two sets of data.
Note
After entering the functions in the Mark Teeth interface, the timeline can't be switched.
③ Preview
Support previewing the models. To gain a comprehensive view to the model, please use the following shortcuts for switching perspectives.
- Rotate the model: Hold the left/right mouse button and move.
- Move the model: Hold the left and right mouse button and move, or hold the mouse wheel and move.
- Zoom in or zoom out: Scroll the mouse wheel.
④ Setting
-
 Report: Save and upload Report of different measurement data.
 -
 Help:
Help:- Click to check the User Manual and Shortcut instructions.
- Auto Pop-up Guidance: Enabled by default. When disabled, you can manually click
 to pop up the guidance.
-
 Screenshots:
- Click Screenshot to capture the screen and you can edit the picture by clicking the picture displayed at the right bottom corner.
- Click Screen Record to record the screen and click again to end it.
- Click Find the screenshots/screen records to view the storage path.
-
 Settings:
- Select Reference Range Template: 2 default templates are provided.
- You can click
 or Check Template to view the template.
 - Click Add a new template to create a new template.
⑤ Function bar
 Modify area
Click ![]() to enter the interface of tooth selection. Select a certain tooth to modify its area.
to enter the interface of tooth selection. Select a certain tooth to modify its area.
| Name | Description | Name | Description |
|---|---|---|---|
Brush |
Click Brush to select the tooth area. Drag the slider to adjust the thickness of the brush. | Erase |
Click Erase to delete the selected area. Drag the slider to adjust the thickness of the eraser. |
Undo |
Undo the last operation. | Redo |
Redo the last operation. |
Draft |
Click Draft to save the current operation and return to the tooth selection interface to select other teeth. | Cancel |
Cancel all operations and exit Modify Area. |
Confirm |
Save all operations and return to the segment interface. |
Caution
When tooth regions are wholely erased, a tip of "It is not allowed to remove all tooth regions!" pops up.
 Change tooth number
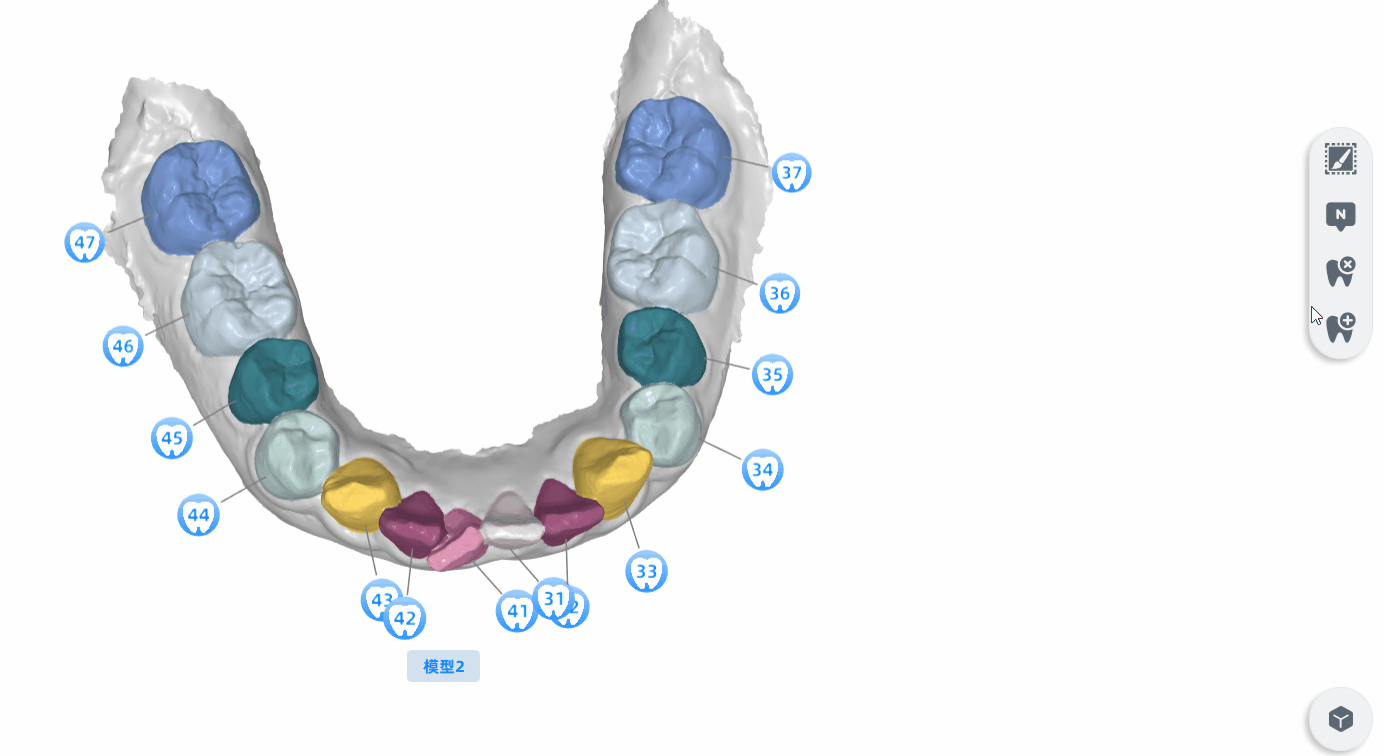
-
Click
to enter the interface of changing tooth number. -
Click the tooth to be re-numbered.
-
Select the tooth number according to the actual situation of the patient.
Note
-
The outer tooth number is permanent tooth (permanent dentition for adults), and the inner tooth number is deciduous tooth (period of mixed dentition for children).
-
When the mixed dentition is selected, only the Moyers Prediction function is supported; when the permanent dentition is selected, the Crowding Measurement, Bolton Ratio Measurement and model comparison function are supported.
-
-
Click
 to confirm and exit the operation interface, or click
  to exit.
Caution
Do not repeat the same tooth number; the red number means tooth position is repeated.
 Remove teeth
Steps
- Click to enter the interface of removing teeth.
- Select the tooth which should be deleted and the tooth number is displayed in red.
- Click
 to delete it.
 - If more than one tooth needs to be deleted, repeat steps 2-3.
- Click to confirm and exit the operation interface.
 Add teeth
Steps
- Click to enter the interface of adding teeth.
- Double-click the position where the tooth should be added.
- Select the tooth number in the pop-up window.
- Click to confirm.
Caution
Repeat steps 1-4 to add more teeth. And the tooth number should be different.
⑥ Visible control
![]() Number
Number
Enabled by default. When enabled, the teeth numbers are displayed.
Col
Enabled
Col
Disabled
![]() Texture
Texture
Enabled by default. When enabled, the model is colored.
Col
Enabled
Col
Disabled
![]() Area
Area
Enabled by default. When enabled, teeth are differentiated from each other with different colors.
Col
Enabled
Col
Disabled