Device Calibration
Click ![]() for the Calibration step in the top navigation bar to enter the calibration interface.
for the Calibration step in the top navigation bar to enter the calibration interface.
Please prioritize Quick Calibration, which requires using 9 positions of the calibration board as shown in the illustrations to complete the entire calibration process. If the calibration is still unsuccessful after multiple quick calibrations, or if the scanning accuracy of the device decreases, or if there are frequent prompts of "Alignment error", then you can proceed with Advanced Calibration according to the illustrations.
If it prompts "Calibration Failed", you can try to adjust focusing.
Note
- Please read the calibration notice carefully before performing the calibration.
- After entering the calibration process, the software wll automatically determine whether to heat the engine based on the current temperature; it is recommended that you wait until the device reaches the preset temperature before performing calibration to ensure its scanning accuracy.
- If
 appears on the right side of the Calibration step in the top navigation bar, it indicates that it has been 14 days after the last calibration for the wide or precise mode; if the device has not been calibrated for more than 21 days, a pop-up window will appear on this interface with the option to Calibrate now or set a reminder for 7 days later.
The Quick Calibration includes the Wide Mode and the Precise Mode calibration; taking Wide Mode calibration as an example, the operation steps for device calibration are as follows:
Note
- If the calibration process for the current scanning mode is not completed, a popup will appear when switching the mode; after switching the mode, the device will automatically adjust to the corresponding mode, so please keep the device connected.
- When adjusting the position of the calibration board each time, please pay attention to:
- The laser spot of the scanner's head is aligned with the center of the calibration board.
- All points of the calibration board are visible in the camera window.
-
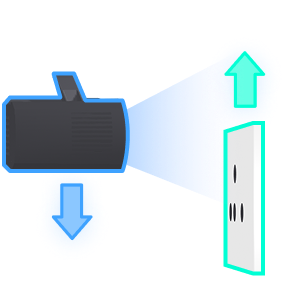
According to the orientation illustration, place the calibration board in the center, 600 mm away from the scanner at the overlapping laser points, right rotate 180°; when the interface indicates the status as "
 ", you can click the Collect button to start the calibration and proceed to the next step.
Note
- When placing the calibration board and the device, you can adjust the brightness of the left and right cameras using the slider or stepper;
 Auto exposure (enabled by default) is supported to optimize the captured images.
 - If the position of the calibration board does not meet the requirements, please adjust the calibration board or the device according to the prompts on the interface.
- You can also click the Previous button to re-acquire data.
- When placing the calibration board and the device, you can adjust the brightness of the left and right cameras using the slider or stepper;
-
According to the orientation illustration, place the calibration board in the center and forward, and left tilt 15°; when the interface indicates the status as "
", you can click the Collect button to begin data acquisition and proceed to the next step. -
According to the orientation illustration, place the calibration board in the center and forward, and right tilt 15°; when the interface indicates the status as "
", you can click the Collect button to begin data acquisition and proceed to the next step. -
According to the orientation illustration, place the calibration board in the center, move backward until 630 mm away from the scanner; when the interface indicates the status as "
", you can click the Collect button to begin data acquisition and proceed to the next step. -
Refer to the above Step 3 to move backward or forward the calibration board, to complete the calibration steps for the next five positions of the calibration board.
-
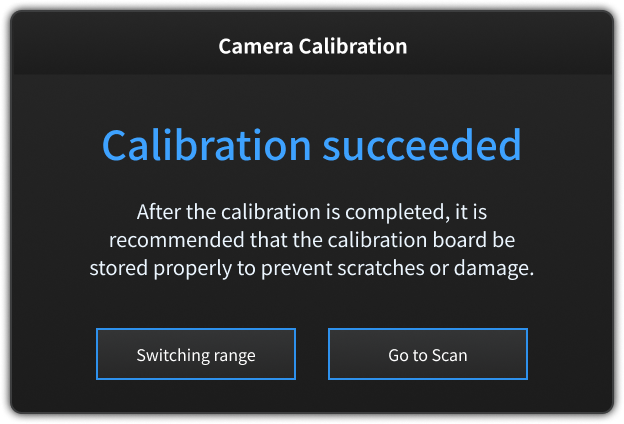
Check the calibration results; click Next mode to switch to the other scanning mode and enter the calibration process, or click Scan to directly proceed to the scanning steps.
Note
- If prompted with "Calibration Failed", you can proceed with focusing or try again.
- If calibration still fails after multiple attempts, please contact the supplier or technical support.