Software Interface
Interface Overview
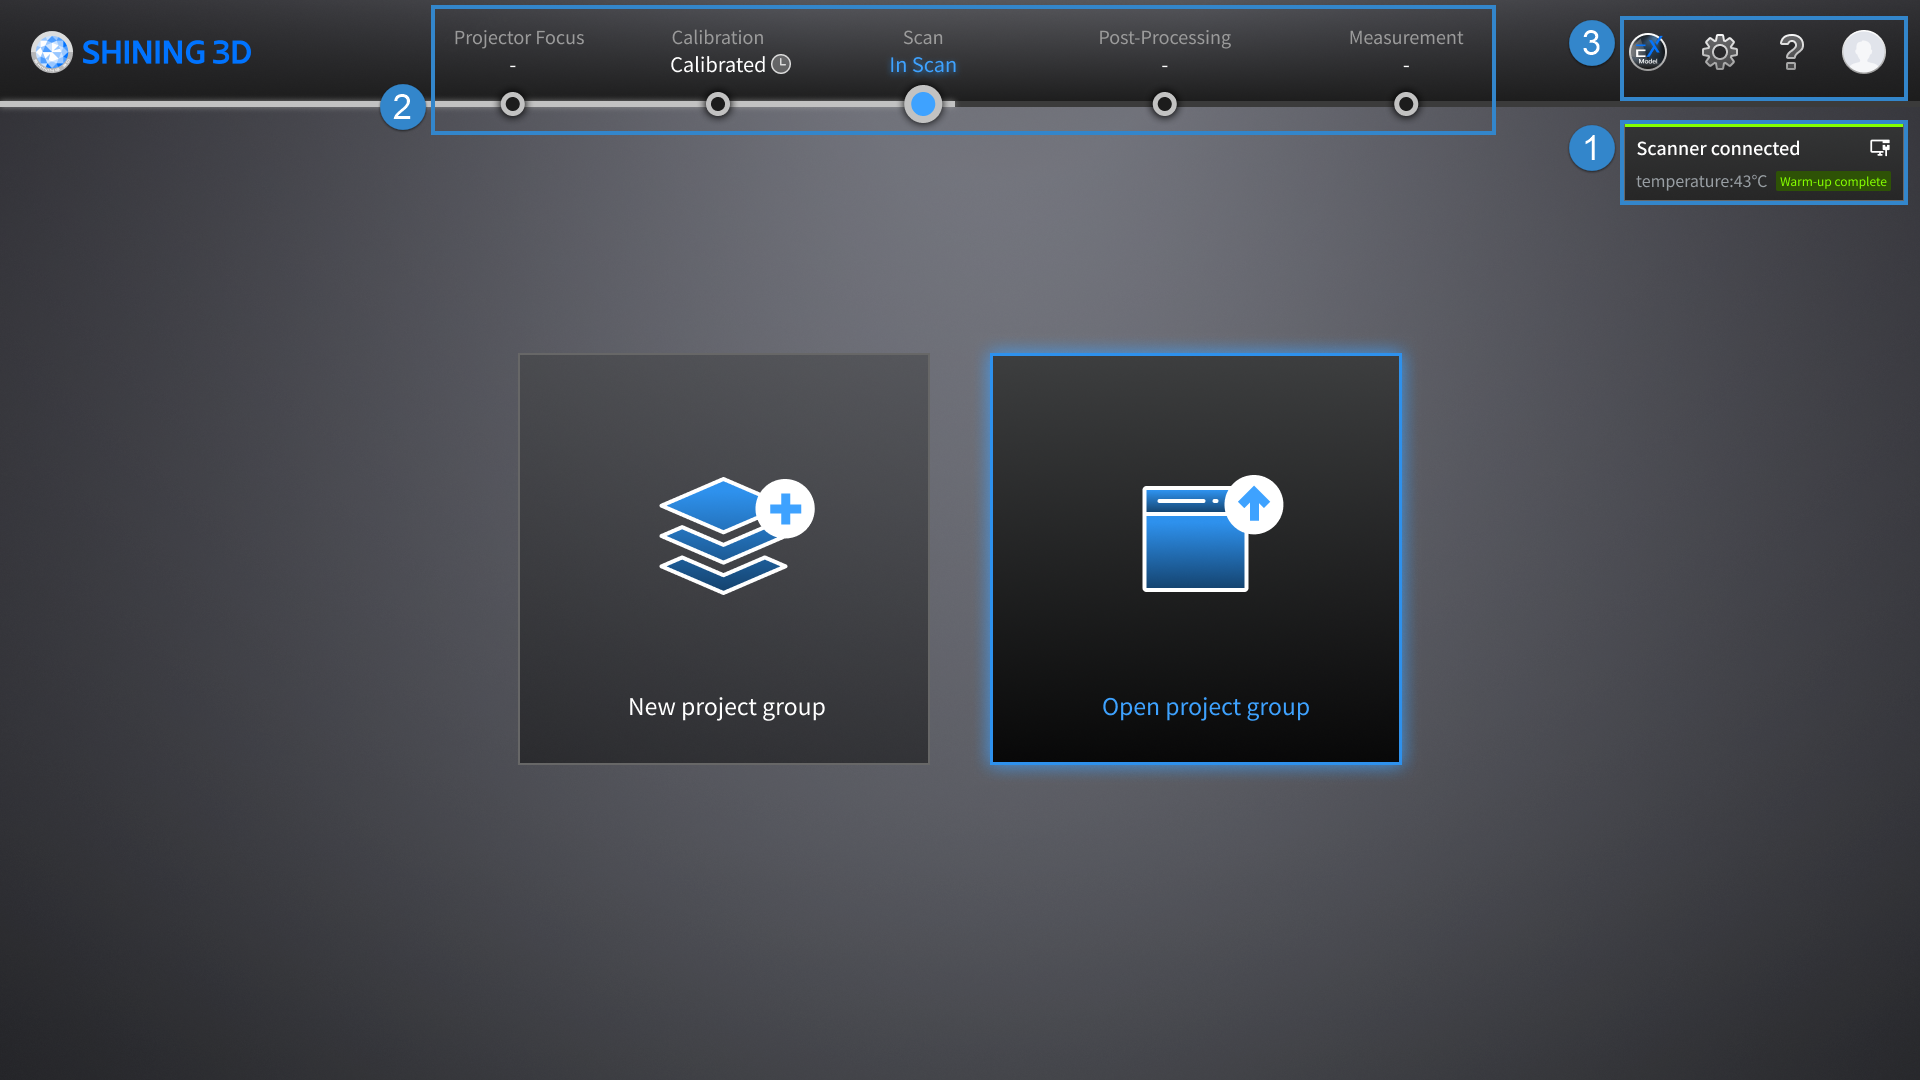
① Device Status Card
Col
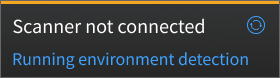
Disconnected:
Display "Scanner not connected". Normally, the device will automatically reconnect when the connection is lost; you can also click ![]() to reconnect manually.
to reconnect manually.
You can click Running environment detection to detect the computer's operating system, memory, central processing unit, etc.: ![]() indicates that the check item is normal;
indicates that the check item is normal; ![]() indicates the check item is abnormal and adjustments should be made according to the prompts.
indicates the check item is abnormal and adjustments should be made according to the prompts.
Col

Connected (warming up):
Display "Scanner connected ![]() ", the device's current temperature and the estimated remaining warming time.
", the device's current temperature and the estimated remaining warming time.
The software will automatically determine whether to warm up the device based on the current temperature; it is recommended that you wait until the device reaches the preset temperature before performing calibration or scanning to ensure its scanning accuracy.
Col
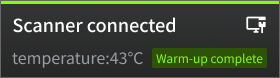
Connected (warm-up completed):
Display "Scanner connected ![]() " and the device's current temperature (the device has reached the preset temperature for calibration / scan).
" and the device's current temperature (the device has reached the preset temperature for calibration / scan).
Note
- You can also go to
 Help >
  System Diagnose to trigger an automatic detection.
 - For more information about your device, please refer to Help.
② Navigation Bar
| Description | |
|---|---|
| Projector Focus | Click |
| Calibration | Click If the current device is connected, it will display "Calibrated", and hover the cursor over |
| Scan | Click |
| Post-Processing | Click |
| Measurement | Click |
③ Settings and Help
- If you have not installed the EXModel, click this button to view the relevant information and our technical support contact.
- If you have installed the EXModel, click this button to directly switch to this software; and if you are in the post-processing or measurement interface with meshed data (STL, OBJ or PLY format), the data can be directly imported into it.
| Function & Description | |
|---|---|
|
|
|
|
|
 on the right side of the Post-Processing interface.
| Function | Description |
|---|---|
About |
Display the device name, device serial number, calibration board number, current software version and current firmware version. |
System Diagnose |
After switching to this button, the software will automatically detecting the computer operating system, memory, cpu, etc.: |
Feedback |
Support uploading any issues you encountered when using the software, and our technical supporters will contact you subsequently; you can  Note NoteIf there is currently no network, you can save the report locally, and then send it to technical supporters through a USB flash drive or other ways. |
Support |
Provide the access to the User Manual, Teamviewer (for remote assistance) and Technical Support.Note If it prompts that "No TeamViewer detected" when using the remote assistance, you can click Select Path to choose TeamViewer's .exe file to manually update the launch path for TeamViewer. |