Measure
In the interface of mesh editing, click
![]() in the left-side mesh editing toolbar to open the Measure panel, where you can choose to measure surrounding box (default), surface area or distance.
in the left-side mesh editing toolbar to open the Measure panel, where you can choose to measure surrounding box (default), surface area or distance.
Measure Surrounding Box

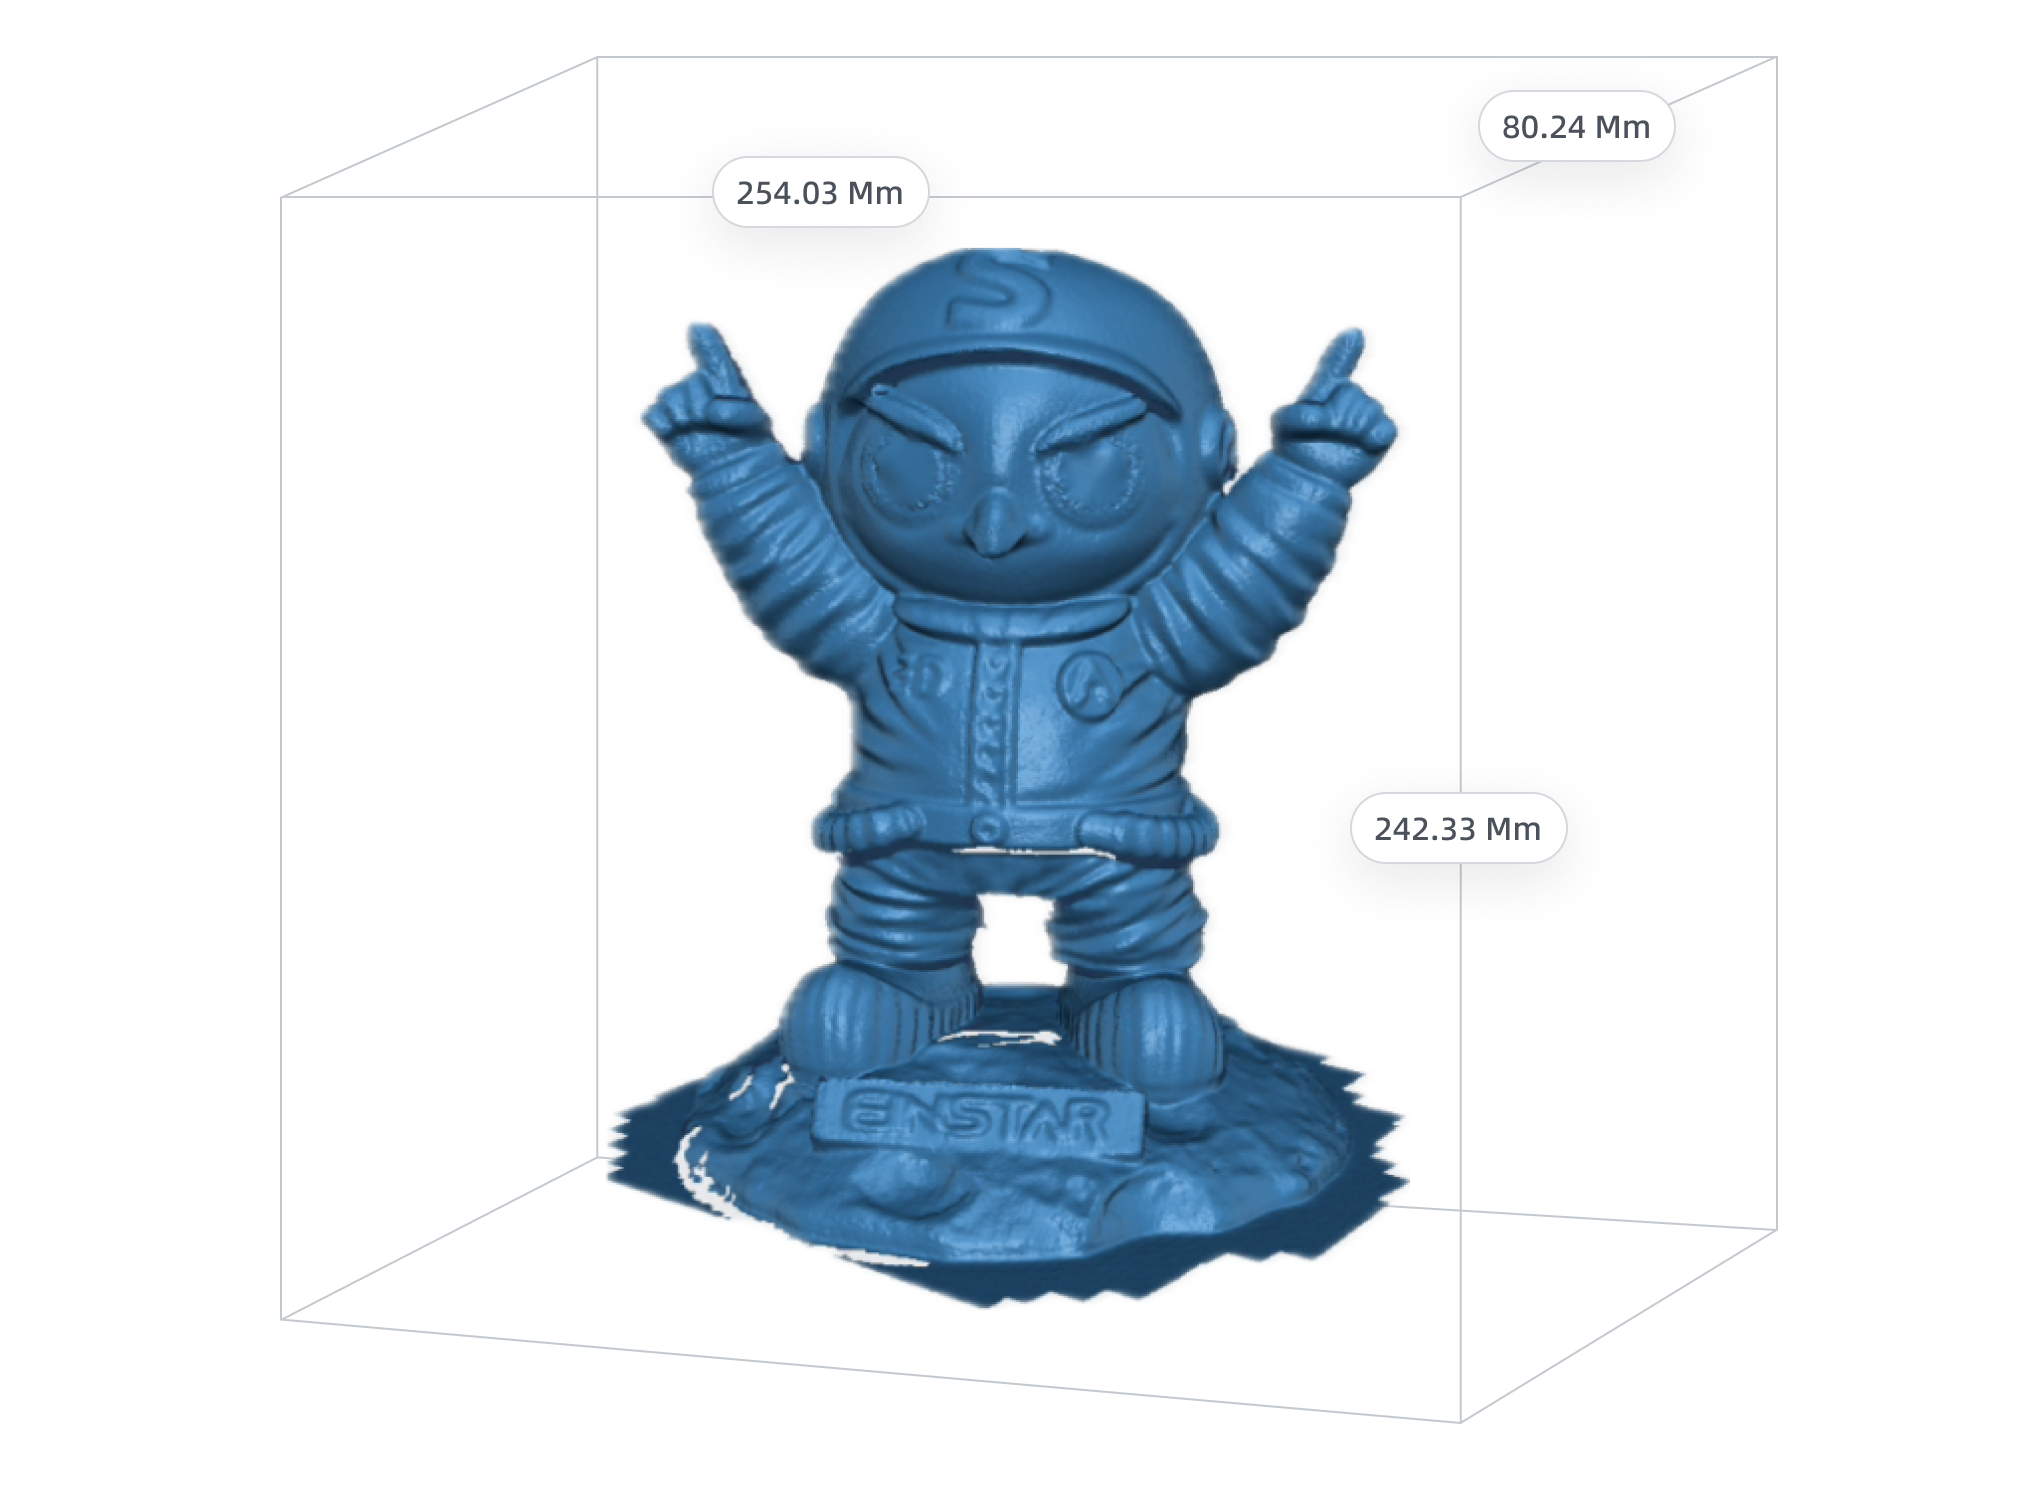
Select Measurement Data as Surrounding Box to display the surrounding box as well as its length, width, height (mm) and volume (mm³).
Measure Surface Area
Select Measurement Data as Surface Area to enable the function for measuring the surface area, and after using the selection tools, the measurement result (mm²) will be shown.
For the selected areas, you can use tools as follows:
| Icon / Function | Description |
|---|---|
| Select through | Enabled by default, and can be disabled, when only visible data can be selected. |
Select all |
Click to select the whole model area. |
Note
For the introduction to other data editing tools, please refer to data editing toolbar.
Measure Distance
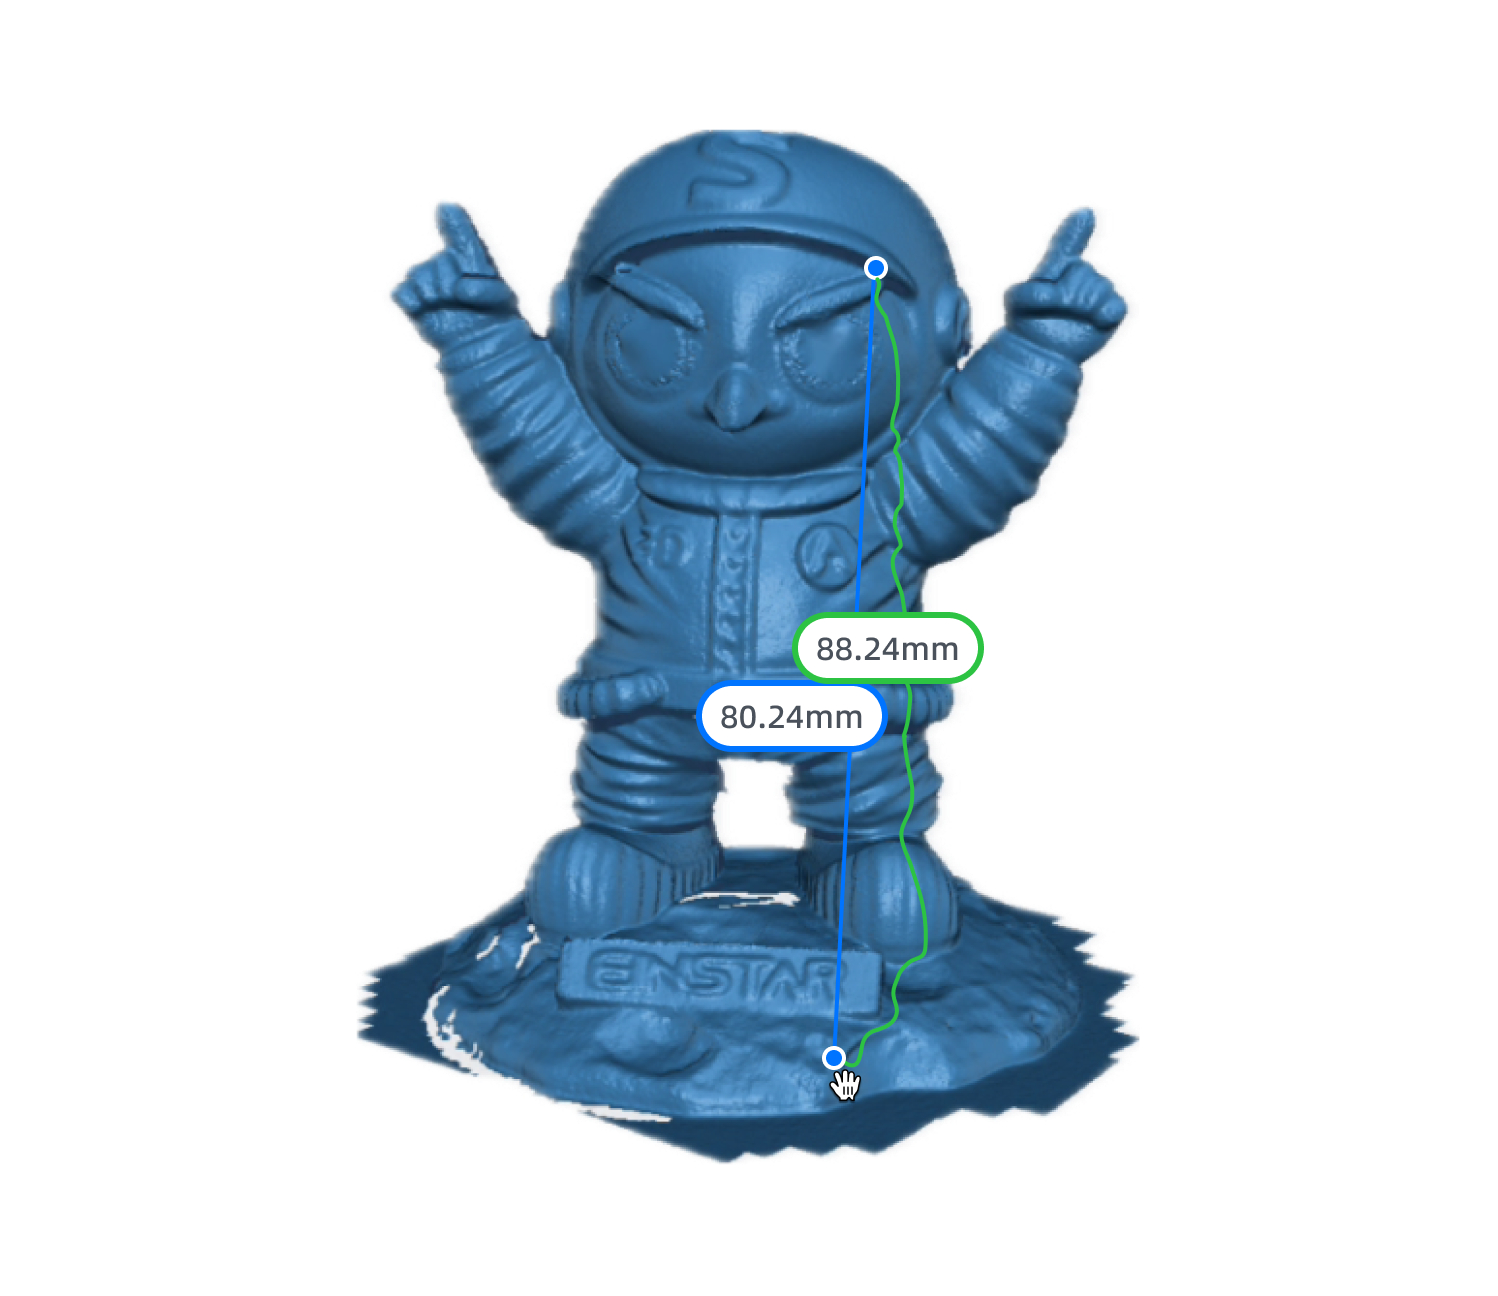
Select Measurement Data as Distance to enable the function for measuring the distance.
The steps for measuring the distance is as follows:
- Tap any position on the model to add 2 points.
- After adding 2 points, they will be automatically connected, and the straight line distance (mm) will be displayed; if you add another point, the previous connection will be removed, and a new line will start from the new point.
Note
You can drag the points to adjust their position, and the distance value will be updated in real time.

The steps for measuring the distance is as follows:
1. Click on any position on the model to add 2 points.
2. After adding 2 points, they will be automatically connected, and the straight line distance & geodesic distance (mm) will be displayed; if you add another point, the previous connection will be removed, and a new line will start from the new point.
Note
You can drag the points to adjust their position, and the distance value will be updated in real time.