Scanning Parameters
Set the relevant scanning parameters to achieve the best scanning results.
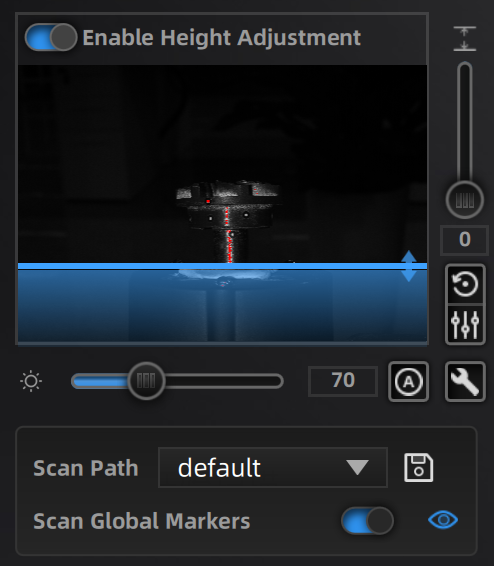
Enable Height Adjustment: Enable this feature, and a blue cutting line will appear in the view, indicating the effective scanning area above the cutting line.
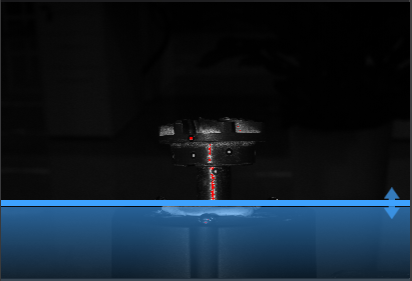
Height Adjustment: Adjust the vertical slider to customize the image capture area. This allows you to manually optimize the region based on the height of the scanned object.
Reset Z Axis: Click ![]() to restore to default values.
to restore to default values.
Set Current Z Axis as Default: Click ![]() to set the height adjustment value as the default.
to set the height adjustment value as the default.
Brightness Adjustment: Slide the horizontal slider, and the software will adjust the brightness based on the set value, making the model scan clearer and more complete.
Device Setting: Click ![]() for manual parameter adjustment. Non-manufacturer technical personnel should operate with caution!
for manual parameter adjustment. Non-manufacturer technical personnel should operate with caution!
Auto Adjustment: Click ![]() to automatically adjust the scanning brightness.
to automatically adjust the scanning brightness.
Scan Path: After each add-scan is completed, click this button to add a new scanning path under the original path and save it as a new path. After clicking the save button, the new path will be added to the dropdown box. Select the corresponding path, and the next scan will automatically default to the corresponding path.
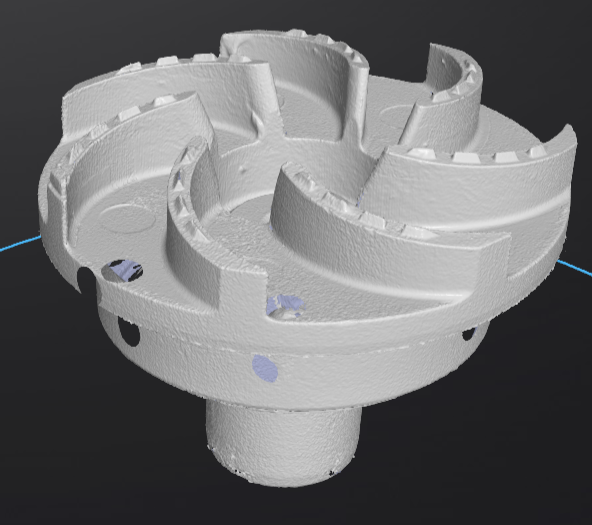
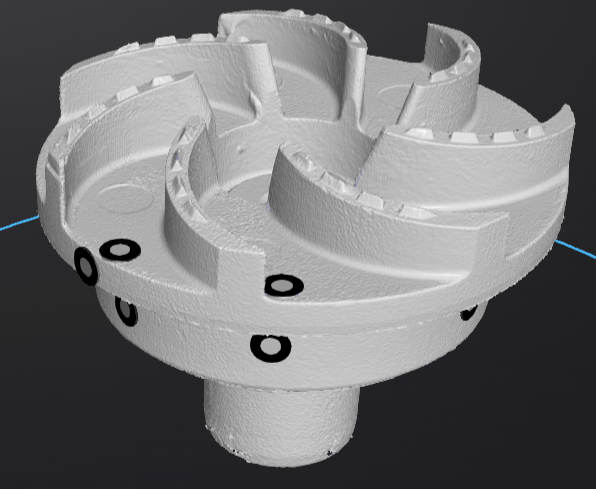
**Scan Global Markers: If enabled, the markers placed on the object will be scanned. Click ![]() to hide the markers on the model.
to hide the markers on the model.
Col
Col