Project Alignment
After tapping a project group that contains multiple subprojects, you can use ![]() Project Alignment. This function aligns scan data from multiple project files in the current project group into one complete 3D model, improving the completeness of scan data.
Project Alignment. This function aligns scan data from multiple project files in the current project group into one complete 3D model, improving the completeness of scan data.
Note
- Project Alignment is supported only for project groups of V1.1.0 and later.
- Alignment is available only when there are 2 or more non-foot scan projects that contain point clouds.
Tap ![]() to enter the project alignment interface. You can perform project alignment using automatic feature alignment, automatic marker alignment, or manual marker alignment.
to enter the project alignment interface. You can perform project alignment using automatic feature alignment, automatic marker alignment, or manual marker alignment.
| Function | |
|---|---|
| Tap to view the operation tutorial. | |
| Tap to expand the alignment method list and turn Auto Alignment on or off. | |
| Tap to expand the project list and switch the project in the fixed or floating window. | |
| Tap to swap the projects in the fixed window and floating window. | |
| Tap to turn texture display on. | |
| Tap to enlarge the current window. | |
 |
Tap this button to restore the model data to its original size and center it on the screen. |
| Tap to clear the selected projects to be aligned from the current interface. | |
| In the alignment interface, tap to view the alignment structure of the current project. Tap |
Automatic Feature Alignment
-
Select the projects to be aligned in the fixed window and floating window.
Note
- You can zoom, rotate, and perform other operations in the fixed and floating windows to view the selected data models.
- To select projects again, tap
 to expand the project list and replace the selection, or tap
  to clear the selected projects to be aligned from the current interface before selecting again.
-
Tap Start Alignment to perform feature alignment.
Note
- In automatic feature alignment mode, markers are not displayed even if the project contains markers.
- If the project group contains more than 3 projects, repeat the steps above after alignment is complete until all projects are aligned.
- After completing the alignment, if you need to undo the alignment effect, select the aligned object in the project group and tap Release the Alignment Effect.
-
Tap Confirm to complete alignment and return to the Project Alignment interface.
Automatic Marker Alignment
Note
To use automatic marker alignment, make sure there are 3 or more common markers between the projects to be aligned.
-
Tap the screen in the fixed window and floating window to open the project list, then select the projects to be aligned.
Note
- You can zoom, rotate, and perform other operations in the fixed and floating windows to view the selected data models.
- To select projects again, tap to expand the project list and replace the selection, or tap to clear the selected projects to be aligned from the current interface before selecting again.
-
Tap Start Alignment to perform project alignment and align the project in the floating window to the project in the fixed window.
-
Tap Confirm to complete alignment and return to the Project Alignment interface.
Note
- If the project group contains more than 3 projects, repeat the steps above after alignment is complete until all projects are aligned.
- After completing the alignment, if you need to undo the alignment effect, select the aligned object in the project group and tap Release the Alignment Effect.
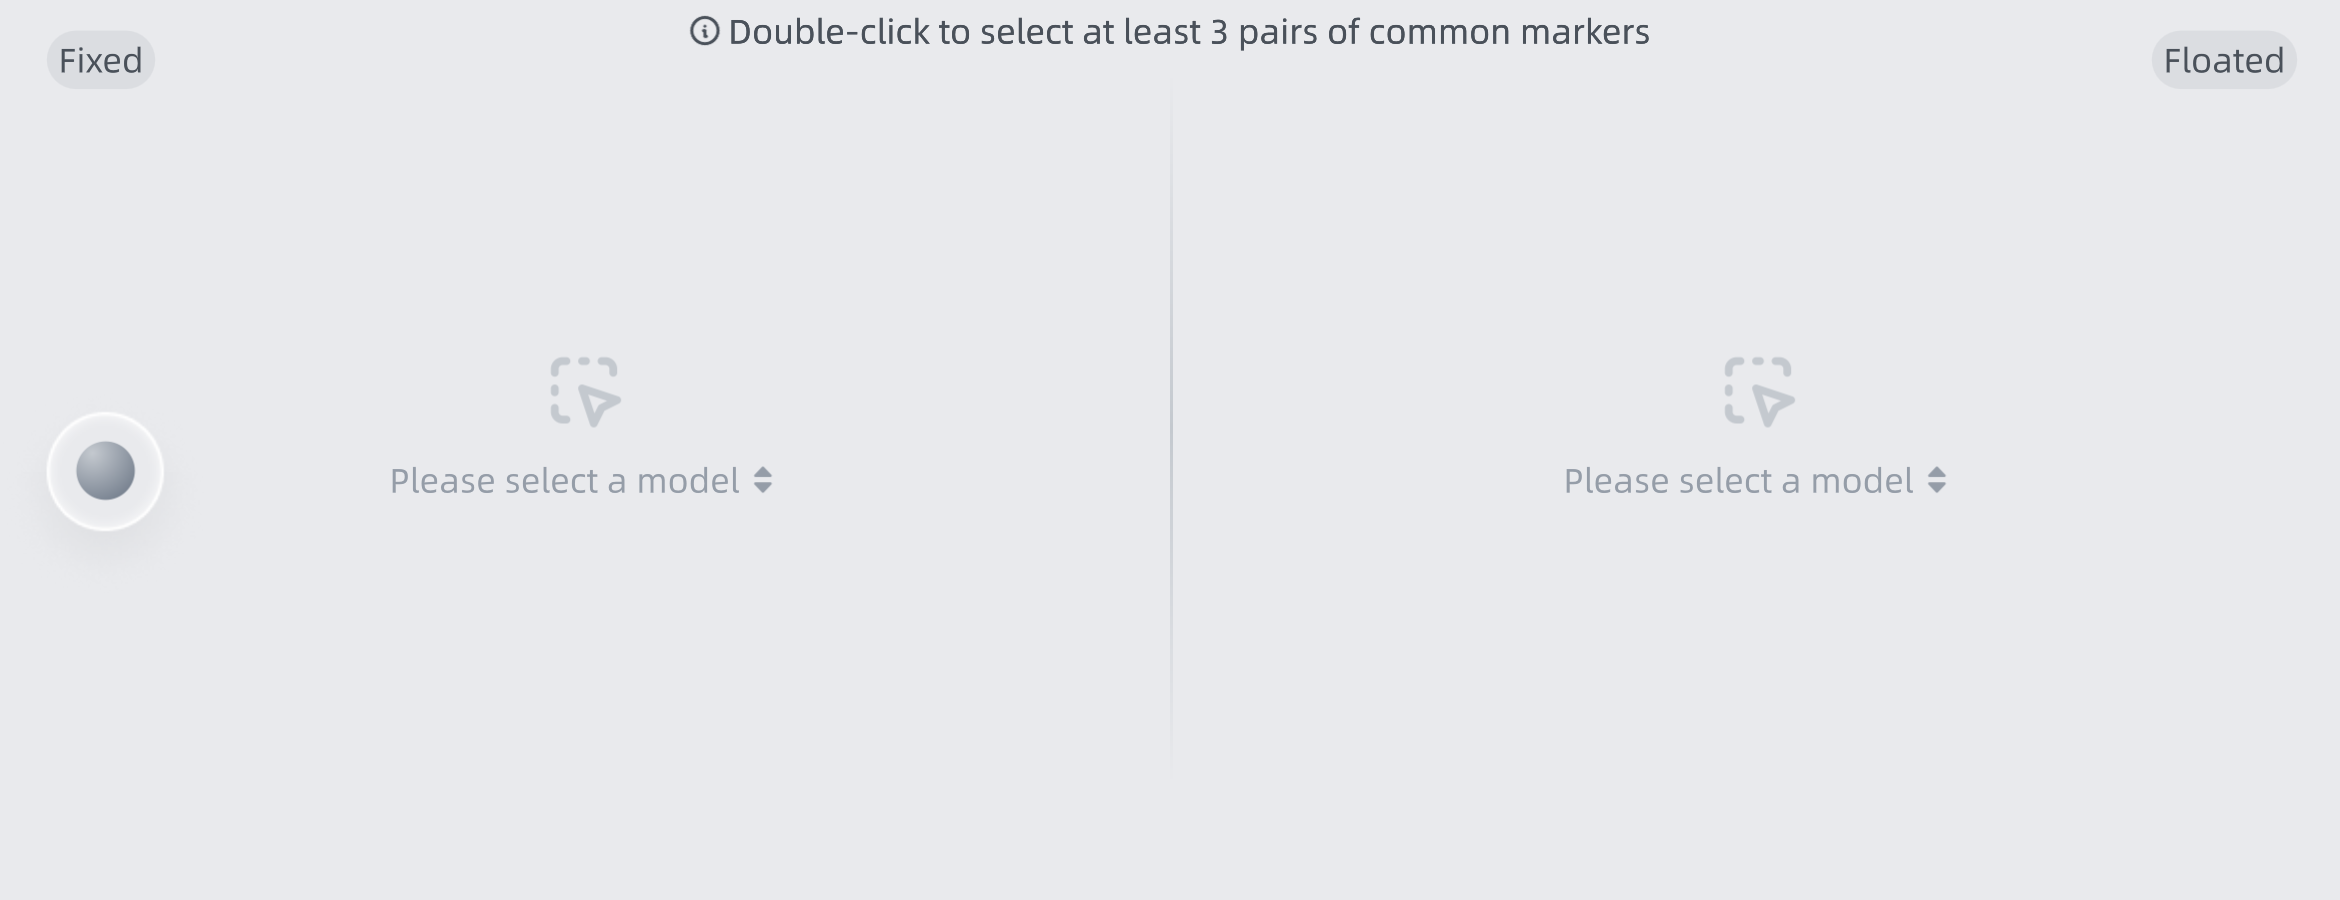
Manual Marker Alignment
If automatic marker alignment does not produce satisfactory results, try manual marker alignment.
-
Tap in the interface to expand the alignment method list. After Auto Alignment is turned off, the alignment method switches to Manual Marker Alignment.

-
Tap the screen in the fixed window and floating window to open the project list, then select the projects to be aligned.
Note
You can zoom, rotate, and perform other operations in the fixed and floating windows to view the selected data models.
-
Select 3 common markers on the projects in the fixed window and floating window.
-
Tap Start Alignment to perform project alignment and align the project in the floating window to the project in the fixed window.
-
Tap Confirm to complete alignment and return to the Project Alignment interface.
Note
- If the project group contains 3 or more projects, repeat the steps above after alignment is complete until all projects are aligned.
- After completing the alignment, if you need to undo the alignment effect, select the aligned object in the project group and tap Release the Alignment Effect.