Scanning
Preview / Start scan / Pause scan
You can switch in these 3 status with the trigger on the scanner, or click the button in the software. The normal order is: Preview (optional) > Scan > Pause.
Note
Col
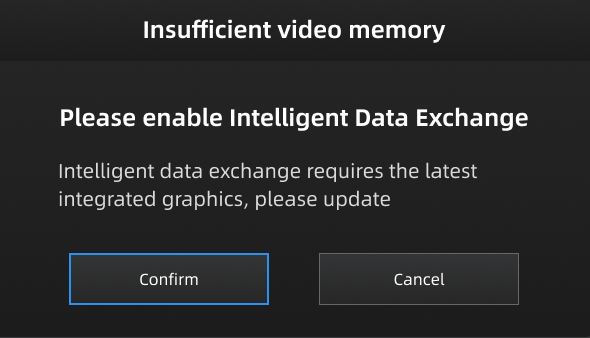
When the performance of the discrete graphics card has reached its limit, you can follow the on-screen prompt to enable Intelligent Data Exchange and switch to the integrated graphics card in order to prevent scanning issues caused by insufficient video memory.
Col
| Function | Icon | |
|---|---|---|
| Preview (optional) |  |
Preview and adjust the scan parameters for better scanning effects. You can open/close the function in |
| Start Scan |  |
Click to scan. During scanning, keep the scanner parallel to the surface, keep a proper distance from the object, and adjust the brightness depending on the ambient light or texture of the object. |
| Pause Scan |  |
Edit the data or change the view angle after pausing. |
Caution
- Please hold the scanner upright to start to preview / scan.
- When performing a scan, please ensure that there is sufficient VRAM (video random access memory) to prevent any scanning abnormalities or issues.
- When scanning for details or small holes, scan as close as possible to the object.
Generate Data
Laser Mode
After completing the scanning, you can edit the data, align the data, or optimize the data.
| Function | |
|---|---|
Mesh Optimization |
Optimize the mesh for higher overall accuracy. This option is recommended when the mesh was scanned without global markers. It usually takes longer than mesh processing. |
Mesh Processing |
Generate the mesh quickly. This option is recommended when the mesh was scanned with global markers. |
IR Mode
When the scanning is complete, you can generate the point cloud directly or optimize and generate the point cloud, then edit the data.
| Function | |
|---|---|
Generate Point Cloud |
Finish the scan and generate the point cloud directly. Hover over to expand the toolbar and switch to Optimize and Generate Point Cloud. |
Optimize and Generate Point Cloud |
Optimize the point cloud first, then generate the full point cloud. This takes longer and requires more memory, but it can solve most layering issues caused by accumulated alignment errors. It is recommended for projects with higher accuracy requirements. Hover over to expand the toolbar and switch to Generate Point Cloud. |
Note
- You can only Optimize and Generate Point Cloud for scanning portraits in the IR Mode.
- The time it takes to generate point cloud depends on the data size of your project and the hardware configuration of your PC.