Interface
Overview
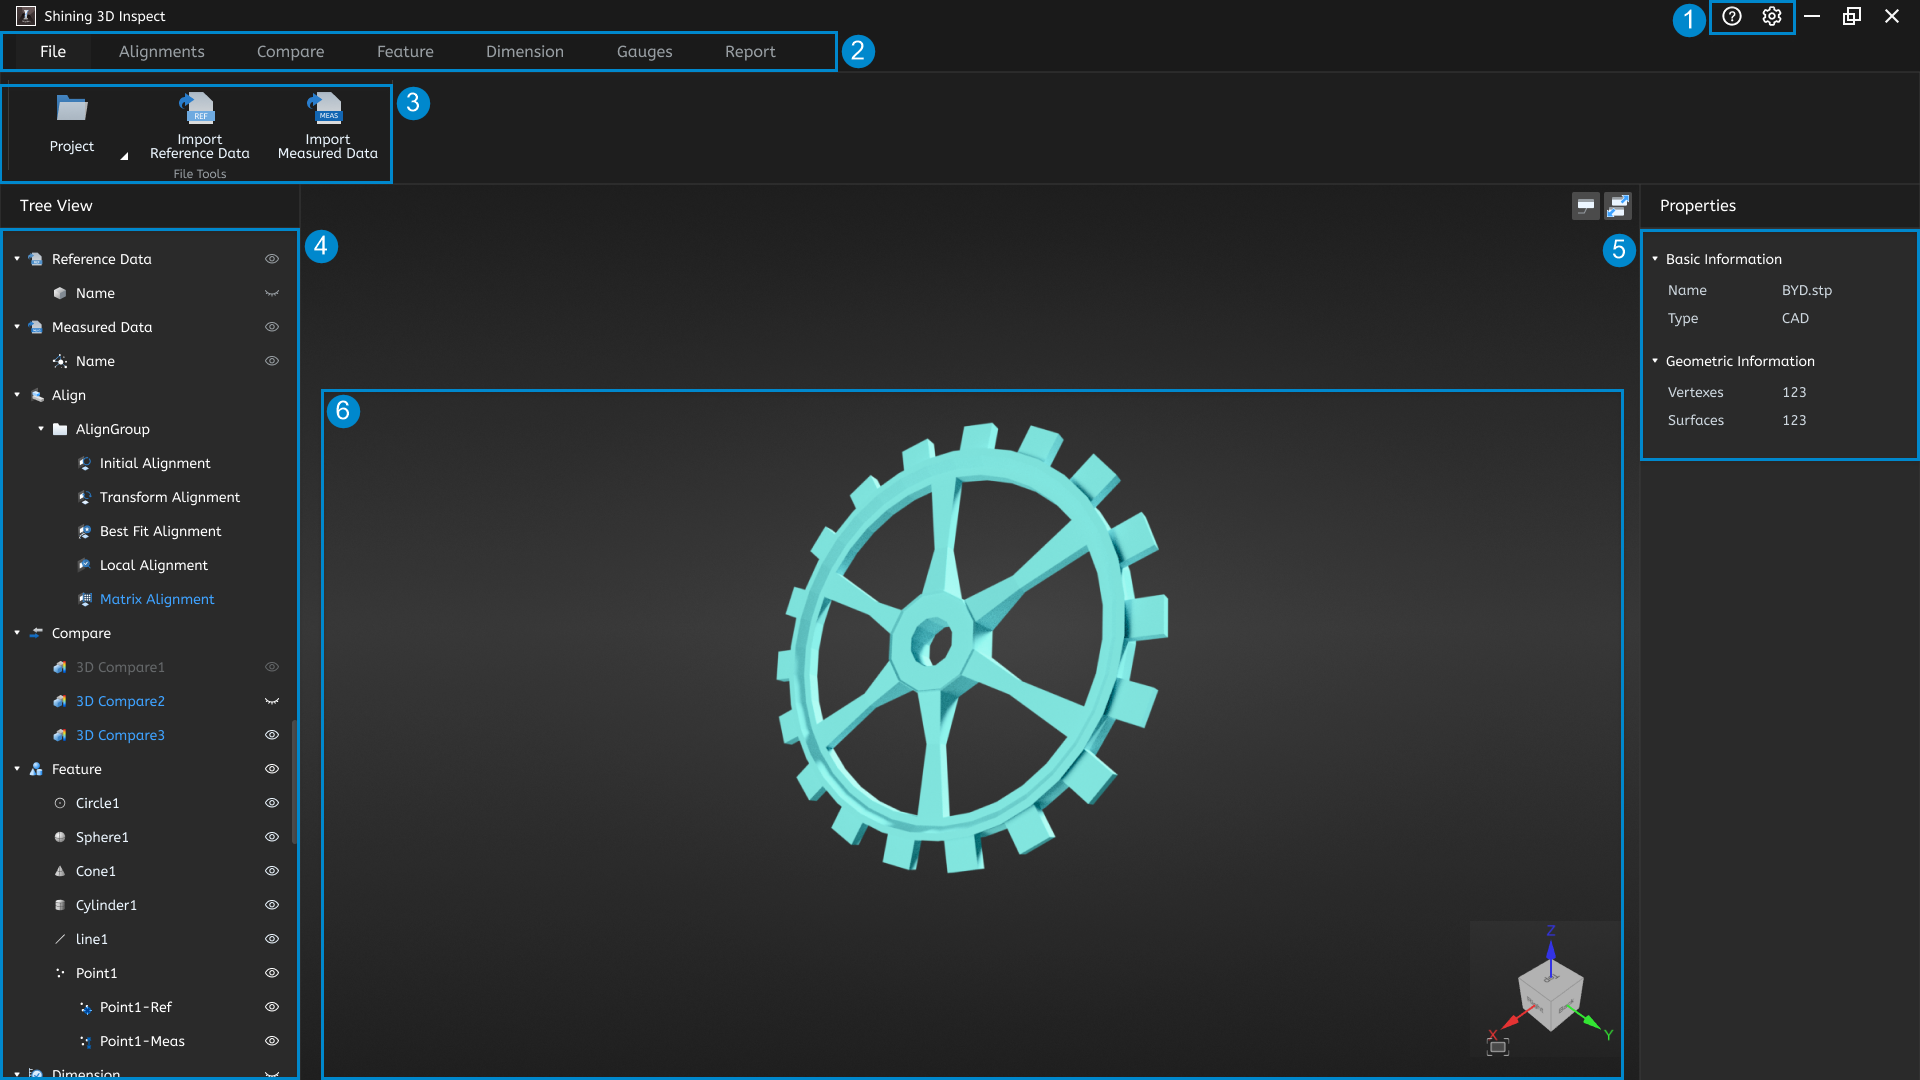
① Help & Settings
Click this button to expand the drop-down list:
- User Manual: Click to open this user manual.
-
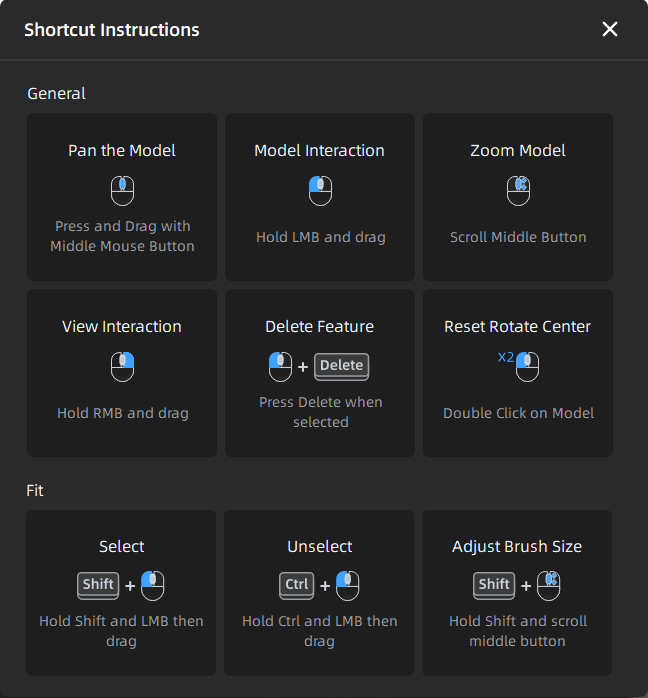
Shortcut Instructions: Click to open the Shortcut Instructions window, which provides instructions on the shortcut keys for model operations and fitting creation.
-
About: Click to open the About window, which displays the software version, release date and other information.
Click this button to open the Setting window, where you can switch the software language: Chinese Simplified / English.
Note
The software must be restarted after application for the changes to take effect.
② Navigation Bar
Click buttons in the navigation bar to enter the corresponding modules: File, Alignments, Compare, Feature, Dimension, Gauges and Report.
③ Tools & Functions Bar
Provide tools and their functions in each module. Please refer to the relevant chapters for more details.
When you enable a specific tool, a corresponding settings window will usually be brought up. The  icon in the top right corner of the window represents the unlocked status (default), when the window will automatically close after clicking the Apply button; If you click to switch to the
  locked status, the window will not close after clicking Apply.
④ Tree View
Display the list of models, alignment groups, comparison groups, feature pairs, measured values, and corresponding created objects.
 represents the expanded state of a module / group, and clicking it will switch to
  to collapse it.
 represents the object in the display state, and clicking it will switch to
  to hide it.
Different functionality options are provided in the right-click menu for each module column. Please refer to the relevant chapters for more details.
⑤ Properties
Display the property information of the selected objects, including basic information, geometric information, statistical information, etc. By switching the selected objects in the tree view, you can switch the displayed information in this panel.
⑥ Model Preview
The 3D preview area of the model displays color maps, labels, measured values, etc., according to different functional scenarios. Please refer to the relevant chapters for more details.
In this area, you can operate the model using keyboard shortcuts, or click the  button in the bottom right corner to automatically adjust the model view size to fit the screen; You can also use the
  button in the top right corner to toggle the visibility of labels with one click, or use the
  button to control the arrangement of labels.
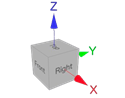
Besides, the perspective controller in the bottom right corner can be used to conveniently switch perspectives, as shown in the right figure.