Preparation
Make some preparations when scanning different objects.
Markers
Markers shall be placed to models. If the device fails to catch markers, it will not emit laser lines in the Laser Mode.
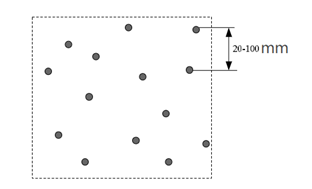
- Place the markers evenly and randomly.
- Four markers are required for the alignment at communal areas 1.
- Ensure that the device's camera can scan at least 4 markers within the normal scanning range 1.
- Please place small markers on the edges or at small facets of the model.
- Do not place the markers on the surface with high curvature.
- Do not use damaged or incomplete markers.
- Do not use greasy, dusty, or dirty markers.
Note
- 3 mm markers are the minimum markers identified in the Laser Mode.
- 6 mm markers are the minimum identified in the IR Mode.
Col
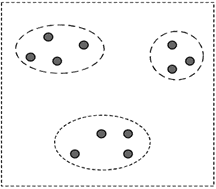
Artificial grouping of markers
Col
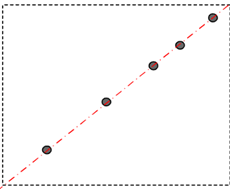
Place markers only on one line
Col
 Markers are scattered and irregularly placed
Coded Targets
Coded targets are used to automatically form cutting planes during scanning, eliminating the need for manual creation.
Note
- Coded targets are not used for alignment during scanning.
- No new markers will be generated below the cutting planes.
- Cutting planes generated by coded targets will remain in place even after you remove the targets.
- Once six cutting planes have been created, new cutting planes will no longer be generated.
Caution
Only Laser Mode supports automatic cutting plane generation.
For Special Objects
Spray the washable or specified imaging agent on the transparent, shiny or reflective model before scanning.
Note
Types of objects not recommended for scanning:
- Soft material object that cannot be hung.
- Moving or vibrating objects. Frequent changes in the coordinates of such objects will result in poor scanning quality.