Setting
Laser scan
Scan mode
Choose the proper scanning mode to scan.
-
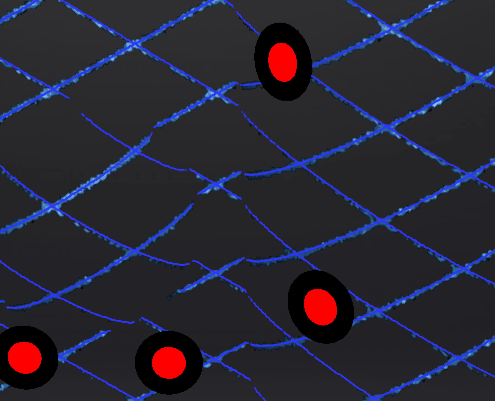
Scan markers
You can only scan markers on the surface of an object and the scanner does not project laser lines during the scanning process. You can quickly obtain the markers data of an object in this way.
 Caution
When switching to Scan Markers, the current scanned data will be cleaned up and the data can not be recovered.
-
Scan mesh
You can directly scanning mesh data.
You can also import the global markers file before scanning.
-
Partial HD scanning
Partial HD Scanning means selecting the area to be rescanned when the requirement of resolution is high. Targeted scanning can save scanning time and make the data obtained completer.
Resolution
Note
- When there is only one project within the project group, you can adjust the resolution in real-time in the scan mesh mode.
- When there are multiple projects within the project group, you cannot adjust the resolution anymore in the scan mesh mode.
| Scan mode | Point distance |
|---|---|
| Scan mesh | Standard:0.05 mm ~ 10.0 mm Advanced mode:0.01 mm ~ 10.0 mm |
| Partial HD scanning | Standard:0.02 mm ~ 3.0 mm Advanced mode:0.01 mm ~ 3.0 mm |
High-speed Mode
The high-speed mode of the scanner will lose some details. Please turn off the mode when the point distance is less than 0.1mm.
Light source mode
According to the scanning requirements, you can choose different laser line modes.
| 13 cross laser lines to scan large objects quickly | |
| 5 or 7 parallel laser lines to scan fine details | |
| A single laser line for deep holes and pocket area scanning |
Object
Select different brightness levels according to the materials of different objects.
Data quality indicator
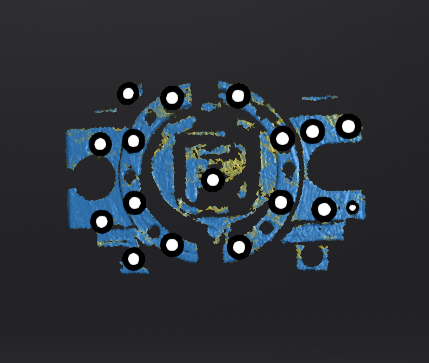
Differentiating scan quality in colors: blue represents high-quality scanned data and yellow represents insufficient scanned data that requires further scanning. Insufficiently scanned data may disappear or become anomalous after editing.
Note
This function is not available for scanning in scan markers mode or photogrammetry mode.
Local enlarged view
When the function is enabled, the scanning interface only displays the local perspective of the scanned object, which can be used for supplementary scanning of small holes. It is recommended to enable under 0.2 mm point distance.
View lock
The object view will be locked during scanning and not follow the scanning path, when the function is enabled.

Brightness
For objects of different materials and colors, adjust the brightness of the scanner to scan better.
| Too Bright | Proper | Too Dark |
|---|---|---|
 |
 |
 |
-
Please refer to the scanner you actually ordered and received. ↩