Scan Global Markers
Using Scan Global Markers mode, you can quickly obtain the global markers data of an object by collecting markers.
Steps
-
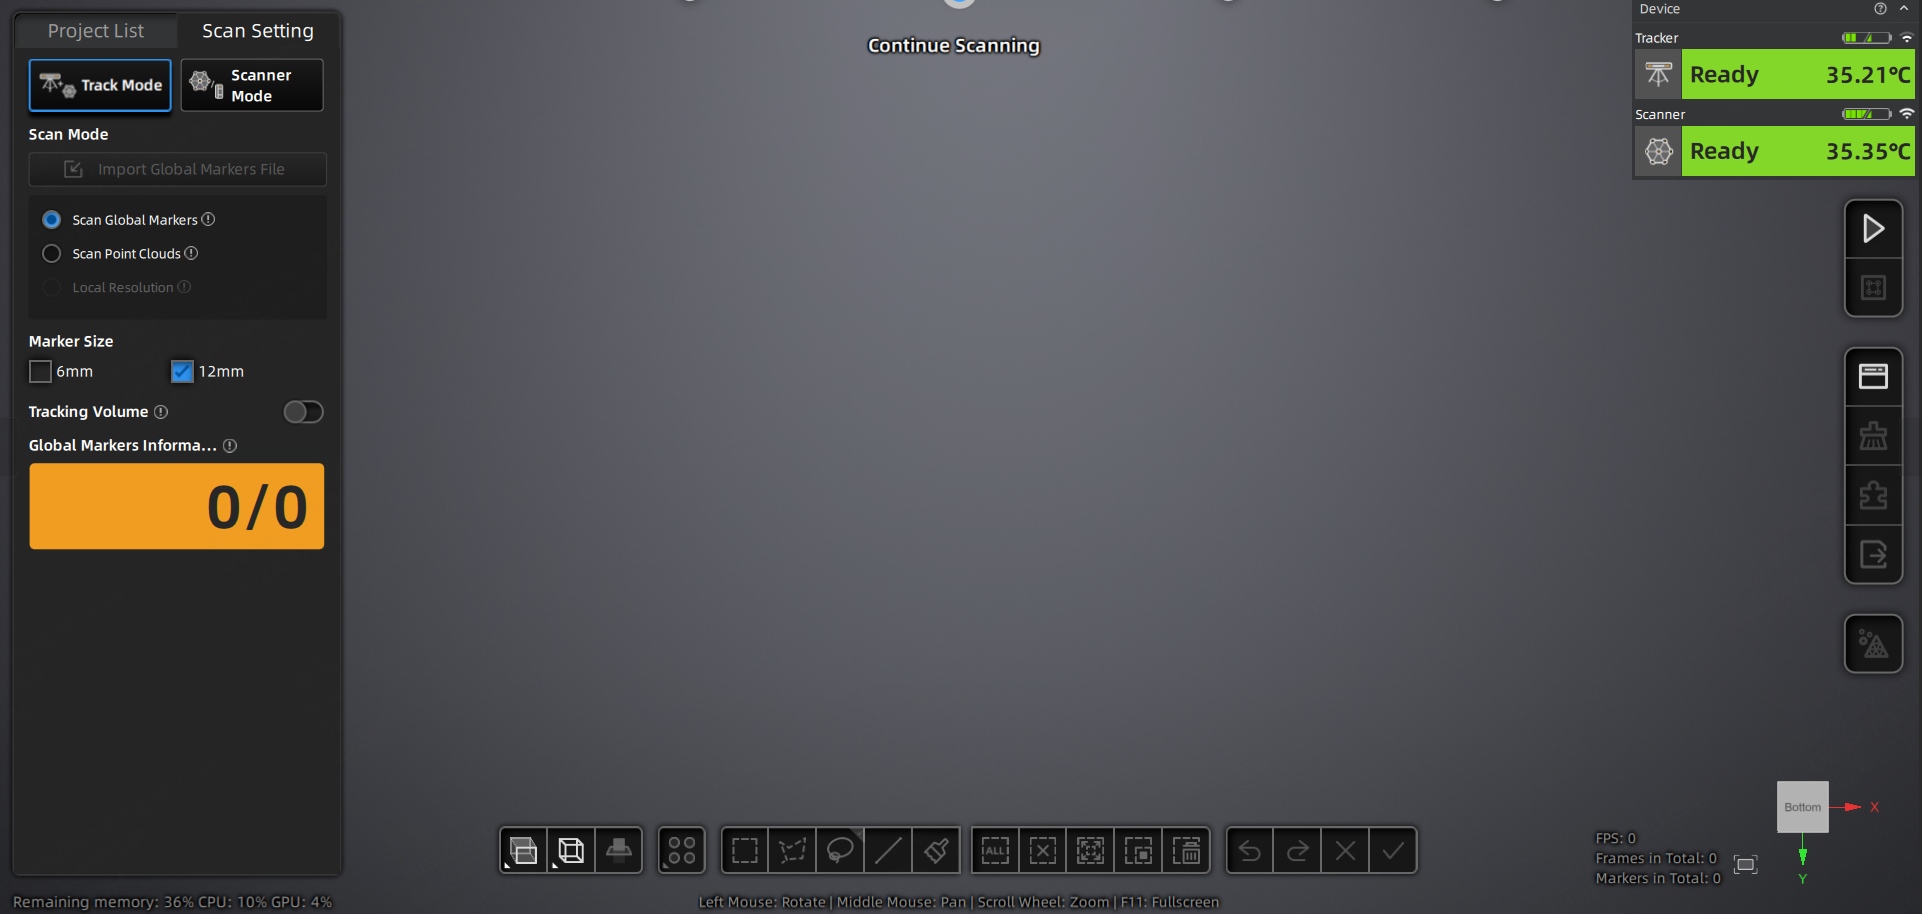
Select Trak Mode or Scanner Mode > Scan Global Markers.
Note
- In Trak Mode, supports scanning 6 mm and 12 mm markers.
- In Scanner Mode, supports scanning 3 mm and 6 mm markers.
-
(Optional) Click
 or press the scan button on the scanner to enter preview mode. You can adjust scan parameters based on the preview effect.
Note
The data scanned at this time is not automatically saved and is only used for viewing the scanning effect.
-
Click
 or press the scan button on the device to start collecting markers.
Note
In Trak Mode, use the tracker to scan markers.
-
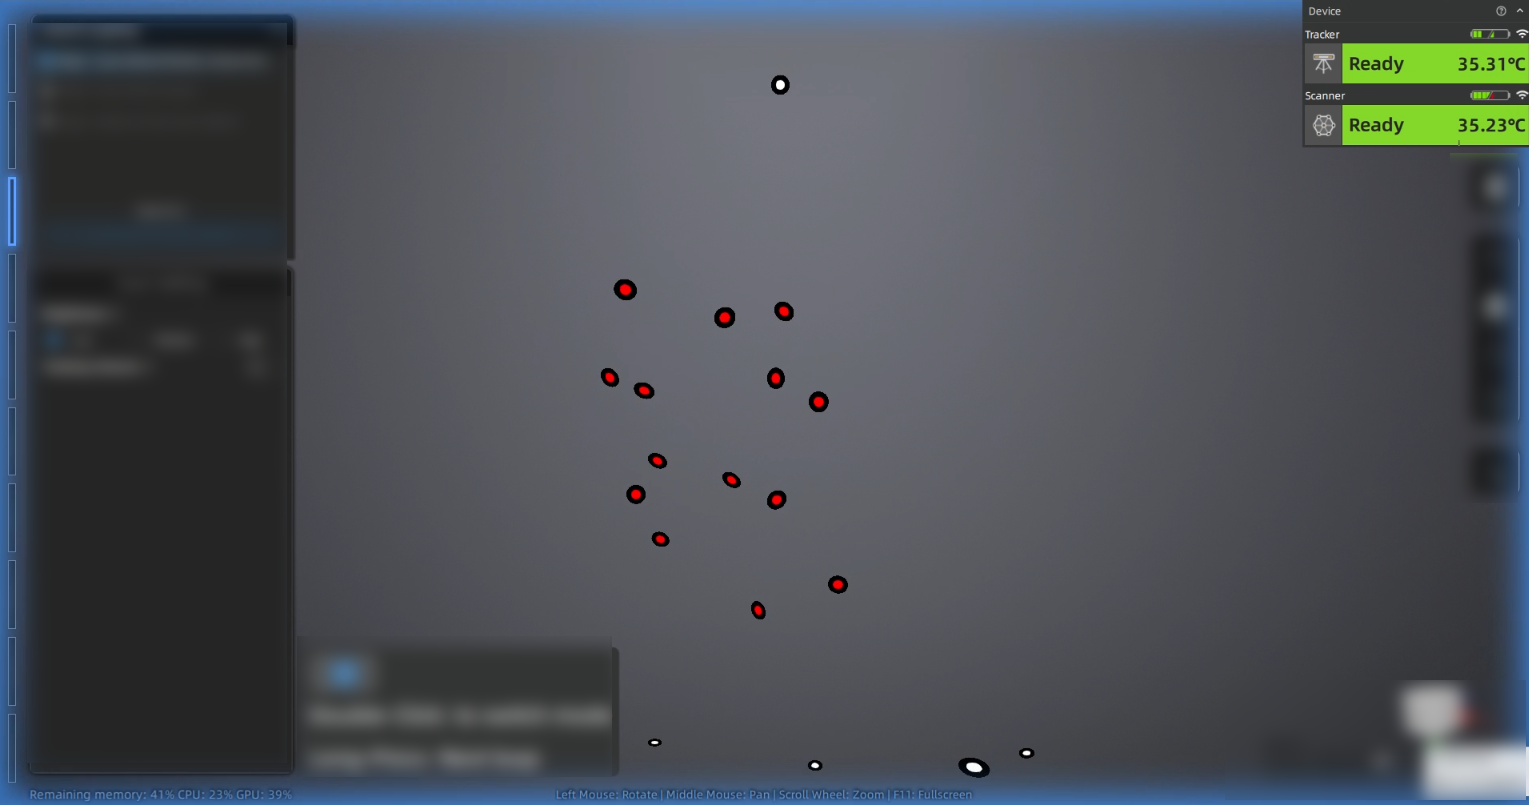
During scanning, adjust the scanning distance based on the color indicator at the edge of the scanning interface and the distance indication:
- Blue indicates the scanning distance is too far.
- Yellow indicates the scanning distance is too close.
- No color indicates the scanning distance is appropriate.
-
After scanning, click
 or press the scan button again to pause scanning.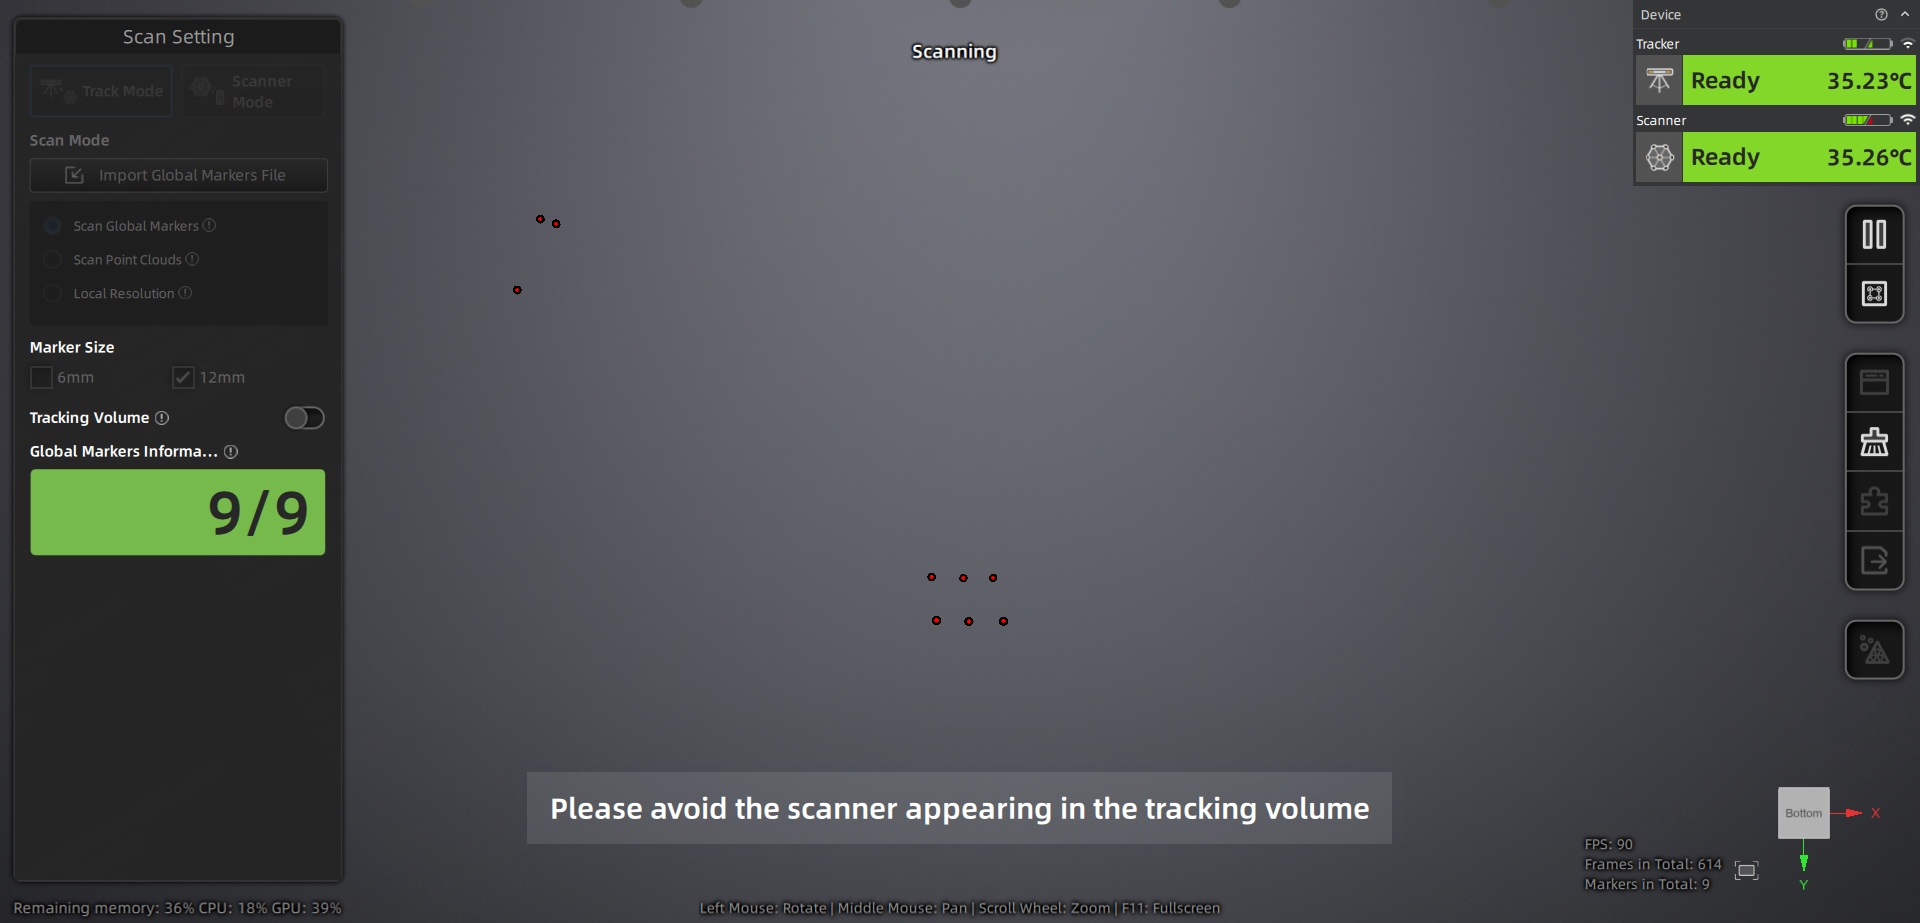
Note
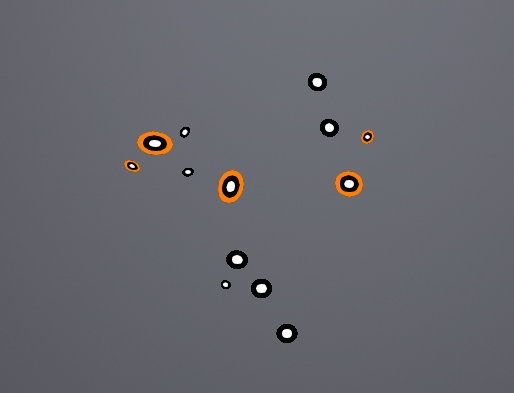
After scanning global markers, there may be color indications around the outer ring of the markers. After generating the markers, the color indication will disappear.
Col
- If there is no additional color around the outer ring of the markers, it indicates that the quality of the scanned markers is normal.
- If there is an orange ring around the outer ring of the markers, it indicates that the quality of the scanned markers is low; low-quality markers data may disappear or be displayed abnormally after data processing.
- There is no color indication for newly added markers in Scan Point Cloud.
Col
-
Click
 to optimize the markers.
 -
Click
 to save the scanned data, or switch to Scan Point Cloud mode to continue scanning.