Project Alignment
Click the  button in the right function panel of the scanning interface to enter the project alignment screen. This feature allows combining scanned data from multiple project files within the current project group into a complete 3D model, improving scanned data completeness.
| Alignment Mode | Alignment Mode | ||
|---|---|---|---|
 Auto Feature Alignment |
Automatically aligns based on model features, suitable for scanned data with rich geometric features or when markers cannot be applied. |  Manual Feature Alignment |
Aligns by manually selecting feature points on models. Use when auto feature alignment performs poorly. |
 By Markers |
Automatically aligns based on markers on models, suitable for marked model data. |  Manual Markers Alignment |
Aligns by manually selecting markers on models. Use when By Markers performs poorly. |
| Button | Button | ||
|---|---|---|---|
| Apply | Click to confirm alignment. | Next | Click to merge aligned projects into one group. This group can be further aligned with other projects. |
| Cancel | Click to undo alignment. | Exit | Click to exit the alignment interface. |
| Function | Function | ||
|---|---|---|---|
| Pan Model | Hold mouse wheel and move cursor. | Rotate Model | Hold left mouse button and move cursor. |
| Zoom Model | Scroll mouse wheel to zoom. |
Auto Feature Alignment
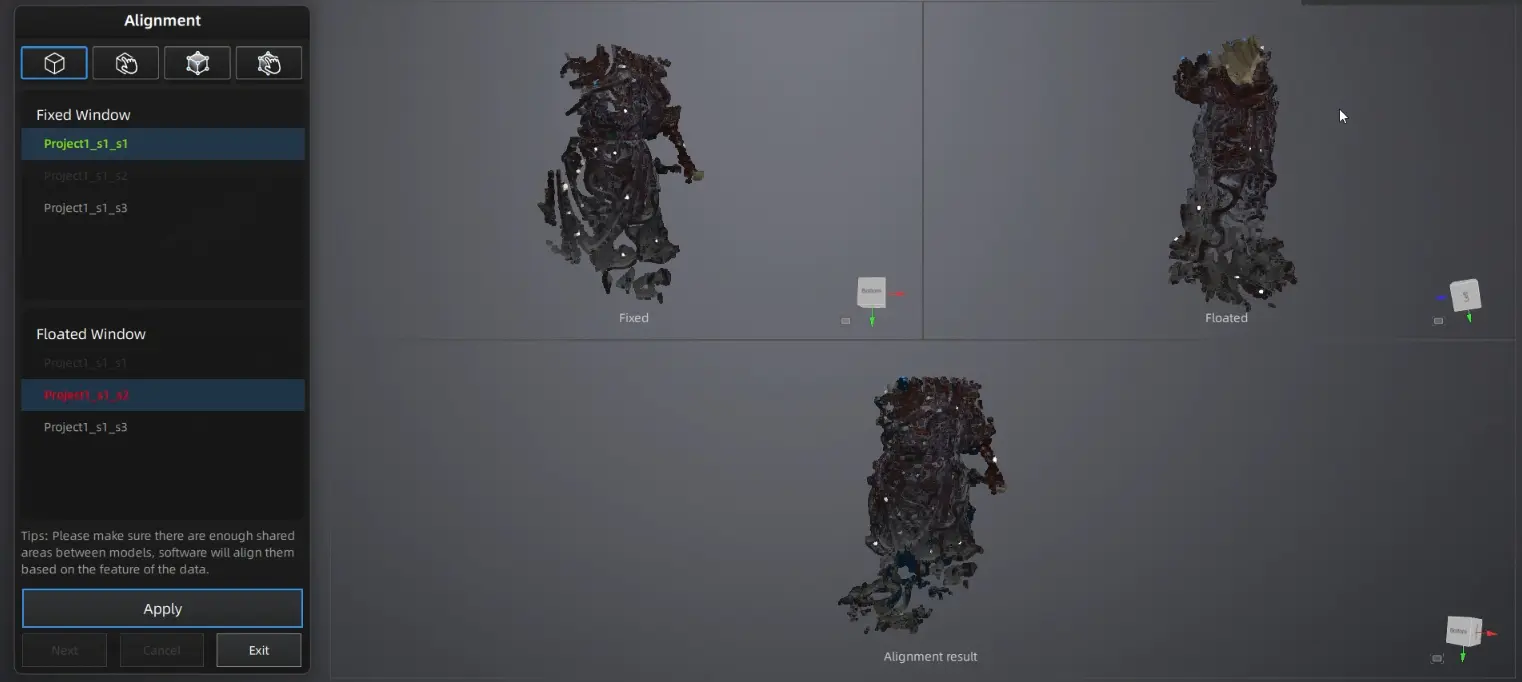
- Click to select Auto Feature Alignment mode.
-
In the fixed window and floating window on the left side of the interface, select the projects to align.
Note
You can zoom, rotate, and perform other operations in the fixed and floating windows according to the prompts on the left side of the interface to view the selected data models.
-
Click Apply. The software will automatically align the project data in the fixed and floating windows based on the same features in each project's data.
Note
Not suitable for objects with repetitive features (e.g., circular or ring-shaped objects) or very small objects.
Manual Feature Alignment
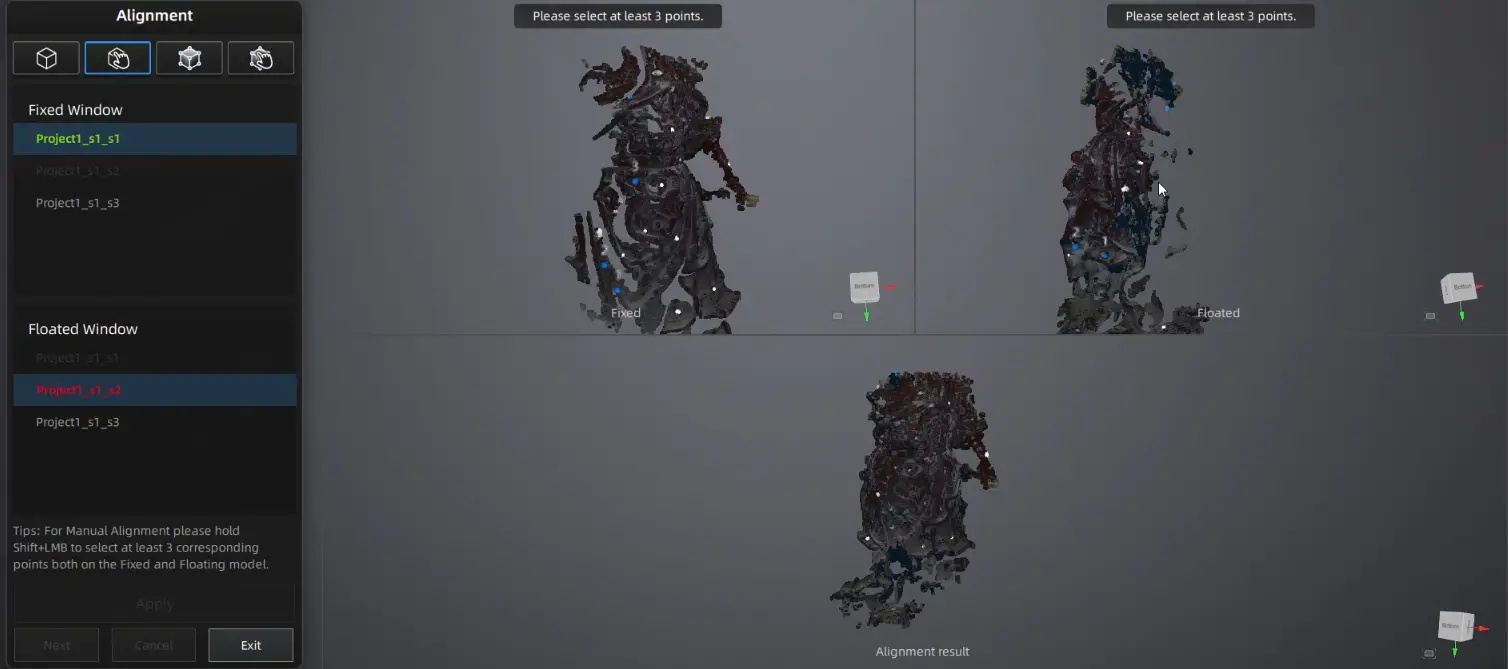
- Click to select Manual Feature Alignment mode.
-
In the fixed window and floating window on the left side of the interface, select the projects to align.
Note
You can zoom, rotate, and perform other operations in the fixed and floating windows according to the prompts on the left side of the interface to view the selected data models.
-
Hold Shift and click common feature points on the project data in both the fixed and floating windows.
- Click Apply. The software will align the project data in the fixed and floating windows based on the selected feature points.
Note
- Manually added common feature points must not be collinear.
- Add at least 3 common feature points on each project's data to be aligned.
By Markers
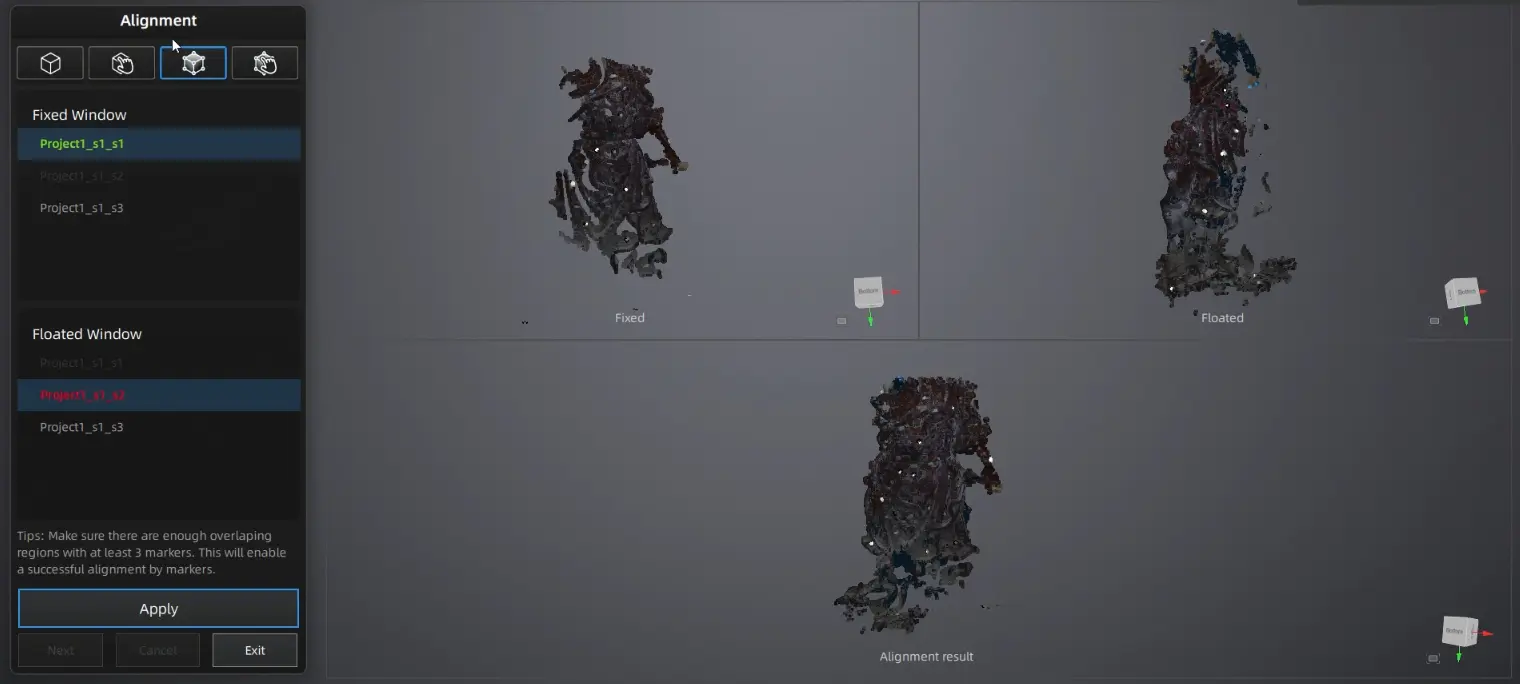
- Click to select By Markers mode.
-
In the fixed window and floating window on the left side of the interface, select the projects to align.
Note
You can zoom, rotate, and perform other operations in the fixed and floating windows according to the prompts on the left side of the interface to view the selected data models.
-
Click Apply. The software will automatically align the project data in the fixed and floating windows based on the common markers in each project's data.
Manual Markers Alignment
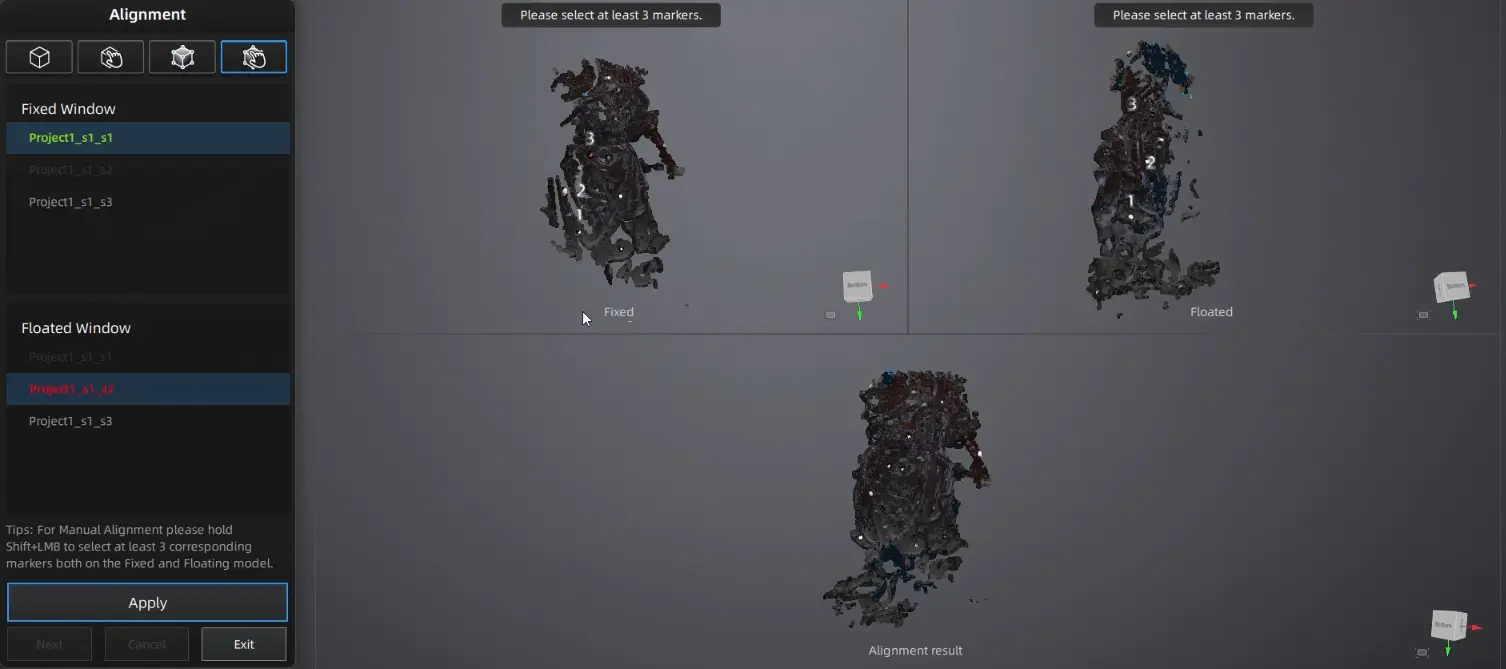
- Click to select Manual Markers Alignment mode.
-
In the fixed window and floating window on the left side of the interface, select the projects to align.
Note
You can zoom, rotate, and perform other operations in the fixed and floating windows according to the prompts on the left side of the interface to view the selected data models.
-
Hold Shift and click common markers on the project data in both the fixed and floating windows.
- Click Apply. The software will align the project data in the fixed and floating windows based on the selected common markers.
Note
- Manually selected common markers must not be collinear.
- Select at least 3 common markers on each project's data to be aligned.