Application Settings
The Shining 3D DentalCloud supports cloud-based layout, slicing, and sending to print, so as to help you achieve the digital transformation from scanning to printing.
Main process of cloud-based slicing is shown as follows:
Select an application card to set printing parameters, including application type, printer type, resin, etc.
Select Application Settings
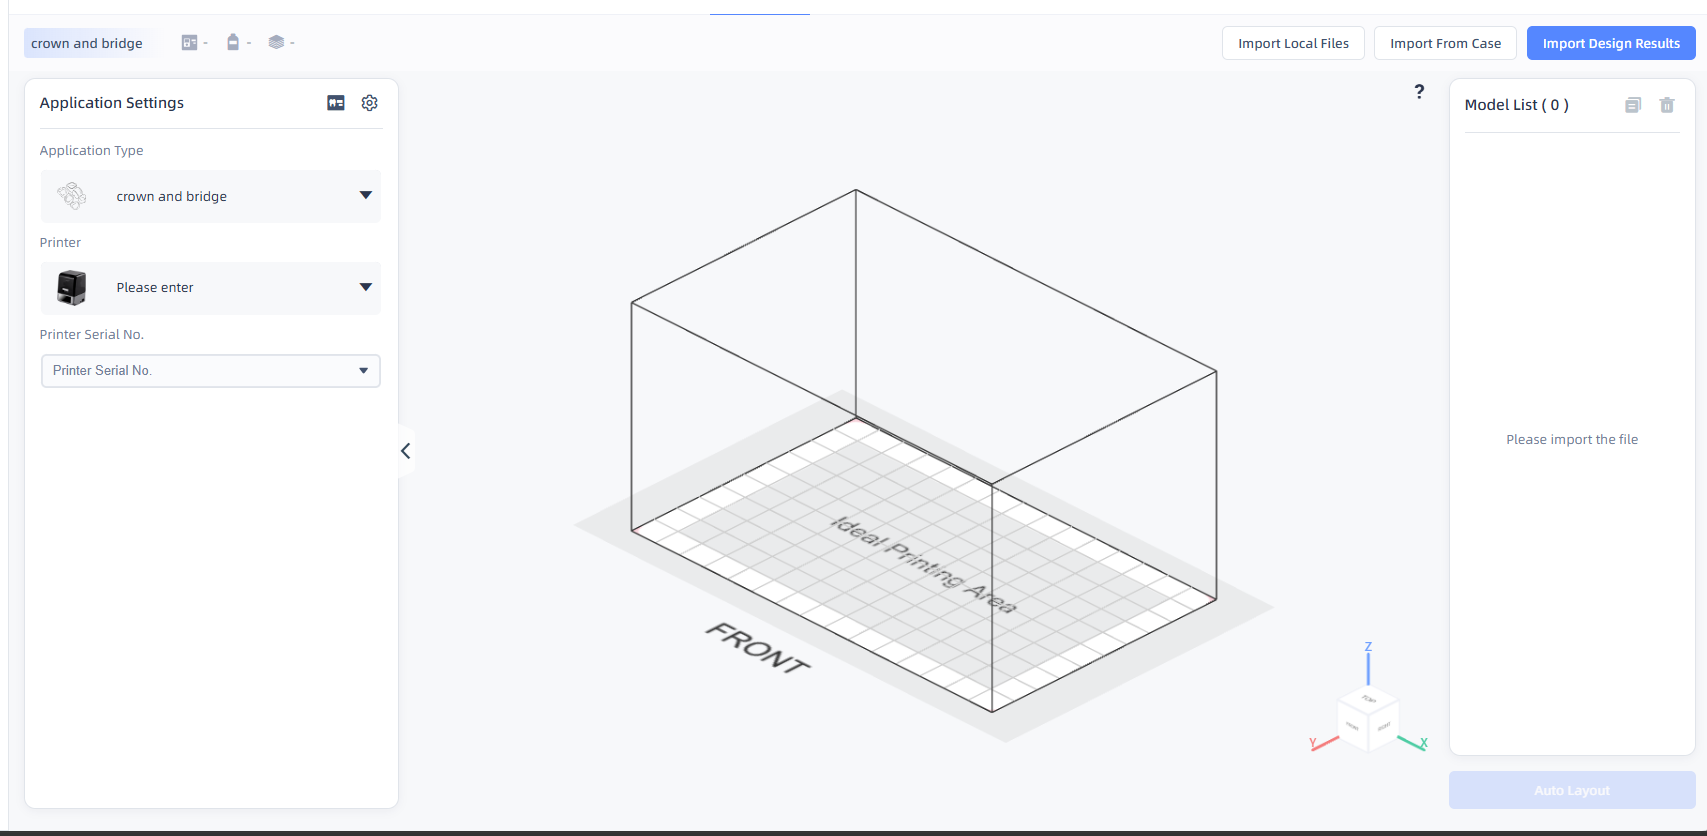
In the left application settings, set application type, printer type, printer serial number, platform type (if any), resin, mode, etc.
- Template list: Click
 to view the template list.
- The template list contains previously printed parameters that can be selected and printed again.
- Template displays
 printer type,
  printer serial number,
  resin,
  mode, etc.
 - When hovering the cursor over a template, you will see trash
 button in the top right corner. Click it to delete the template.
Note
- Only types of printers which have already been bound to the platform can be chosen as the Printer type; if prompted that there are no printers bound to the platform, you can follow the prompts to add a printer (only users with the administrator role).
- Before completing all the settings, the Create button cannot be clicked.
More Settings
Click More settings button to set procedure preferences and support parameters for different application types.
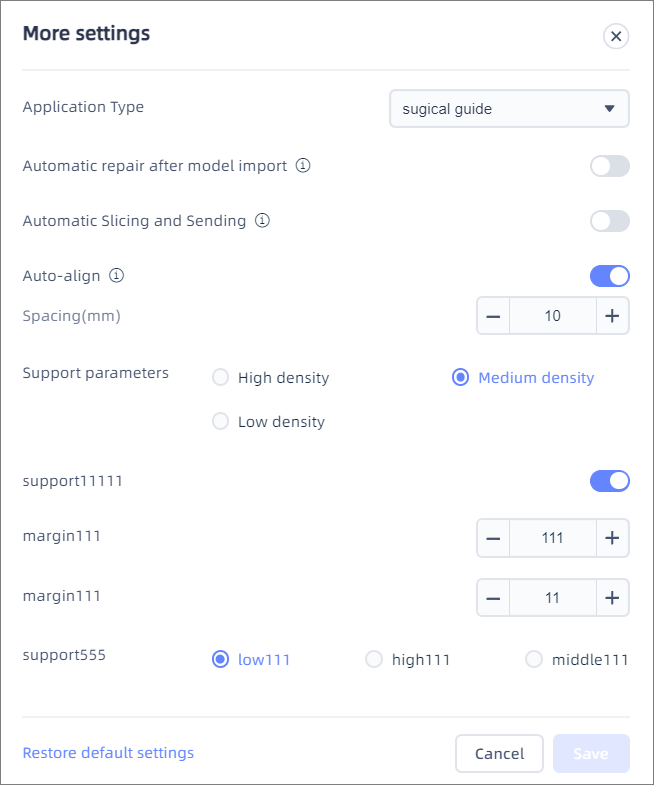
- Full automatic quick printing: Enable this function and after importing files, auto slicing, layout and support addition operations will be performed automatically.
- Application type: Optional surgical guide, restoration - orthodontic model, crown & bridge, occlusal splint, denture base, implant crown, denture base denture, etc.
- Automatic repairing after model import: Enable to automatically detect and repair triangular pieces and hole problems in models.
- Automatic slicing and sending: Enable to send files directly to the printer when slicing is complete.
- Auto-align: Enable for automatic model placement optimization.