Mesh
After scanning, click  to enter the Post-Processing > Mesh interface, where you can wrap (mesh) and optimize the scanned data.
Mesh Type
Choose different mesh types based on your requirements.
| Function | |
|---|---|
 Unwatertight Model |
For models with unclosed holes, use this mesh type to keep the original state with less meshing time. |
 Semi-watertight Model |
Fill the holes automatically. |
 Watertight Model |
Generates a fully closed model. This type of model can be directly used for 3D printing. |
Mesh Optimization
After selecting the mesh type, you can continue to adjust the following parameters to optimize the mesh.
Optimization
Optimize the data and reduce noise. Higher levels may lose some subtle details.
- None: No optimization.
- Low: Lightweight optimization, preserving surface features as much as possible.
- Standard: Reduces surface noise of the scanned data.
- High: Reduces noise while smoothing the data.
Smooth
Denoise the data to make the mesh model smoother.
Col
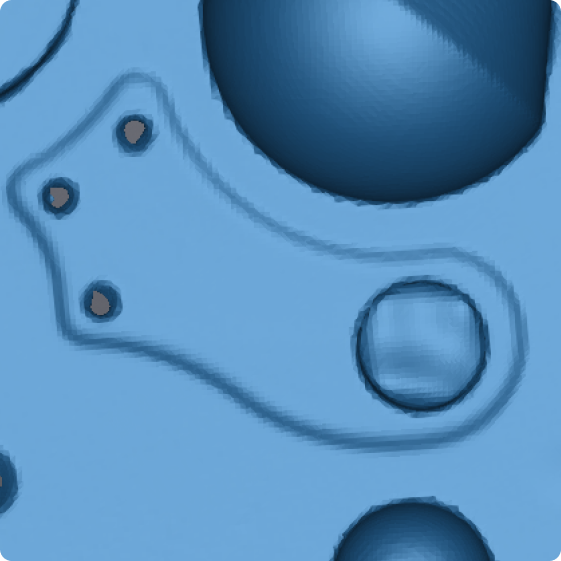
Before
Col
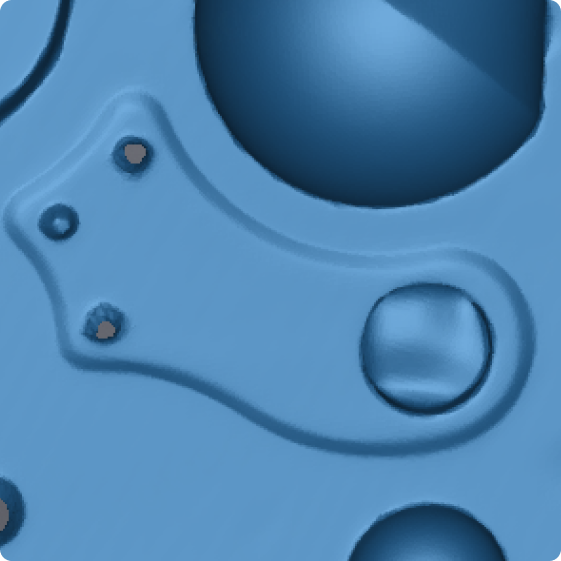
After
Note
This option is unavailable when Optimization is set to None.
Remove Small Floating Parts
Remove any small disconnected data from the main data. The higher the value, the more isolated data is removed.
Col
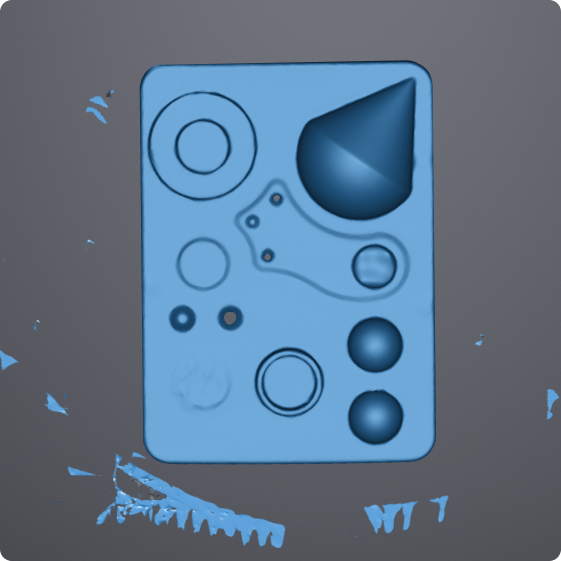 Before
Col
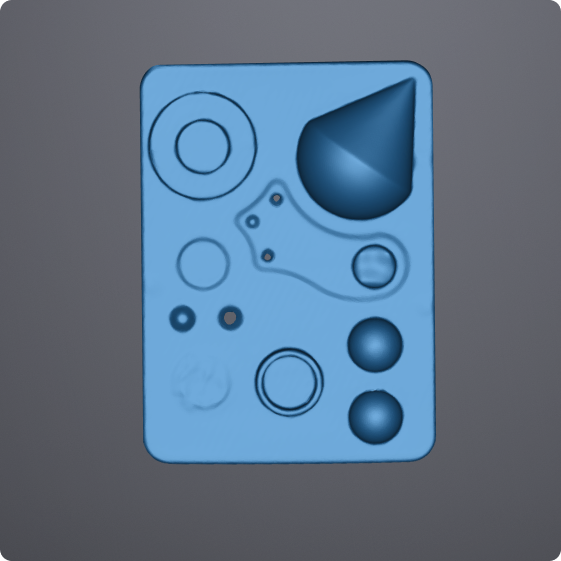 After
After
Simplification
Reduce the scanning data resolution and model file size. Higher values retain fewer object details and generate smaller file size.
Col
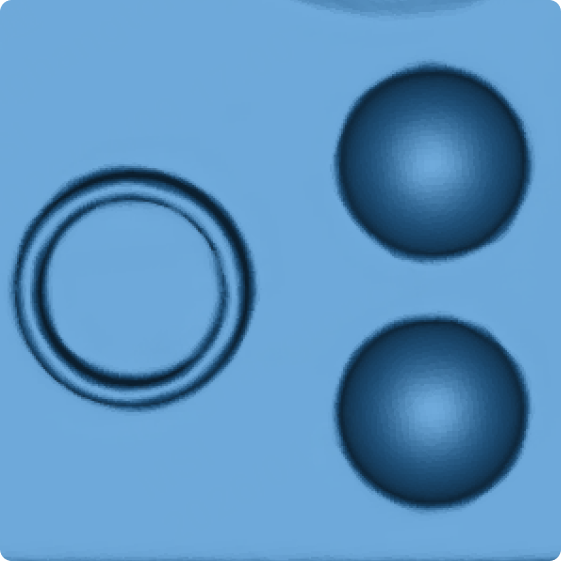
Before
Col
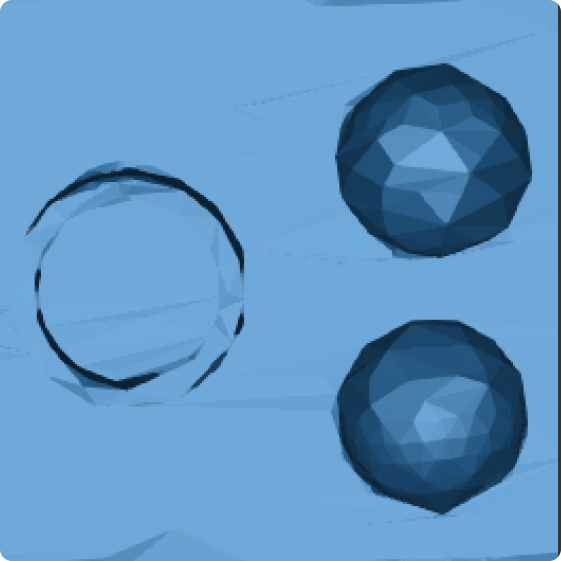
After
Edge Optimization
Optimize data boundaries for better, smoother edges.
Col
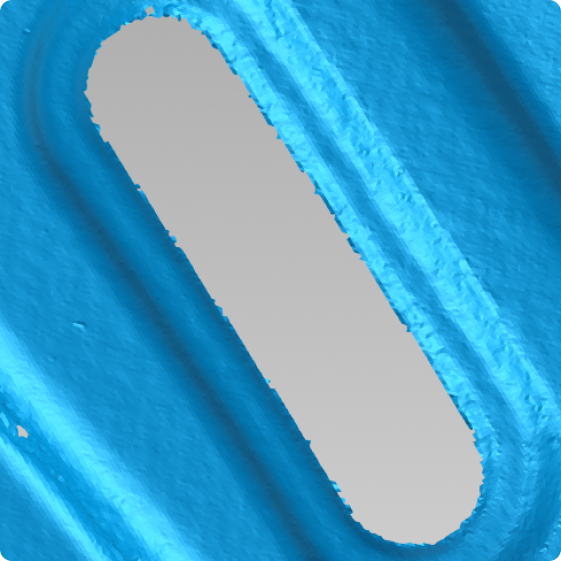
Before
Col
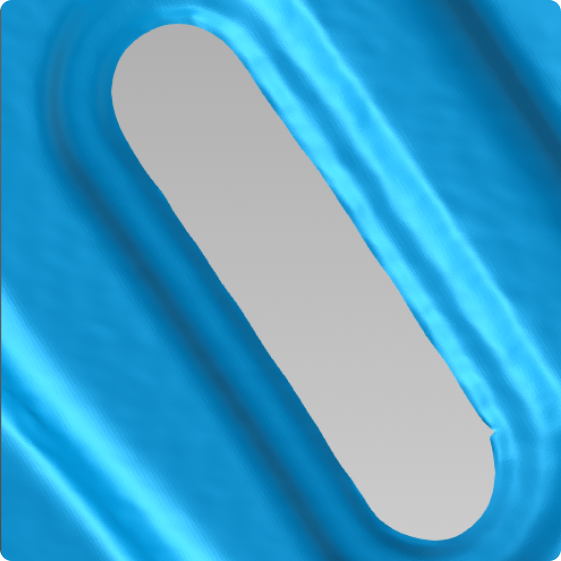
After
Max Triangles
When checked, you can set a value as the upper limit for mesh simplification.
Note
Please enter a reasonable value to avoid quality loss from over-simplification.
Internal Corner Optimization
Data optimization for inner corners of reflective workpieces.
Fill Small Hole
Automatically identify and fill small holes with a perimeter less than or equal to the set value. For repairing larger holes, it is recommended to enter the post-processing interface and use the manual hole filling function.
Note
- This function is only available for unwatertight and semi-watertight models.
- By default, holes with a perimeter ≤ 10 mm are filled. This can be adjusted as needed.
Col
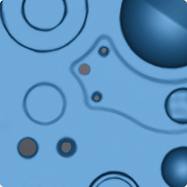 Before
Col
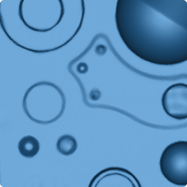 After
After
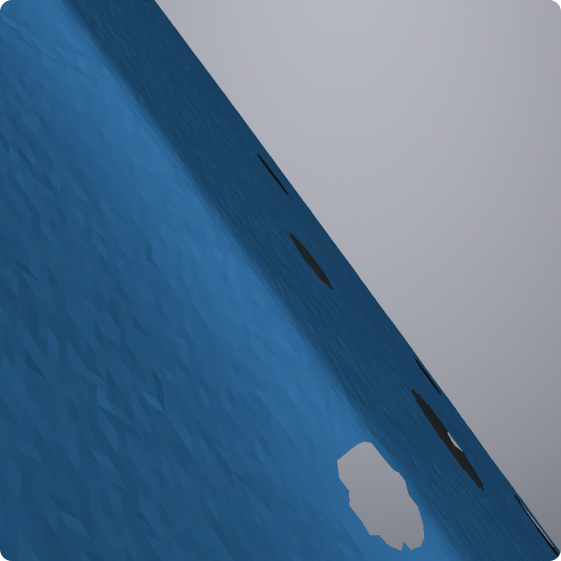
Remove Spike
Remove spikes amd nails from the model surface.
Col
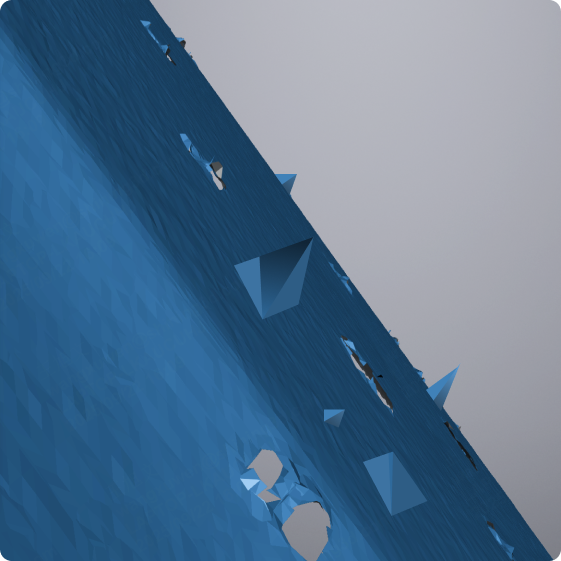 Before
Col
 After
After
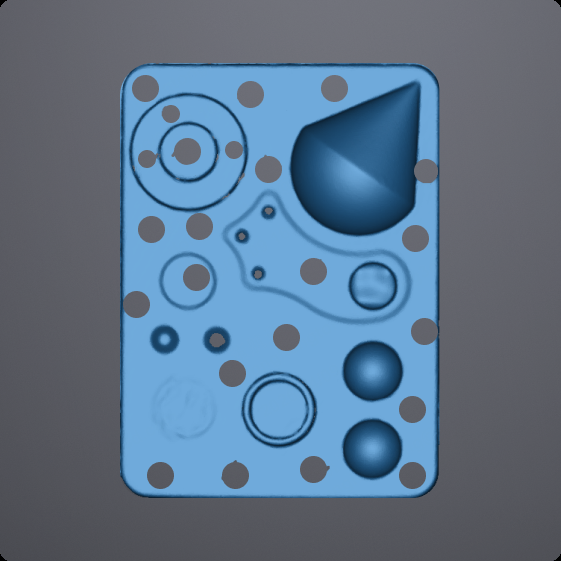
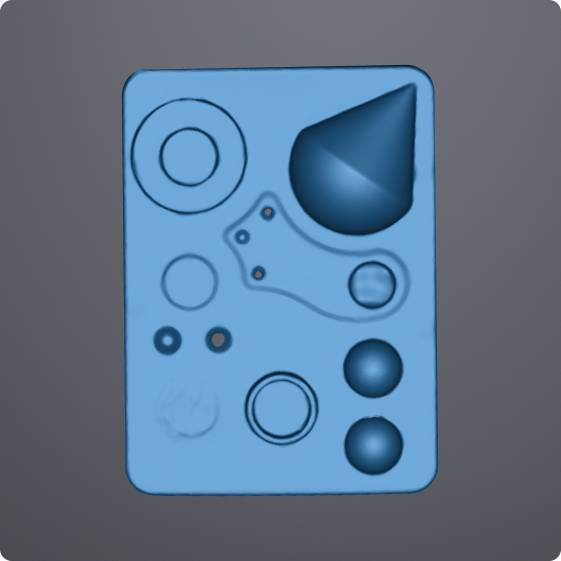
Marker Hole Filling
Automatically fill surface holes that were covered by markers and therefore not scanned.
Col
 Before
Col
 After
After
Texture Mapping
The generated mesh will include the texture information after checking this option; if it is not needed, unchecking it can improve the processing speed. Texture can be remapped onto the mesh during post-processing.
Note
To use this function, you need to enable Acquire Texture before scanning.
Recommended Parameters
When enabled, the software will automatically use the recommended parameters for all optimization options. When disabled, you can customize the parameters.
Buttons
| Function | |
|---|---|
| Preview | Click to preview the effects of the applied settings. |
 |
Click to discard the current settings and reset the preview effect. |
| Confirm | Click to apply the settings and enter the mesh editing interface. |