Scan Point Cloud
Point cloud is a collection of data points in a coordinate system. In the 3D coordinate system, these points are defined by X, Y, Z to identify the external surface of the scanned object. Through this mode, you can scan objects to obtain a large amount of point cloud data for subsequent model rendering and measurement.
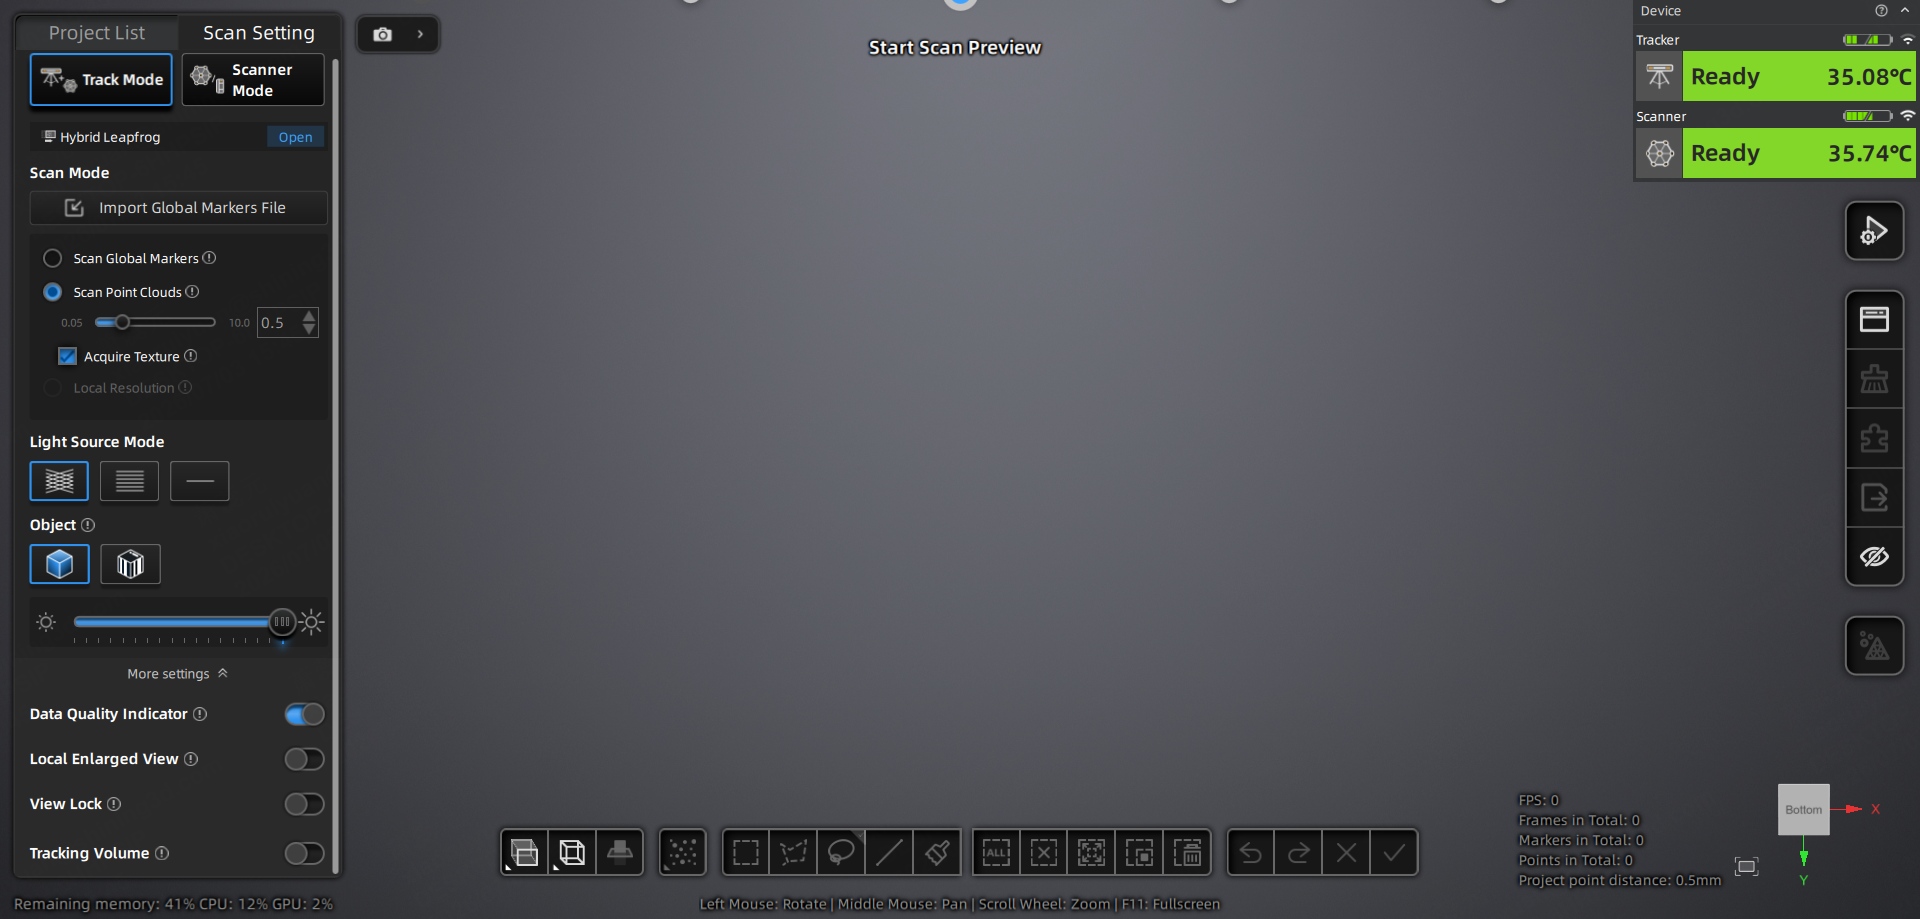
Steps
-
Select Trak Mode or Scanner Mode.
Note
- Using Trak Mode for scanning requires both the tracker and scanner to be online.
- In Trak Mode, when using the scanner for single-station scanning, no markers are required, but ensure that the tracker and the scanned object do not move.
-
(Optional) Switch the scan mode to Scan Point Cloud.
Note
- In Scanner Mode, if you previously used Scan Global Markers mode but the markers were not fully scanned, after switching to Scan Point Cloud, you can select Add New Global Markers to obtain new markers data. Add New Global Markers only supports adding 6 mm markers; newly added markers are used only for data alignment.
- If you need to acquire texture data, enable Acquire Texture and adjust the texture camera brightness.
-
(Optional) Click
 or press the scan button on the scanner to enter preview mode. You can adjust scan parameters based on the preview effect.
Note
- The data scanned at this time is not automatically saved and is only used for viewing the scanning effect.
- Preview can be disabled by clicking
 in the top-right corner of the interface. Once disabled, you can skip the preview step.
-
Click
 or press the scan button on the scanner to start scanning.
 -
During scanning, monitor the image data on the screen in real time, adjust the scanning distance as needed, and move the scanner slowly and steadily until the object is fully scanned. In other words, once the Data Quality Indicator is enabled, the data will appear blue.
-
Click
 or press the scan button on the scanner to pause scanning.
 -
Rotate, zoom, and perform other operations to check data completeness.
-
(Optional) If the data is incomplete, click
or press the scan button again to continue scanning. -
After scanning, click
 to save the scanned data; or switch to Local Resolution mode for fine scanning of detailed areas.
Note
If the object is too large, it is recommended to create multiple sub-projects to scan different parts of the object one by one. For sub-project management and function details, please refer to the Project Settings section.