Project Settings
Project Group
Please create a new project group for scanning or import a project group for supplementary scanning and editing.
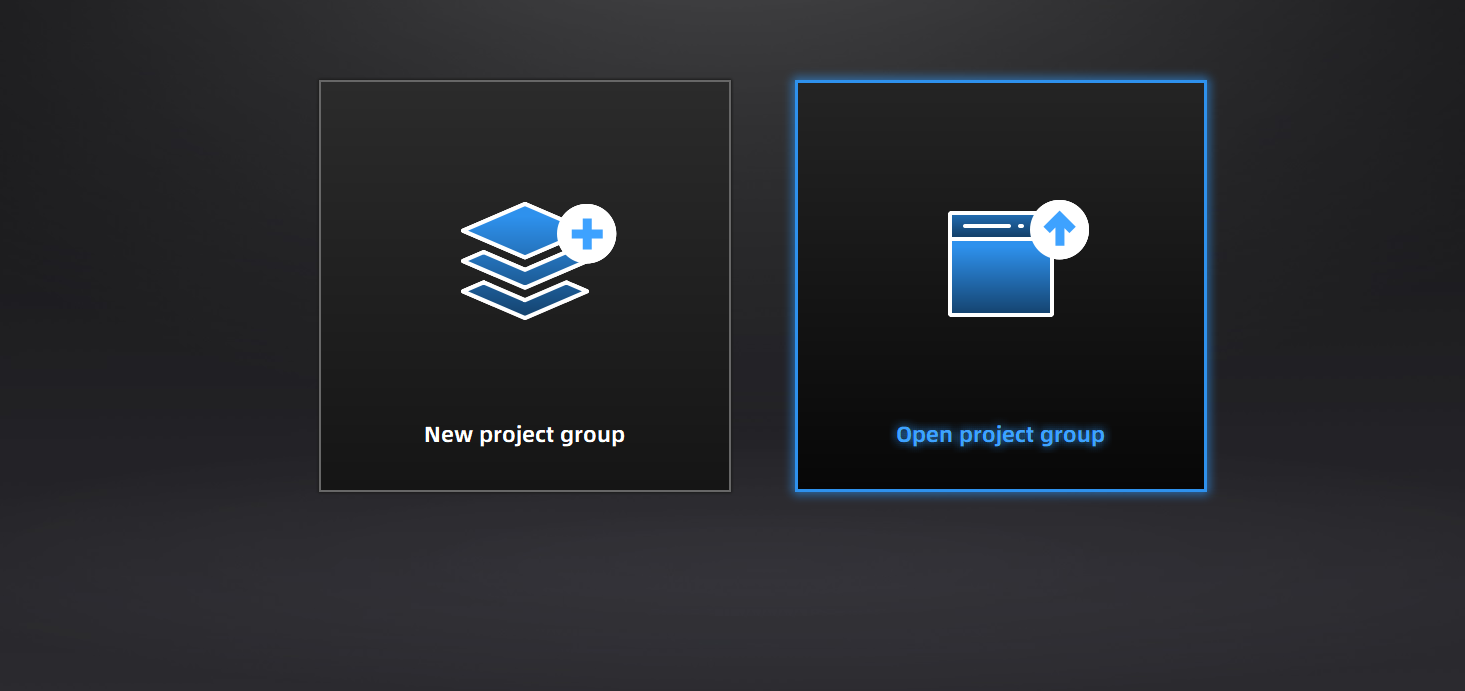
New Project Group
Before scanning an object, please create a new project group and select the storage path for the scanned data.
There are three ways to create a new project group:
Method 1: On the software home screen, select New Project Group. In the file dialog that appears, enter the project group name and path, then click Confirm. All data related to this project group will be saved to the specified path.
Method 2: After switching to the scanning interface, the project group interface will automatically appear. Select New Project Group. In the file dialog that appears, enter the project group name and path, then click Confirm. All data related to this project group will be saved to the specified path.
Method 3: If you are already in the scanning interface, click the project group button  in the right sidebar. In the pop-up window, select New Project Group and create it following the same steps as above.
Open Project Group
You can import a project group by selecting Open Project Group. This allows you to perform supplementary scanning or editing on the scanned data.
There are three ways to open a project group:
Method 1: On the software home screen, select Open Project Group. In the file dialog that appears, select or search for the project group file, then click Open.
Method 2: After switching to the scanning interface, the project group interface will automatically appear. Select Open Project Group. In the file dialog that appears, select or search for the project group file, then click Open.
Method 3: In the scanning interface, click the project group button in the right sidebar. In the pop-up window, click Open Project Group and import it following the same steps as above.
Note
- The current project group (if there is one) will be saved automatically when you open another project group.
- If you need to perform supplementary scanning on imported project data, please use the same device that scanned the data of the imported project.
Project Management
Col
You can create, import, remove, and delete projects within a project group.
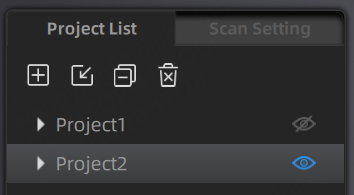
In the scanning interface, click Project List at the top left to see the project management toolbar.
Col
Note
The following scenarios may require creating a new sub-project for scanning:
- You need to output mesh data of different parts of the same object separately.
- The object to be scanned is too large, and a single scan may run out of memory.
- Different resolutions are needed on the same object.
- Different parts of the object have different materials, requiring different scan modes or alignment methods.
| Function | ||
|---|---|---|
 New Project |
Click to create a new project under the current project group. | |
 Open Project |
Click to open a project under the current project group. | |
 Remove Project |
Click to remove the selected project from the current project group. | The project is only removed from the list, not deleted. You can re-import it by opening the project. |
 Delete Project |
Click to delete the selected project and its data. | This operation will delete the selected project and its data, and cannot be undone. |
 / / Visible / Invisible |
Click to hide / show the data or markers of the current project. |