Mesh Optimization
After mesh generation, you can further process the mesh using the tools on the left sidebar and the bottom editing toolbar in the Post-Processing interface.
Left Sidebar
Click + to expand the corresponding function panel in the Mesh Optimization window on the left side of the interface.
Texture Adjustment
Adjust the brightness and contrast of the texture data in real time.
Note
- Only project files with textures support this function.
- The default value is 0, and the range is -100 to 100.
Col
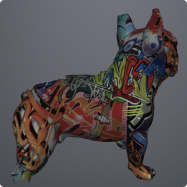 Before
Col
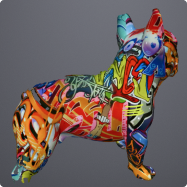 After
After
Simplification
Reduce the scanning data resolution and model file size. Higher values retain fewer object details and generate smaller file size.
Col
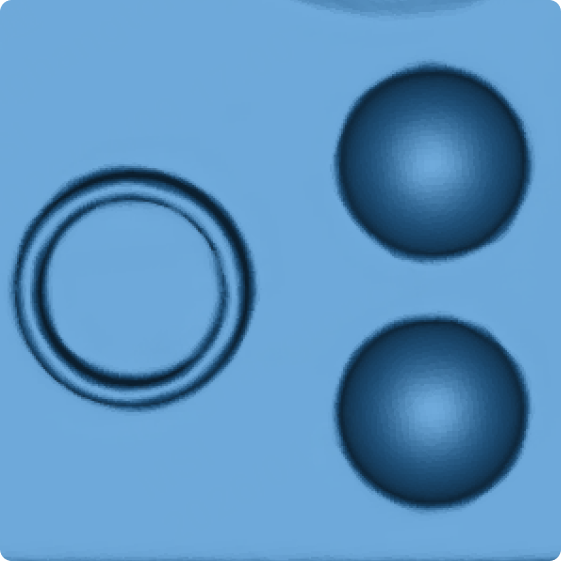
Before
Col
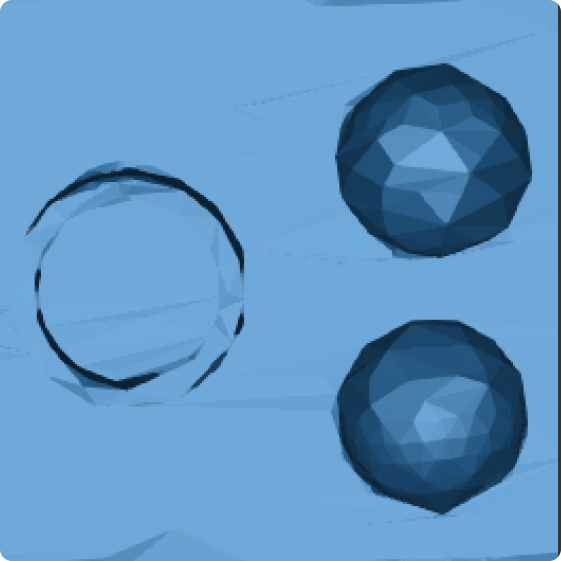
After
Mesh Optimization
Optimize the data and reduce noise. Higher levels may lose some subtle details.
Smooth
Denoise the data to make the mesh model smoother.
Col
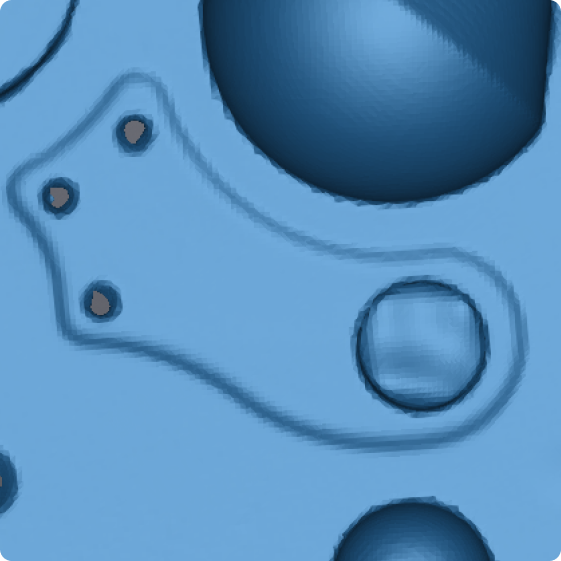
Before
Col
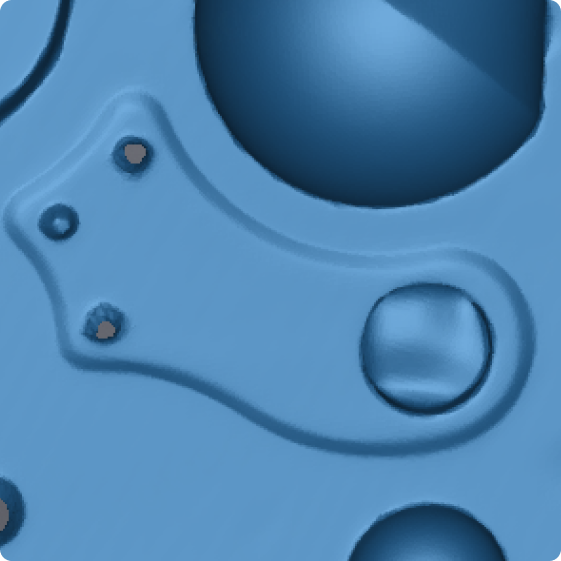
After
Remove Small Floating Parts
Remove any small disconnected data from the main data. The higher the value, the more isolated data is removed.
Col
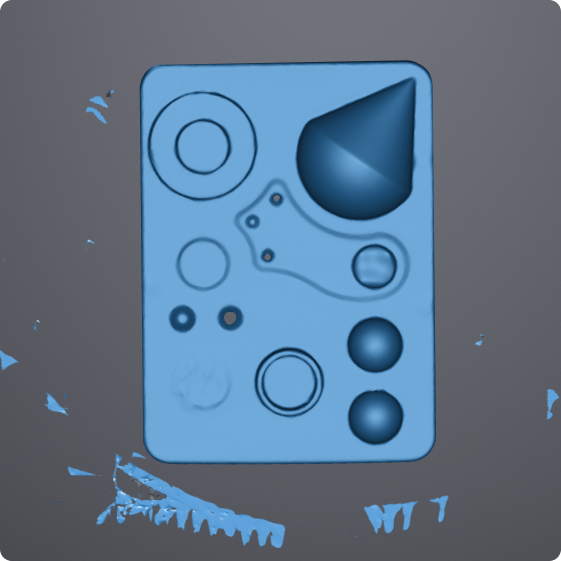 Before
Col
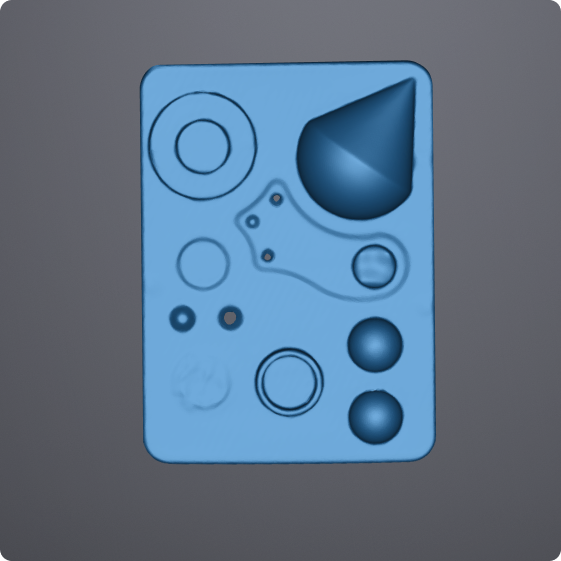 After
After
Auto Hole Filling
Automatically identify and fill small holes with a perimeter less than or equal to the set value. This function is suitable for batch hole filling.
Col
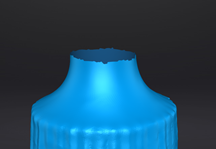 Original
Col
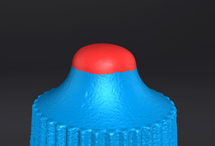 Curvature
Col
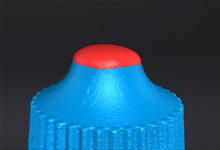 Tangent
Col
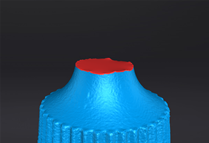 Flat
Flat
Col
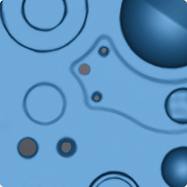 Before
Col
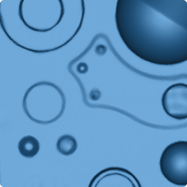 After
After
Manual Hole Filling
Manually select and fill holes on the model. This function is suitable for repairing individual or larger holes.
Note
- All hole edges are displayed in green, and the edge of the selected hole is displayed in red.
- Before filling a hole, you need to select the fill type (Curvature, Tangent, or Flat), then click the hole edge to fill it.
Col
Original
Col
Curvature
Col
Tangent
Col
Flat
Col
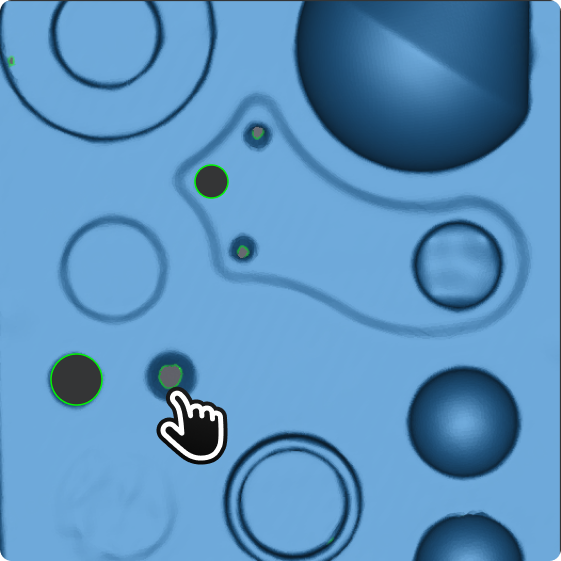 Before
Col
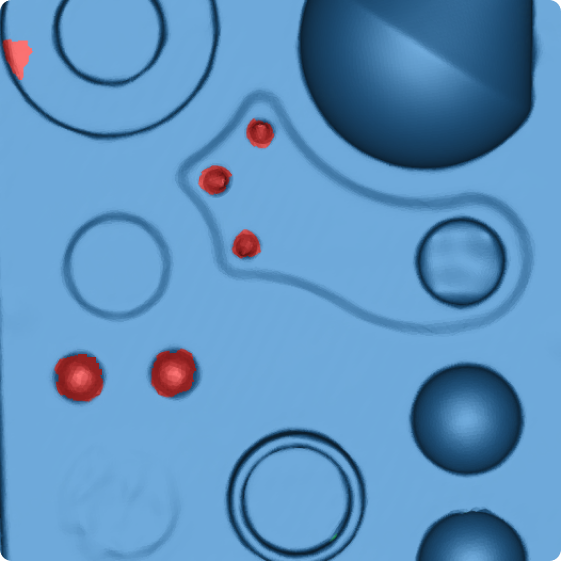 After
After
Flip Normal
Select the target model data in the 3D scene, and the software will automatically flip the normals of the connected area to correct any incorrect normal directions.
Note
- Hold Shift+left mouse button to select the area to flip.
- If no area is selected, all normals will be flipped by default.
- Texture Remapping cannot be performed after flip normal. Please complete texture remapping before performing flip normal.
Col
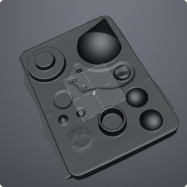
Before
Col
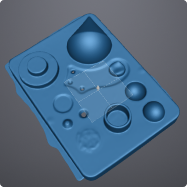
After
Cutting Plane Tool
Manually adjust the model's spatial coordinate system to provide a standard coordinate reference for subsequent data export and 3D printing.
Note
- Hold Shift+left mouse button to create a straight line and select a plane.
- After selecting a plane, you can Delete Selected Area and Fill Intersecting Faces or Delete Selected Area.
Col
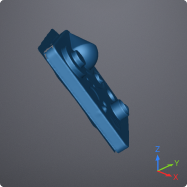
Before
Col
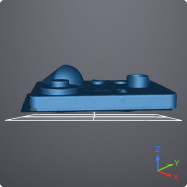
After
Mirror
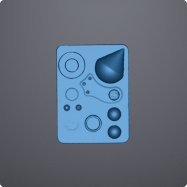
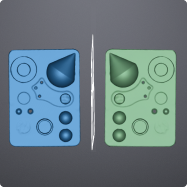
Perform a mirror copy of the model along a specified axis.
Note
- Hold Shift+left mouse button to create a central axis.
- After creating the central axis, the data will be symmetrically copied along this axis. You can check Keep Original Mesh Data.
Col
Before
Col
After
Zoom
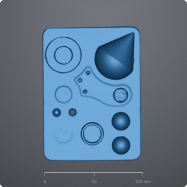
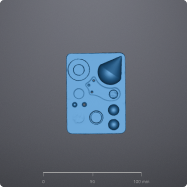
Freely adjust the actual scale of the model. 100% means no scaling.
Col
Before
Col
After
Buttons
| Function | ||
|---|---|---|
 |
Reset the preview effect. | Not available for Data Alignment and Zoom. |
| Confirm | Confirm the optimization effect and save. After confirmation, the optimization cannot be undone. | |
| Cancel | Undo the operation and exit the function. |
Editing Toolbar

| Function | |
|---|---|
 Perspective View |
View the model in Perspective mode. In this mode, objects appear larger when closer and smaller when farther away, consistent with normal human observation of the 3D world. Click again to switch to Orthogonal View. |
 Orthogonal View |
View the model in Orthogonal mode. In this mode, there is no perspective effect, and the object size is independent of the viewpoint distance. Click again to switch to Perspective View. |
| Function | |
|---|---|
 Select Visible |
Select only the visible data within the current selection range. |
 Select Through |
Select the visible area and all data directly behind it within the current selection range. |
 Select Front |
Select only the data on the front side of the current object. Note NoteSelect Front and Select Visible/Select Through cannot be enabled simultaneously. |
| Function | |
|---|---|
 Rectangular |
Select or deselect data in a rectangular area. |
 Polygon |
Select or deselect data in a polygon area. |
 Lasso |
Select or deselect data using a lasso. |
 Line |
Select or deselect data using a straight line. |
 Brush |
Select or deselect data using a brush. |
| Function | Function | ||
|---|---|---|---|
 Select All |
Select all data on the current interface. |  Unselect |
Deselect all. |
 Connected Domain |
After selecting any piece of data, click this button to select all data connected to that area. |  Invert |
Select all currently unselected data. |
 Delete Selected |
Click to delete the currently selected data. |
| Function | Function | ||
|---|---|---|---|
 Undo Delete |
Undo the most recent deletion and restore the most recently deleted data. Click multiple times to undo multiple deletions. |
 Redo |
Restore the last operation. Click multiple times to restore multiple operations. |
 Cancel Edit |
Undo all editing operations. |  Apply Edit |
Apply all editing operations. |
Caution
After applying edit operations, it will be impossible to restore the initial state. It can only be restored by reloading the file.
Right Sidebar
| Function | |
|---|---|
 Open File |
When there is no data in the post-processing interface, click this button to import a model file in the corresponding format for mesh processing. |
 Export Data |
 : Save the scanned data locally in the specified format. : Save the scanned data locally in the specified format. : If you have installed EXModel, click this button to switch to EXModel, and the model data will be automatically imported. : If you have installed EXModel, click this button to switch to EXModel, and the model data will be automatically imported. |
 Share Data |
|
 Texture Remapping |
After post-processing, the texture data of the model may be misaligned. You can perform secondary texture remapping to correct texture errors. Note Note
|
 Show Texture / Hide Texture |
Show or hide the model texture on the current interface. |
 Model Display |
Click this button or press F12 to enter the model display interface. The model will rotate clockwise at a specified speed (click  to adjust the rotation speed to Fast, Medium, or Slow). Press F12 or Esc again to exit the model display interface.Note to adjust the rotation speed to Fast, Medium, or Slow). Press F12 or Esc again to exit the model display interface.NoteAfter entering the model display interface, the model will only rotate at the current viewing angle. If you need to display other angles, exit the display interface and adjust the angle in the post-processing interface. |